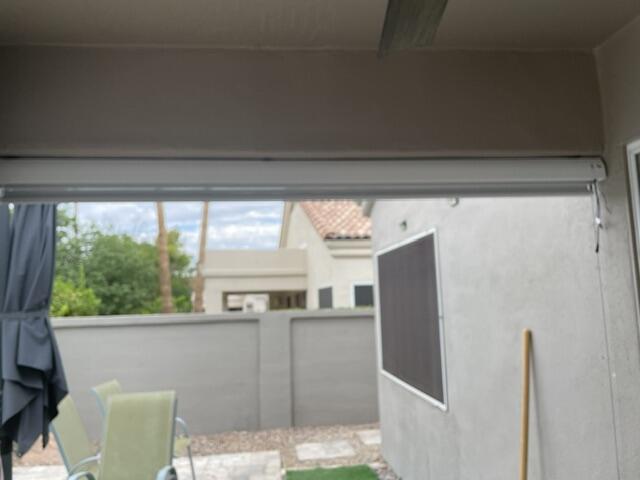
The 3 Things That Almost Ruined My Automated Roller Blinds DIY
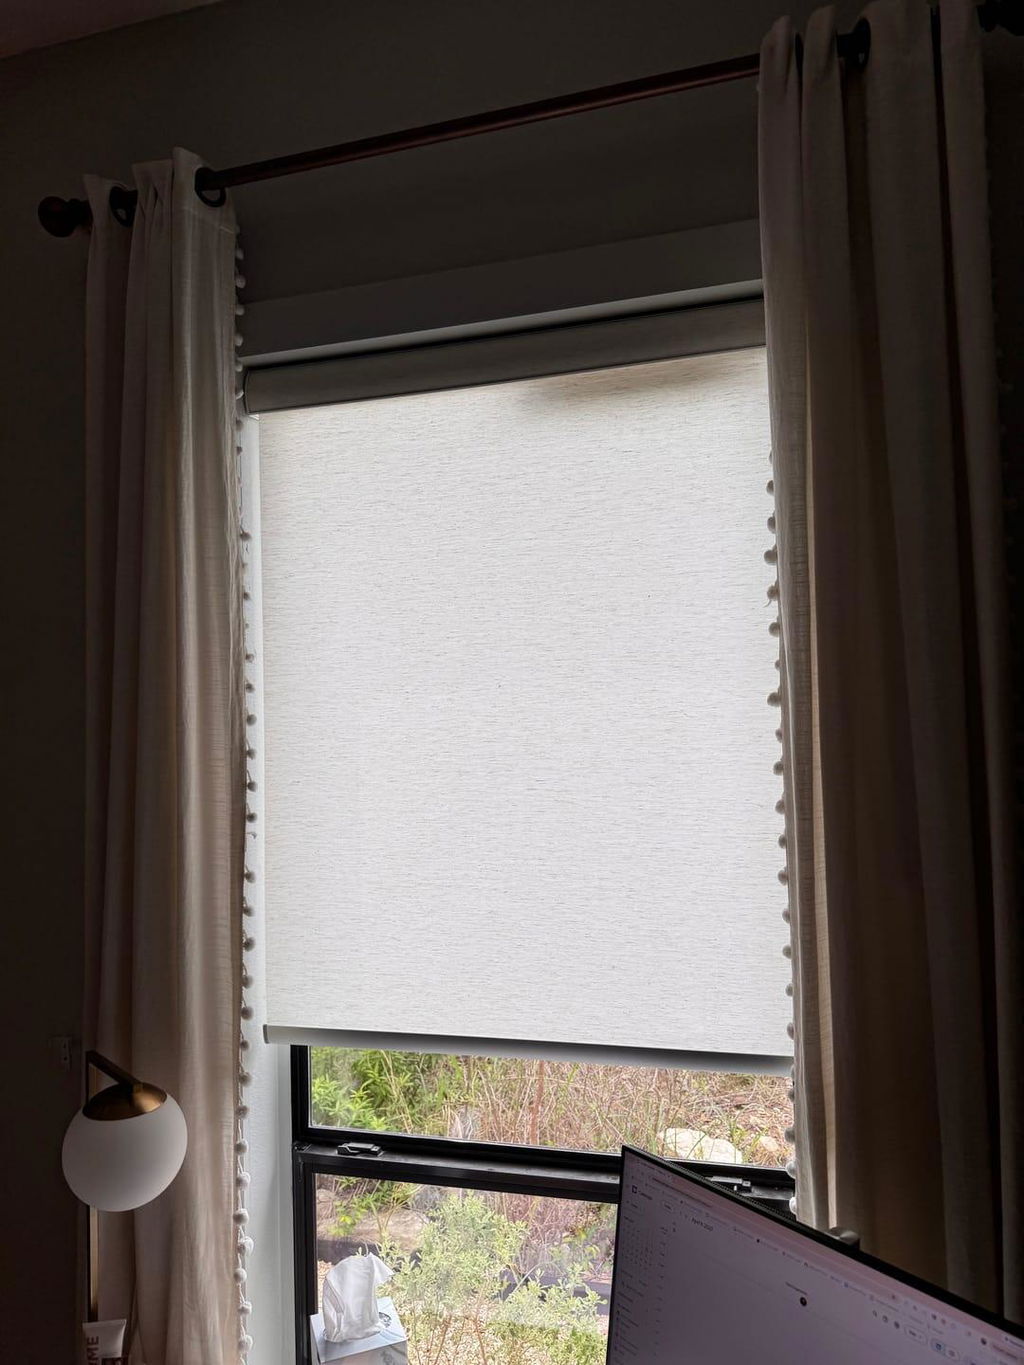
I spent three years staring at the white plastic beaded chain dangling against my charcoal window frames. It was the design equivalent of wearing a tuxedo with flip-flops. I loved my custom Roller Shades, but the manual operation felt like a relic. I wanted that silent, motorized glide I’d seen in boutique hotels, but I didn’t want to shell out four figures to replace perfectly good fabric. Naturally, I decided an automated roller blinds diy project was the answer.
Quick Takeaways
- Measure the internal diameter of your tube, not just the outside width.
- Heavier blackout fabrics require motors with higher torque (at least 1.1Nm to 2Nm).
- Always check the location of the charging port relative to your mounting brackets.
- Leveling your brackets to the millimeter prevents 'telescoping' (fabric bunching at the edges).
I Loved My Existing Shades, But Hated the Chains
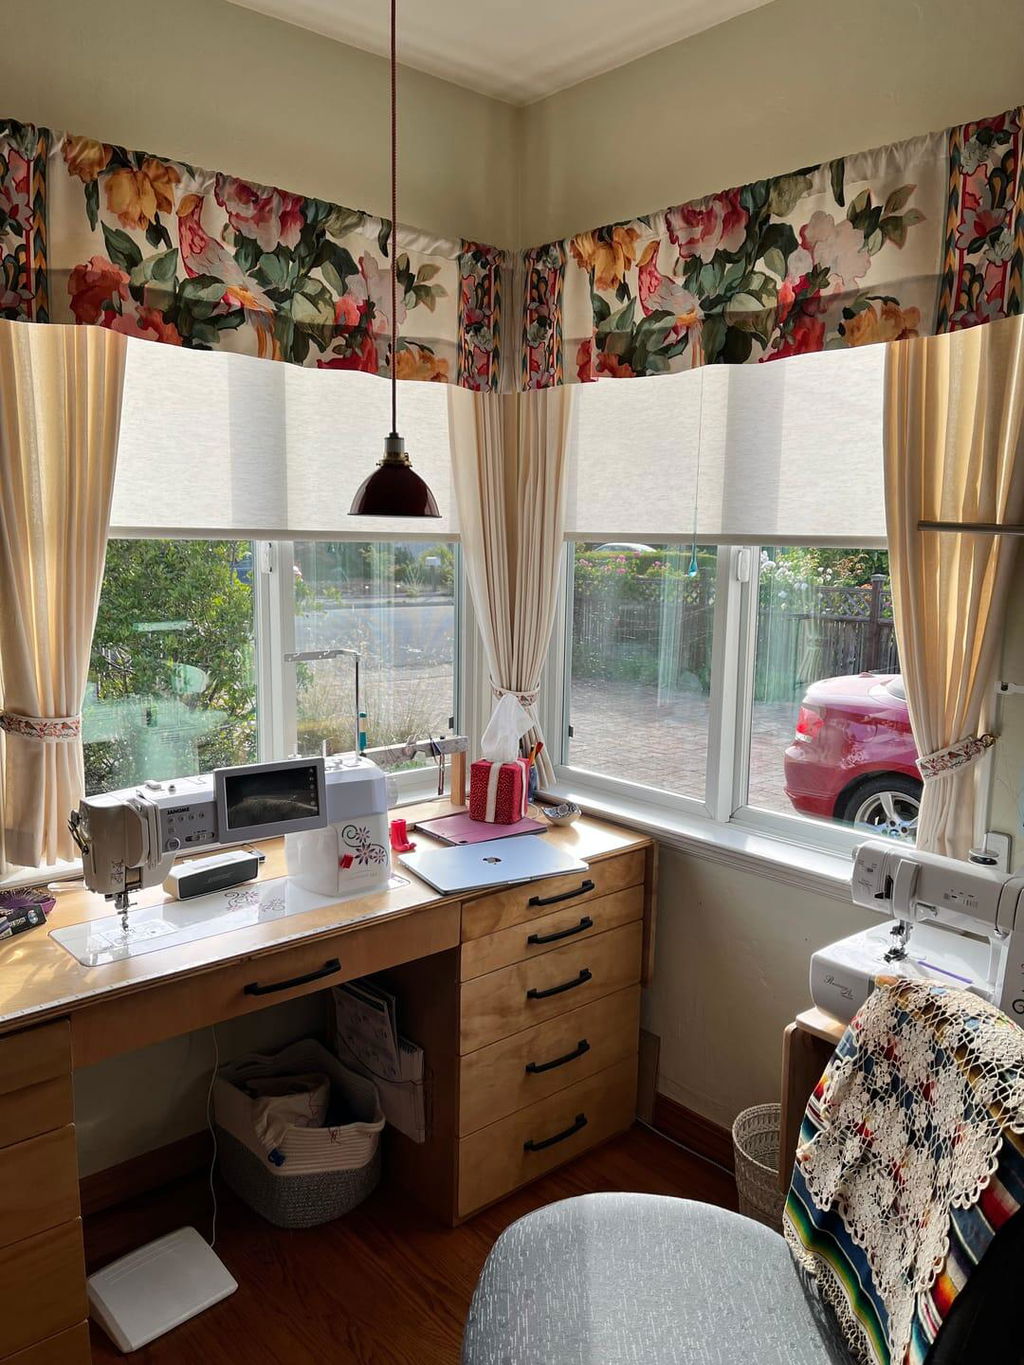
There is nothing quite like the morning sun hitting a high-quality linen-blend shade, but that vibe is immediately killed when you have to yank on a greasy plastic cord to see the backyard. My shades were expensive, custom-measured pieces in a gorgeous oatmeal weave. Tossing them felt like a crime against my bank account. The goal was a diy smart blind system that kept the aesthetic but ditched the manual labor.
Getting rid of the chains didn't just 'clean up' the look; it made the windows feel wider. Without the vertical line of the cord drawing the eye, the focus stayed on the view. I figured I could just pop out the old clutch, slide in a diy roller shade motor, and be sipping coffee while my windows opened themselves by 7:00 AM. I was wrong.
Mistake 1: Assuming Any DIY Roller Shade Motor Fits
The first thing you learn when you start a motorised roller blinds diy project is that 'one inch' does not mean one inch. I ordered a generic motor for blinds diy off a popular tech site, assuming my tubes were standard. When the motor arrived, it was about 2mm too wide to fit inside the aluminum roller. I tried to force it, nearly bent the tube, and ended up with a scratched mess.
You have to measure the internal diameter and, more importantly, the profile of the 'ribs' inside the tube. Most diy motorized blinds kits come with different 'crowns' and 'drives'—the plastic bits that actually grip the tube. If those don't match your specific tube brand (like Louvolite or Rollease), the motor will just spin aimlessly inside the shade while you stand there with a useless remote. I eventually had to use a digital caliper to get an exact 38mm internal reading before ordering the correct diy motorized roller shades hardware.
Mistake 2: Misjudging the Fabric Weight
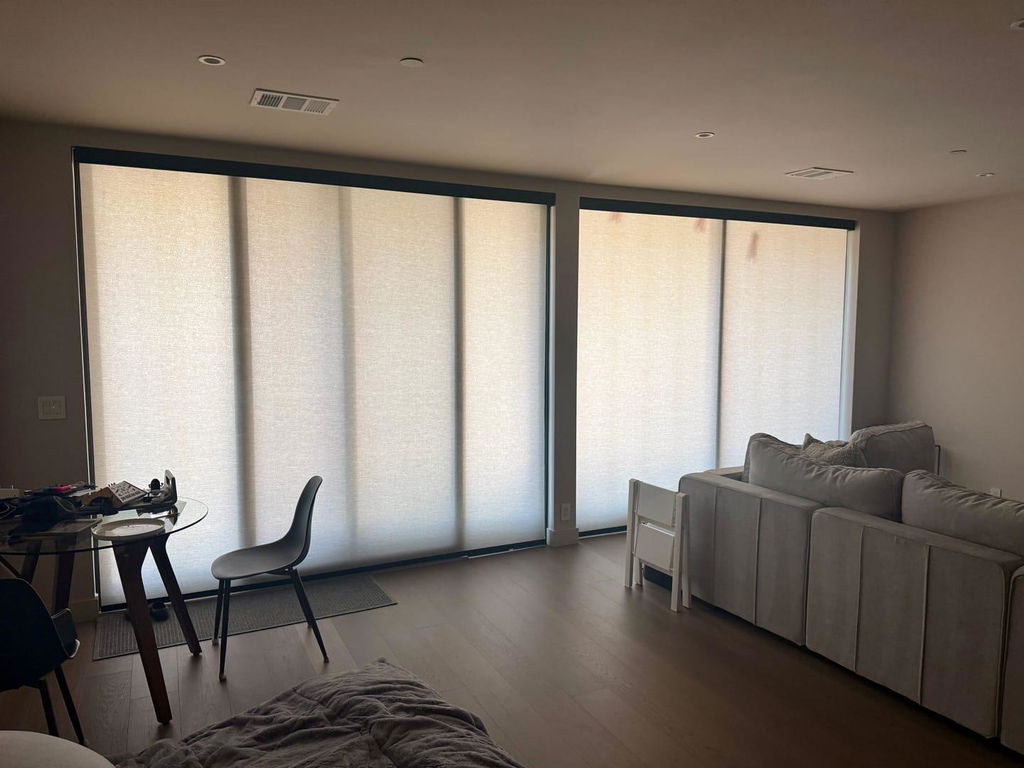
I have a massive 96-inch wide window in the media room with a heavy, four-ply blackout fabric. I tried to use the same small motor I used for the kitchen's light sheer. Big mistake. The motor groaned, struggled for three inches, and then the thermal protection kicked in and shut the whole thing down. I realized then that Why I Replaced My Bulky Drapes With Roller Shades Motorized was a lesson in physics as much as style.
For a successful diy motorized shade, you have to calculate the weight of your fabric plus the bottom hem bar. A heavy blackout shade can easily weigh 10 to 15 pounds. If you're doing a motorized cellular shades diy or working with heavy drapes, you need a motor with at least 1.1Nm or 2.0Nm of torque. Using an underpowered motor for diy electric blinds will just burn out the battery and shorten the lifespan of the tech.
Mistake 3: Not Planning the Power Source Before Mounting
This was my 'face-palm' moment. I installed the diy automated blinds, snapped them into the brackets, and realized the USB-C charging port on the motor head was jammed tight against the wall. To charge it, I’d have to take the entire 8-foot blind down every six months. It was a nightmare of my own making. When you are doing a do it yourself motorized blinds install, look at where that plug sits.
I’m a fan of internal lithium-ion batteries because I hate seeing wires, but you have to leave room for the charging cable to wiggle in. If you have deep window casings, you might need a motor with a magnetic charging port or an external battery wand hidden behind the valance. For my motorized outdoor shades diy, I eventually switched to a small solar panel trickled-charged into the motor so I never had to climb a ladder again.
How to Motorize Blinds the Right Way (My Step-by-Step Fix)
Once I stopped guessing and started measuring, the process actually became fun. First, take the blind down and remove the manual chain clutch. You’ll be left with an empty metal tube. Slide your roller shade motor diy into the tube, ensuring the 'drive' notch aligns with the internal rib of the aluminum. It should feel snug, not forced.
Next, remount your brackets. Use a laser level—I cannot stress this enough. If your diy smart roller shades are even 1/8th of an inch off-level, the fabric will 'telescope,' meaning it rolls to one side and eventually frays against the bracket. Once it's up, use the remote to set your 'limits.' This tells the motor exactly where to stop at the top so it doesn't rip the hem bar off, and where to stop at the bottom so it doesn't unspool onto the floor.
The Final Verdict: Is Retrofitting Worth the Weekend?
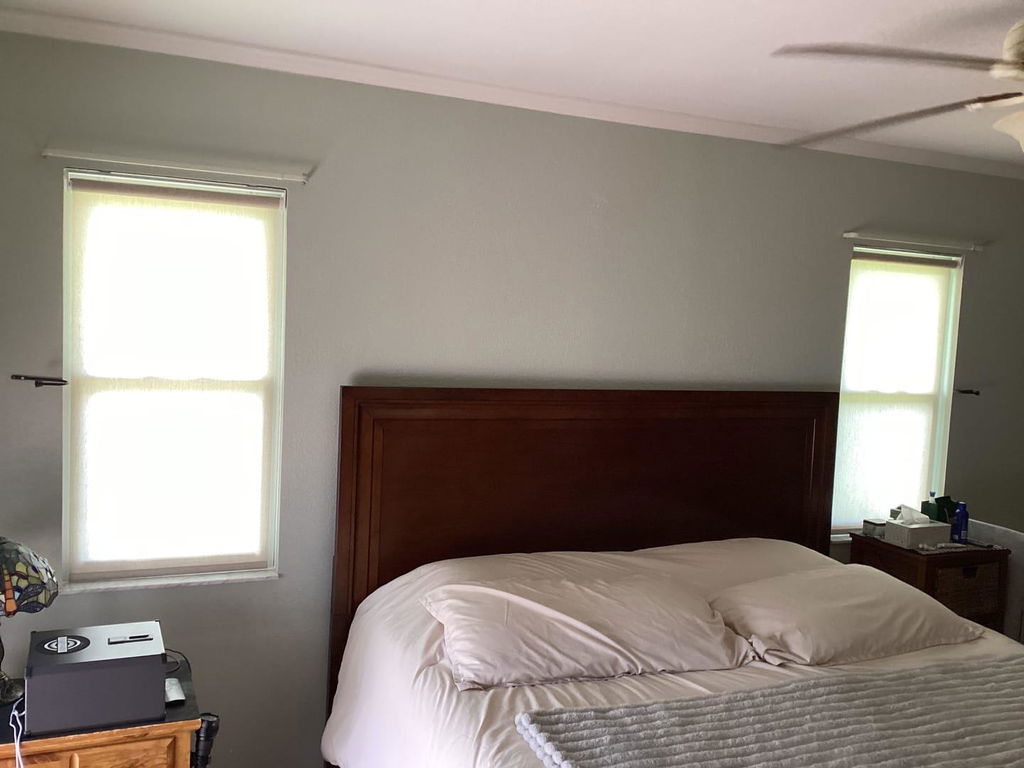
If you have high-quality manual shades already, a diy smart blinds retrofit is a no-brainer. It cost me about $70 per window to automate, whereas buying new custom smart shades would have been $400 each. However, for a bedroom where light leakage is a dealbreaker, I sometimes recommend a full custom order. I actually I Hid Blackout Roller Shades Motorized Behind My Sheer Linen Drapes to get that perfect hotel-darkness levels without the DIY struggle of light gaps.
In the end, my living room is now chain-free and opens on a schedule. It feels like the house is finally working for me, rather than me fighting with a piece of plastic every morning. Just buy a caliper, check your torque, and for heaven's sake, make sure you can reach the charging port.
DIY Smart Blind FAQ
Can I turn any roller blind into a smart blind?
Almost any. As long as the tube is hollow and you can find a motor with a matching crown and drive for that tube's diameter, you can automate it. Most DIY kits target 1-inch to 1.5-inch tubes.
How do I power my DIY motorized shades?
You have three main options: a rechargeable internal battery (usually via USB-C), a battery wand that holds AA batteries tucked behind the shade, or a hardwired DC power supply if you have an outlet nearby.
Can I control DIY motorized blinds with Alexa or Google Home?
Yes, but you usually need a 'bridge' or 'hub' that translates the motor's radio frequency (RF) signal into a Wi-Fi signal your smart home assistant can understand.