The 3 Bracket Rules: How to Install Cellular Shades Top Down Bottom Up
I remember the first time I unboxed a set of top-down bottom-up (TDBU) cellular shades for a client’s sunroom. The box was surprisingly light, but the contents looked like a high-stakes game of cat’s cradle. There were tension cords everywhere, three different rails, and a set of brackets that looked nothing like the standard L-shaped hardware I was used to. It’s that mid-renovation panic—the feeling that you’ve bought something far more complicated than your DIY skills can handle. But after how to install cellular shades top down bottom up clicked for me, I realized the 'floating' look is actually a clever bit of physics that takes less than 15 minutes to master.
Quick Takeaways
- Measure your window depth twice; you need at least 2 inches for a truly flush inside mount.
- Always snap the front lip of the headrail into the bracket before pushing back.
- Leveling a crooked rail is usually a matter of adjusting the cord tension, not re-drilling holes.
- Outside mounts should be placed 3 inches above the trim to maximize light and create height.
The 'Floating' Hardware Illusion (And Why It's Easier Than You Think)
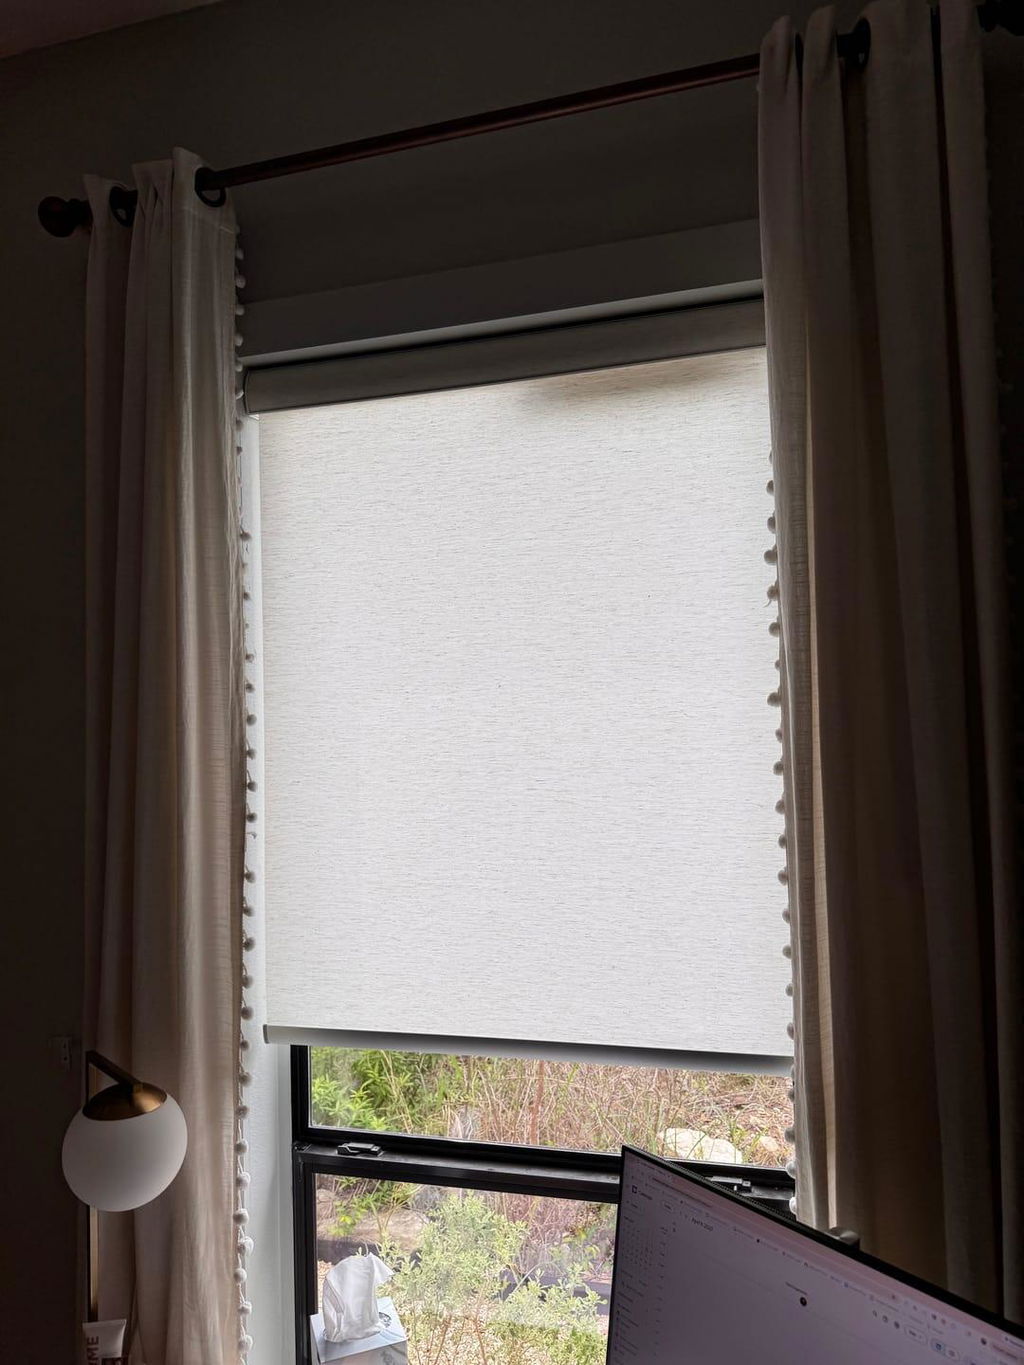
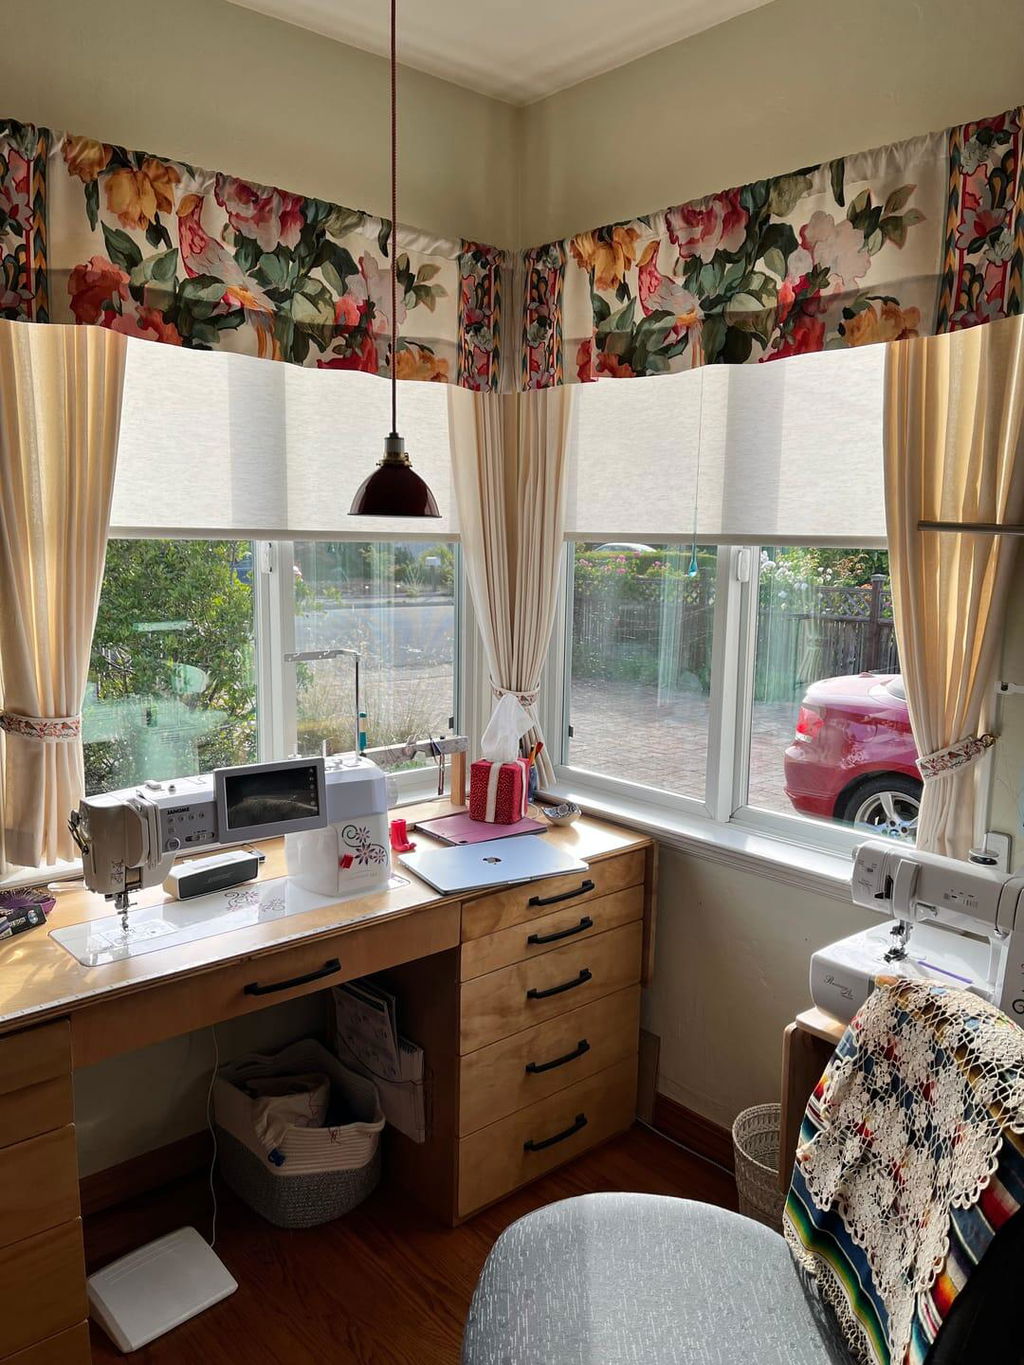
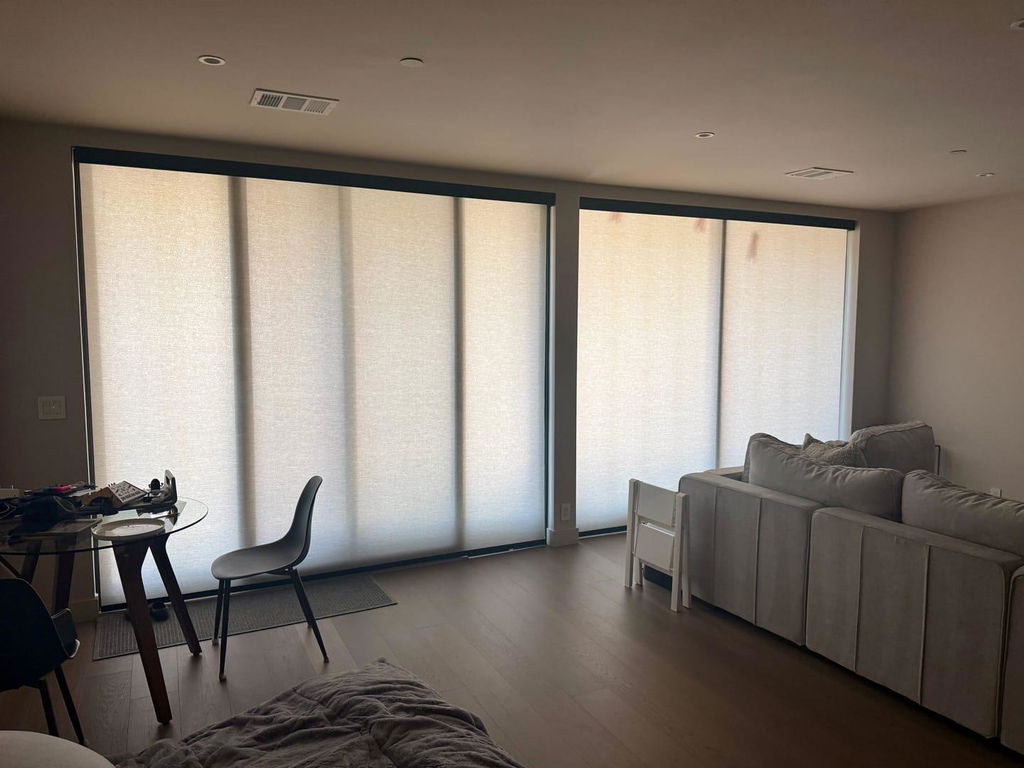
The magic of a TDBU shade is that it seems to defy gravity. You can drop the top to let in the morning light while keeping the bottom closed for privacy—essential if your living room faces a busy sidewalk. Many homeowners get intimidated because they see four cords instead of two, assuming the mounting process is twice as hard. In reality, the brackets do all the heavy lifting. Whether you are learning how to install top down bottom up blinds or cellular shades, the secret lies in the tension. The strings aren't just there for show; they create a pulley system that holds the rails in place through friction.
When you hold the hardware in your hand, you'll notice the brackets are designed to grip the headrail at specific pressure points. Unlike traditional shades that just hang, these require a sturdy, level foundation because the tension pulls against the brackets from both the top and bottom. I’ve found that as long as your brackets are perfectly aligned, the 'complex' strings behave themselves perfectly. Don't let the floating look fool you—if you can drive a screw into a window frame, you can do this.
The Depth Reality: How to Install Top-Down Bottom-Up Shades Inside Mount
For an inside mount, precision is your best friend. I’ve seen beautiful 3/4-inch single-cell shades ruined because they jutted out an inch past the molding. It breaks the architectural lines of the window. To avoid this, you need to check your casing depth. Most TDBU systems require a minimum of 1.5 inches for a partial mount, but for that high-end, 'built-in' look, you want at least 2.25 inches of flat space. This allows the headrail to sit flush against the casing. If you're working with shallow windows, you'll have to accept a slight projection, which is why you must install inside mount roller shades flawlessly by ensuring the brackets are set at the exact same depth on both sides.
When learning how to install top-down bottom-up shades inside mount, start by marking your bracket locations about 2 to 3 inches in from each side. Avoid placing them directly over the cord mechanisms inside the rail—I made that mistake once and spent twenty minutes wondering why the rail wouldn't snap in. Use a 1/16-inch bit to drill pilot holes. This prevents the wood from splitting, especially in older homes with dried-out pine trim. Once the brackets are up, check them with a small level. Even a 1/8-inch tilt will cause the shade to drift to one side over time, wearing out the cords prematurely.
Faking Height: How to Install Top Down Bottom Up Shades Outside Mount
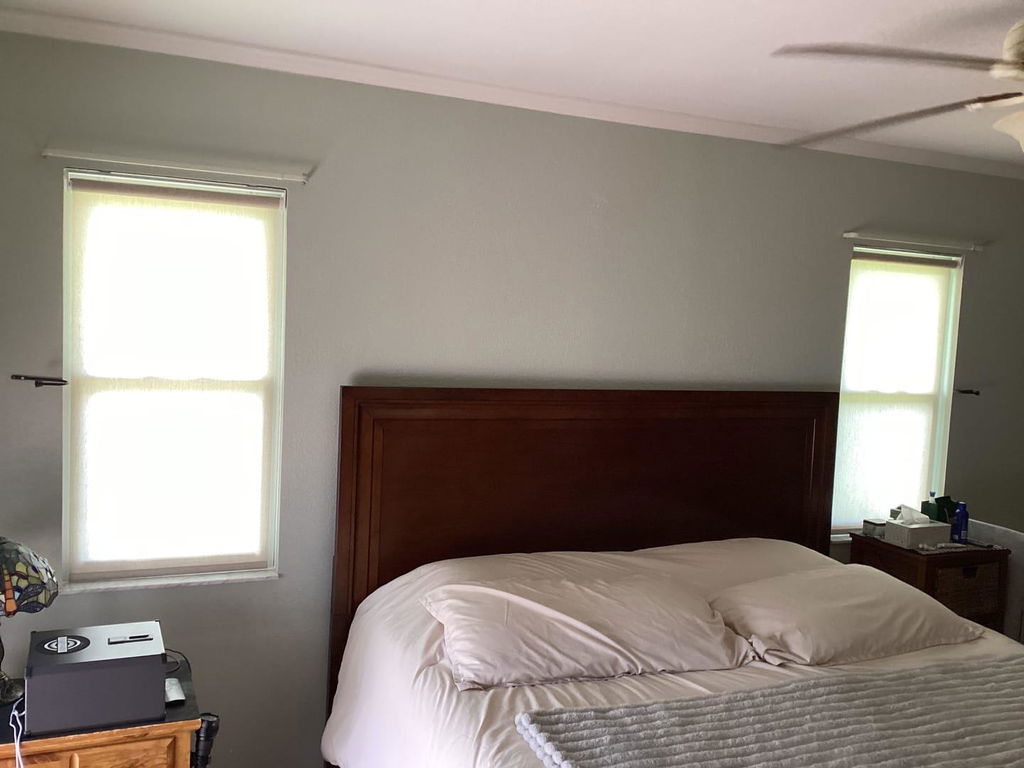
Sometimes the inside of your window frame just doesn't have the real estate for brackets. Or maybe you have those standard, narrow builder-grade windows that feel a bit 'squinty.' This is where an outside mount becomes a design tool rather than just a functional choice. By mounting the shades on the wall above the trim, you can trick the eye into thinking the windows are much taller. I usually recommend mounting the headrail 3 to 4 inches above the window casing. This ensures that when the shade is fully raised, the 'stack' (the gathered fabric) doesn't block your view or the sunlight.
When figuring out how to install top down bottom up shades outside mount, you’ll need to use the 'L' brackets provided in your kit. These attach to the wall or the trim face. Pro tip: if you're mounting into drywall, skip the cheap plastic anchors that come in the box. Invest in some threaded zinc anchors that can handle the constant upward and downward tugging of a TDBU system. For a visual on where to place your screws for the best structural integrity, check out this guide on how to install your shades. Remember to center the shade so you have an even overlap on both sides—usually 1.5 to 2 inches beyond the frame—to prevent light gaps that can be annoying during movie nights.
Snapping It In: How to Install Top Down Bottom Up Blinds Without Forcing the Track
This is the moment of truth. You’ve got your brackets leveled and screwed in, and now you have to attach the actual shade. I’ve seen people lose their cool here, trying to shove the rail into the bracket with brute force. Please, don't. You'll either bend the aluminum rail or snap the plastic tabs on the brackets. The trick is a 'hook and roll' motion. Hold the headrail at a slight angle, catching the front lip of the bracket first. Once the front is hooked, rotate the back of the rail upward toward the ceiling until you hear a distinct 'click.'
If it doesn't click easily, something is in the way. Check to make sure the tension cords aren't pinched between the rail and the bracket. These cords are the lifeblood of the system; a single pinch can fray the fibers and lead to a snapped line six months down the road. If you’re struggling, take the rail down and double-check that your brackets are in a perfectly straight line. Even a slight stagger in depth between the left and right bracket will make it impossible for the rail to seat properly. Once it's in, give it a gentle tug to ensure it’s locked. There’s nothing worse than a shade falling on your head the first time you try to adjust the privacy level.
What to Do When the Tension Feels Off (Or Your Shade is Crooked)
So, it’s up, but the bottom rail looks like a sinking ship. Don’t panic and don't start re-drilling. Most TDBU shades have a cord-equalizer or a tension adjuster hidden in the bottom rail or the end caps. If the shade is slanted, it’s usually because one side has more tension than the other. You can often 'reset' the cordless mechanism by pulling the shade all the way down to the sill and then pushing it all the way up to the top. This re-aligns the internal springs. If that doesn't work, you might need to manually adjust the knot at the end of the tension cord, a common fix if you're learning how to install top down bottom up shades and encounter the dreaded 'cord sag.'
If you find that you’re constantly fighting the tension on a very large or hard-to-reach window, like a skylight or a tall transom, manual adjustments can be a pain. In those cases, I often steer people toward motorized TDBU skylight cellular shades. They eliminate the manual tug-of-war and keep the tension perfectly balanced via a motor. For standard windows, though, just remember that cellular fabric is forgiving. If the cells look a bit squashed after installation, give them 24 hours to 'relax' and take in the ambient humidity of the room. They’ll fill out and look much more uniform by the next morning.
Personal Experience: The 'Measure Once, Cry Twice' Lesson
I once installed a set of beautiful, 1.5-inch double-cell shades in a guest room. I was in a rush, skipped the pilot holes, and eyeballed the depth. By the time I snapped the shades in, I realized the headrail hit the window's crank handle every time I tried to lower the top section. I had to take everything down, fill the holes with wood putty, and start over. It was a 15-minute job that took two hours because I ignored the depth rules. Now, I always hold the shade up to the window *before* I drill a single hole, just to visualize the clearance. It’s the difference between a professional-looking install and a frustrating DIY fail.
FAQ
Why is my top-down bottom-up shade drooping in the middle?
This usually happens if the center support bracket is missing or misaligned. For shades wider than 30 inches, a center bracket is vital to support the weight of the rails and maintain the tension needed to keep the fabric crisp.
Can I install these on metal window frames?
Yes, but you’ll need self-tapping screws and a bit more patience. Standard wood screws won't bite into the metal, and you run the risk of stripping the head if you don't pre-drill a slightly larger pilot hole than you would for wood.
Do I need to lubricate the cords?
Never. Adding oils or lubricants to the tension cords will actually cause them to slip, meaning your shade won't stay in the position you set. If the shade is sticking, check for obstructions in the track or pinched cords instead.