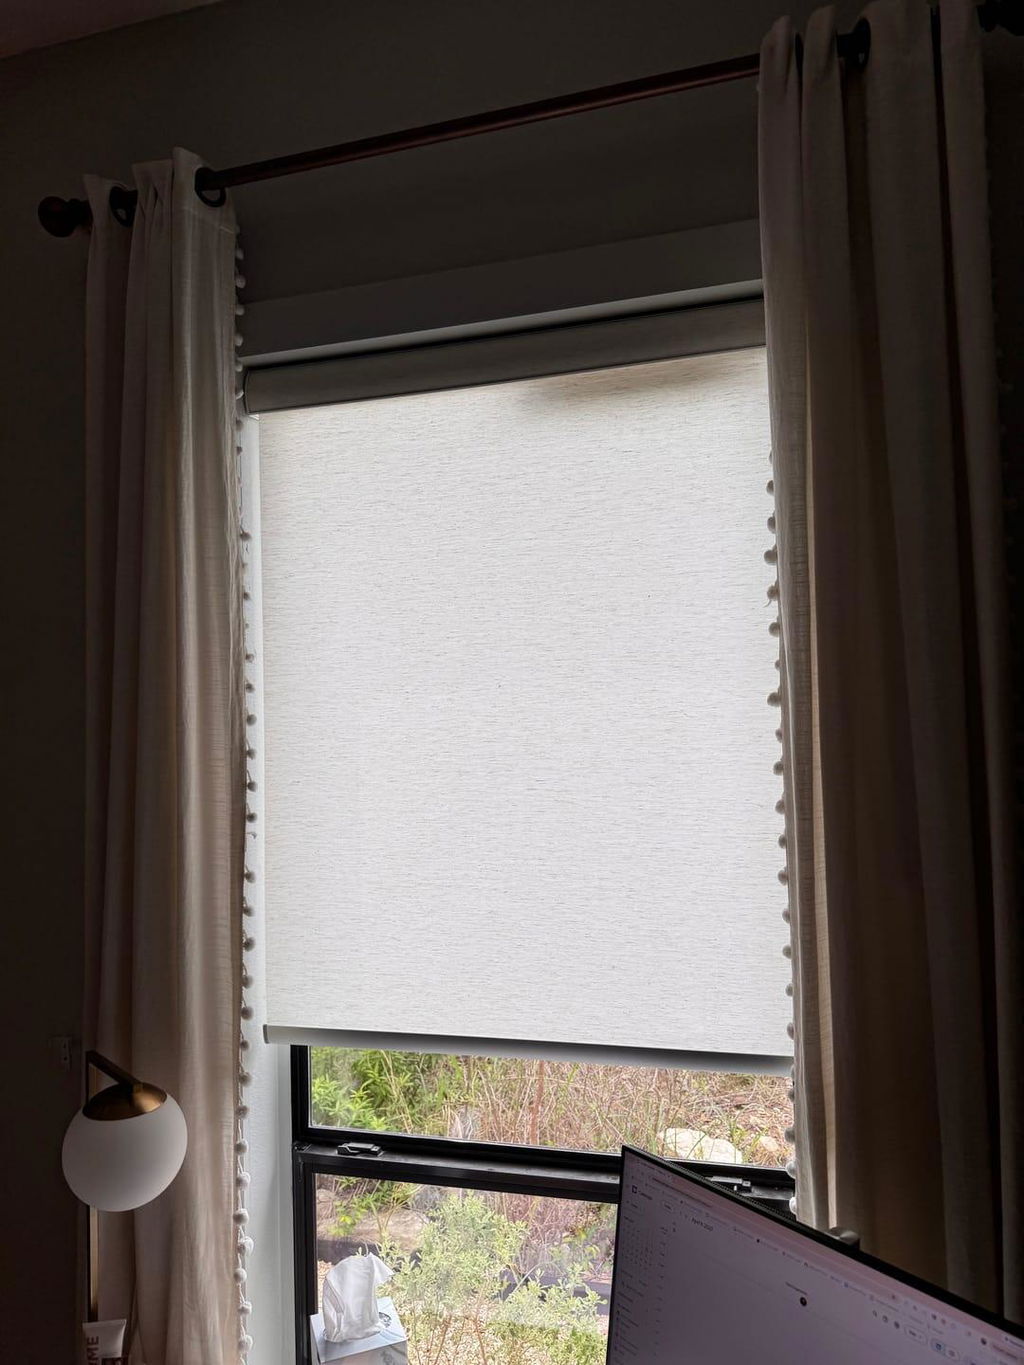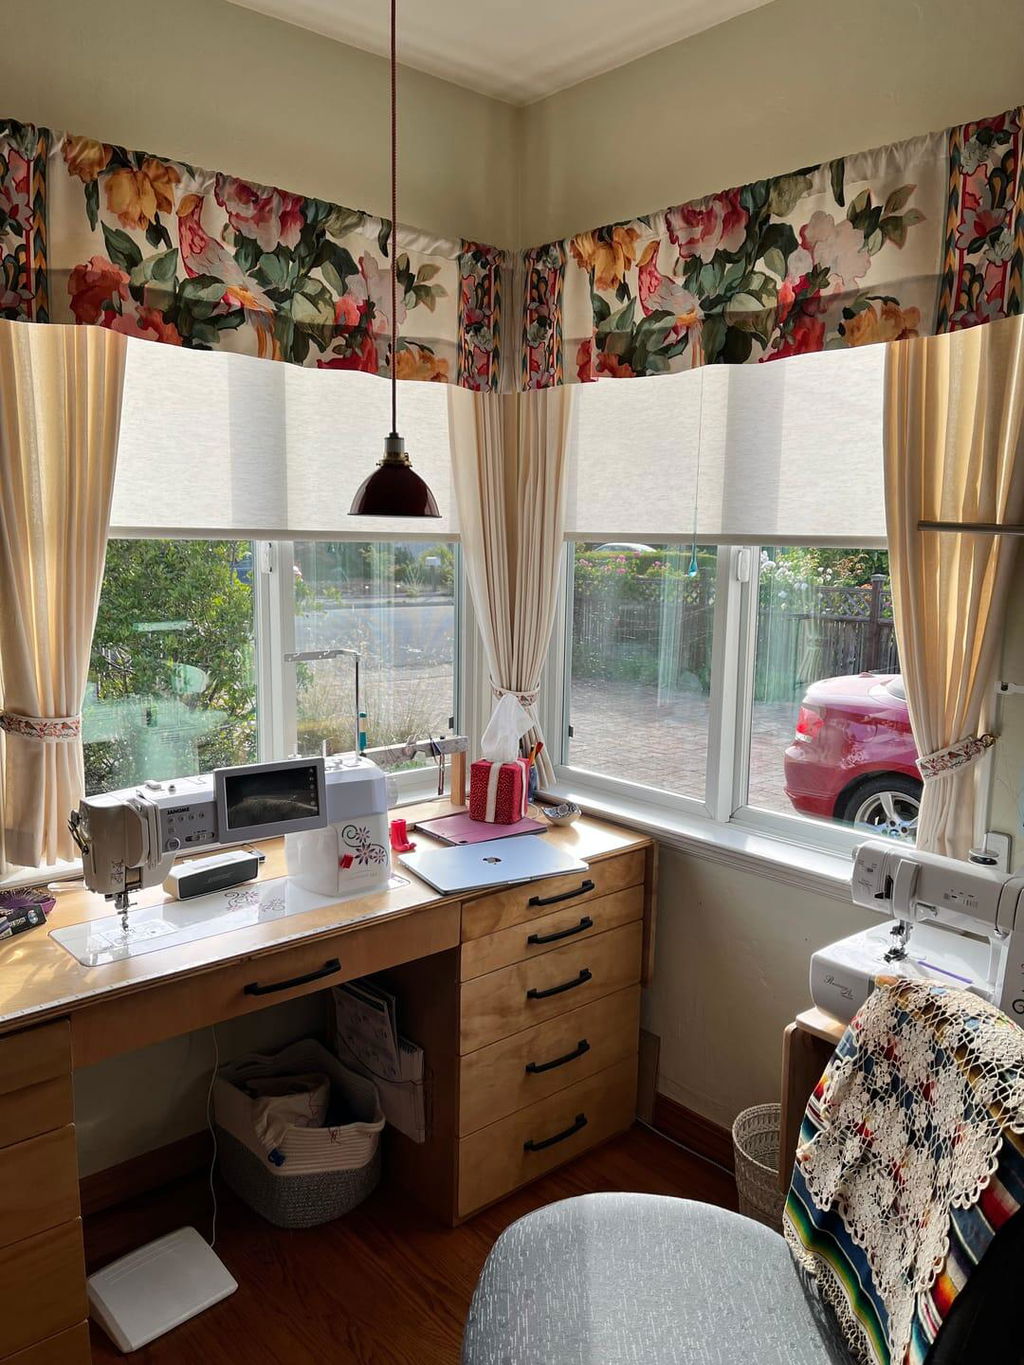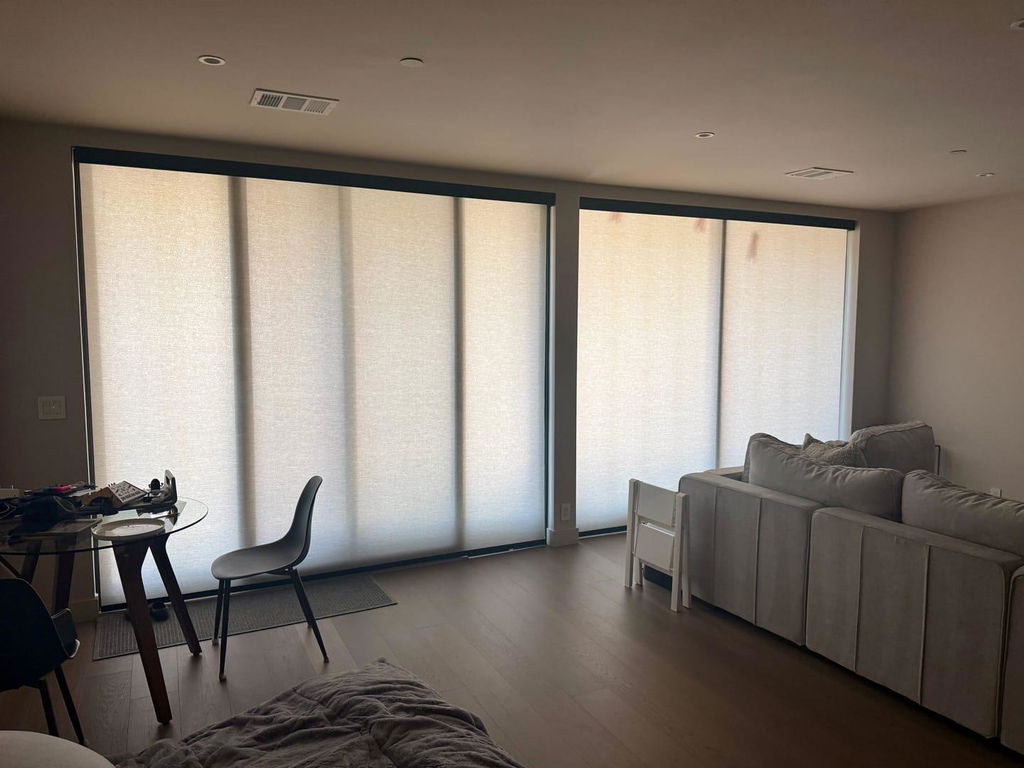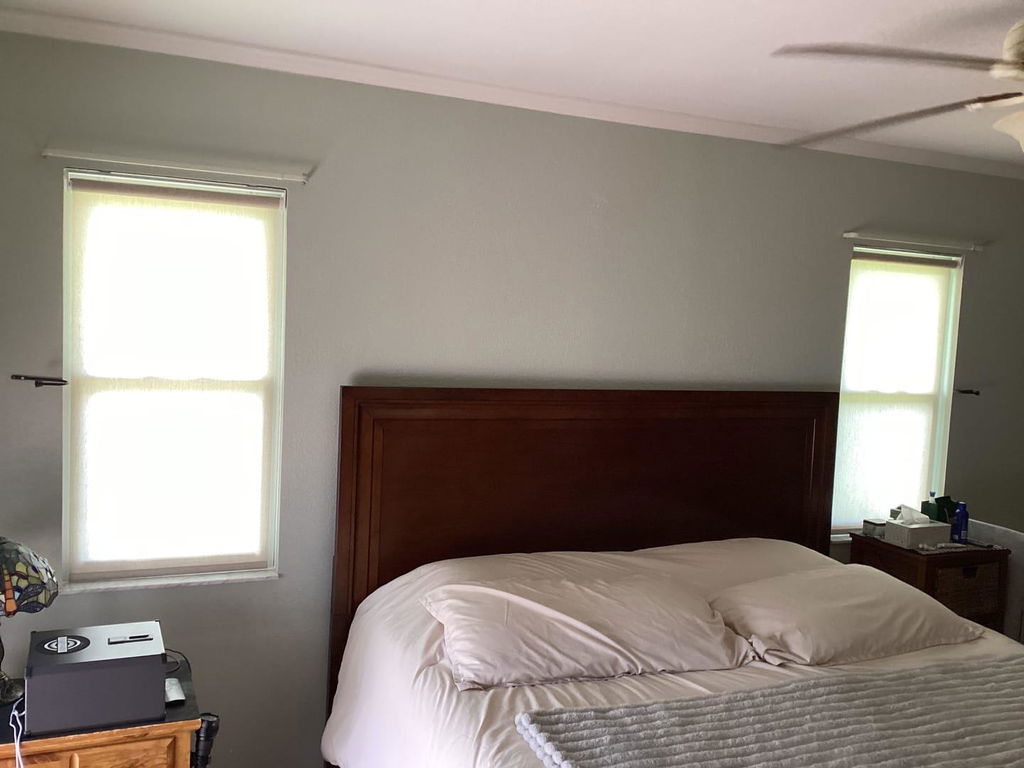
The Cord Sag Mistake: How to Install Top Down Bottom Up Shades
I remember standing in my first street-level apartment, looking at a massive bay window that offered zero privacy unless I wanted to live in a dark cave. I wanted the morning light, but I didn't want the mailman knowing my exact brand of cereal. The solution was obvious—floating shades—but the execution felt like a high-stakes physics experiment. Learning how to install top down bottom up shades is the one DIY task that makes even seasoned decorators sweat, mostly because if you get the tension wrong, the whole thing looks like a sagging mess.
- Precision is non-negotiable: Use a steel tape measure, not a fabric one, to avoid 1/8-inch errors.
- The 2-Inch Rule: Keep brackets at least two inches from the ends to clear the internal cord pulleys.
- The Snap Factor: If you don't hear a click when mounting the headrail, it’s going to fall on your head.
- Tension is Adjustable: A crooked middle rail is usually a cord tension issue, not a manufacturing defect.
Why I Used to Let the Pros Handle These (And Why I Don't Anymore)
For years, I told clients to hire a pro for anything involving a cord tension system. There is a specific kind of anxiety that comes with holding a $300 custom cellular shade and realizing that the only thing keeping it from snapping shut like a mousetrap is a series of thin polyester strings. It feels fragile. It feels like one wrong move will turn your window treatment into a tangled bird's nest.
But after watching a professional installer breeze through a three-window living room in twenty minutes, I realized I was overcomplicating the 'floating' nature of the beast. The fear usually stems from not understanding that these shades aren't just hanging; they are under constant, calculated tension. Once you realize the brackets are just anchors for that tension, the mystery vanishes. Now, I tackle these on Saturday mornings with a latte in one hand and a impact driver in the other.
The secret is confidence. If you hesitate while snapping the rail into place, you’re more likely to fray a cord or bend a bracket. You have to commit to the hardware. It’s a mechanical system, not a delicate silk scarf. Treat it with a bit of muscle, and it will behave.
The Anatomy of a 'Floating' Shade (What You Are Actually Hanging)
Before you start drilling, you need to understand that you aren't just installing one bar. You’re dealing with a headrail (the top part that stays put), a floating middle rail (the one that moves down), and a bottom rail (the one that moves up). These are connected by internal cords that run through the pleats of the fabric—usually a crisp polyester or a 200 gsm non-woven blend that holds those sharp, architectural lines.
Standard manufacturer instructions like How To Install Your Shades often gloss over the fact that top-down bottom-up models are significantly heavier than their standard counterparts. You have extra rails and double the cordage. This means your mounting surface—whether it’s the wooden window trim or the drywall above it—needs to be solid. I’ve seen 72-inch shades pull cheap plastic anchors right out of the wall because the DIYer didn't account for the 'pull' force of the tension cords.
The tension cords are the lifeblood of this system. They run from the headrail, through the middle and bottom rails, and often anchor into the very bottom of the window frame or the bottom rail itself. If these cords are restricted or pinched by a poorly placed bracket, the shade will never sit level. It’s a game of balance, and your brackets are the referees.
Step 1: Nailing the Bracket Placement (Please Don't Eyeball This)
If you want to install top down bottom up blinds that actually look professional, put the level down for a second and grab your pencil. The biggest mistake people make is placing the mounting brackets too close to the corners of the window. Inside the headrail, there are small plastic pulleys and cord locks. If your bracket sits directly over one of these, it will pinch the cord, and your shade will start to sag on one side within a week.
Measure exactly 2 inches in from each side of the window opening. Mark it. This is your 'sweet spot' where the bracket can support the weight of the rails without interfering with the internal guts of the shade. If your shade is wider than 45 inches, you’ll likely have a center support bracket. Do not skip this. A sagging headrail is the fastest way to ruin the 'architectural' look of a honeycomb shade.
When I’m working with a 3/4-inch single cell fabric, I make sure my drill bit is slightly smaller than the screws provided. You want those screws to bite into the wood. If you're mounting into a metal frame or vinyl, you’ll need specialized self-tapping screws. I once tried to 'wing it' with standard wood screws on a metal-clad window in a modern loft; three broken screw heads later, I was at the hardware store at 9 PM, humbled and annoyed.
Step 2: How to Install Top Down Bottom Up Shades Without Snapping a Cord
Now comes the part that makes people nervous: installing top down bottom up shades into the brackets. Most modern systems use a 'swing-in' bracket. You hook the front lip of the headrail into the front of the bracket first. Then, you rotate the back of the rail upward toward the ceiling until you hear a distinct, metallic 'click'.
If you don't hear that click, the rail isn't locked. I’ve seen beautiful linen-textured shades crash onto a mahogany dining table because the homeowner thought 'close enough' was good enough. Give the rail a firm tug downward after you think it’s installed. If it wiggles, it’s not in. This is especially vital when you are working with dual-fabric options like Day Night Shades, where the added weight of two different opacity levels puts even more strain on the mounting hardware.
Once the headrail is secure, you’ll likely have to deal with the bottom tension anchors if your model is cordless. These are usually small clear plastic tabs that screw into the bottom of your window frame. Ensure these are perfectly vertical. If the anchor is slanted, the cord will rub against the plastic housing every time you move the shade, eventually fraying the string until it snaps. And trust me, restringing a top-down shade is a circle of hell you don't want to visit.
Step 3: Adjusting the Tension (The Secret to Cords That Don't Sag)
You’ve finished the top down bottom up blinds installation, you step back to admire your work, and... the middle rail is leaning three degrees to the left. Don't panic. This doesn't mean you measured wrong. It means the tension cords aren't balanced. Most shades have a small adjustment dial or a knot-hiding puck at the bottom rail.
To fix a wonky shade, pull the middle rail all the way up to the headrail. This 'resets' the cord alignment. If it’s still crooked when you pull it back down, you’ll need to tighten the cord on the side that is hanging lower. It’s like tuning a guitar; small increments make a huge difference. I usually give the cord a 1/4-inch pull, lock it back in, and test it. It’s tedious, but it’s the difference between a 'DIY job' and a 'designer install'.
I once spent two hours fighting with a set of 96-inch tall shades in a sunroom because I kept over-tightening the right side. The result? The shade wouldn't even stay down; it kept creeping up like it had a mind of its own. The goal is 'taut but not tight'. The cords should look like straight lines, but they shouldn't feel like they're under enough pressure to play a musical note if you plucked them.
When the Strings Drive You Crazy (The Motorized Upgrade)
Let’s be honest: even the best-installed manual shades have visible cords. If you’re a minimalist who can’t stand the sight of those vertical lines cutting through your view, or if you have a window that’s ten feet off the ground, the manual version is going to drive you insane. I’ve lived that life. I spent a year using a literal broom handle to reach the top rail of a shade in my old vaulted-ceiling bedroom.
I eventually gave up and swapped them out, a move I detailed in How Motorized Top Down Bottom Up Shades Fixed My Fishbowl Home. Stepping up to a motorized version removes the tension-cord headache entirely because a motor manages the lift and level. No more crooked middle rails, no more sagging strings, and no more 'broom handle' mornings. If you have the budget, it is the ultimate luxury for street-facing windows where you want that perfect balance of privacy and sky-view without the manual labor.
FAQ
Why does my shade keep sliding down from the top?
This is almost always a tension issue. The cords at the bottom aren't tight enough to hold the weight of the middle rail. Tighten the cord anchors by about half an inch and try again.
Can I install these as an outside mount?
Yes, but you’ll need to ensure your mounting surface is flat. Outside mounts often show the 'guts' of the brackets more than inside mounts, so consider a valance or a headrail cover if you want a cleaner look.
What if my window frame is too shallow for the brackets?
You need at least 1.5 to 2 inches of depth for most top-down bottom-up brackets to sit flush. If your frame is shallower, you’ll have to do a partial-outside mount where the bracket hangs off the trim slightly, or move to a full outside mount on the wall above the window.