I've Taken Down 100s of Shades: How to Remove Roller Blinds Safely
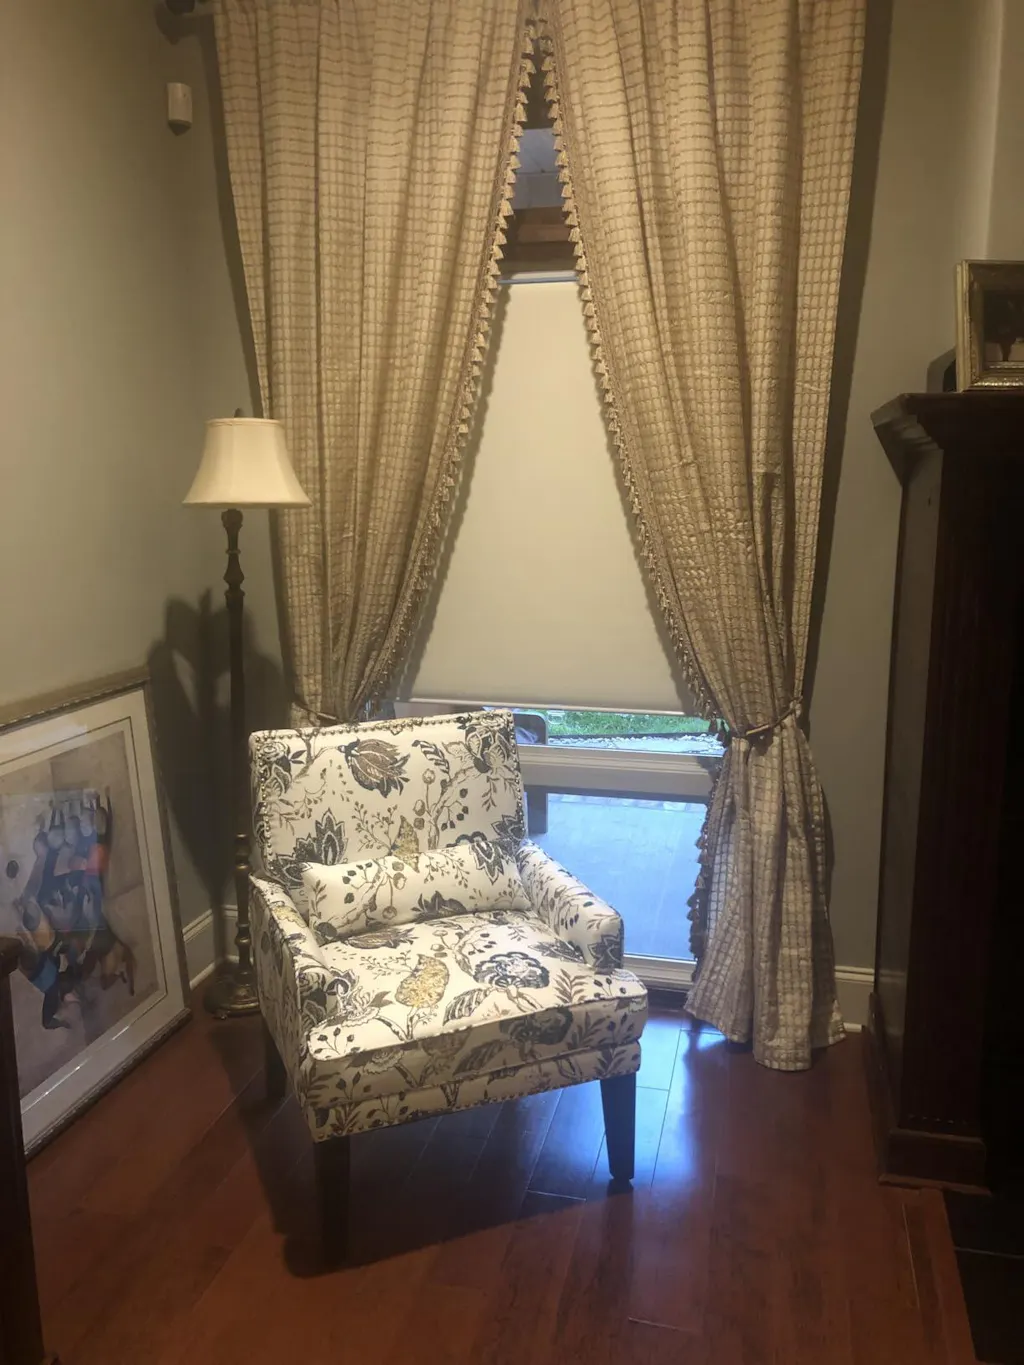
There is a specific kind of adrenaline that hits when you decide a room needs a refresh. Maybe you just unboxed a set of 200 gsm Belgian linen panels, or perhaps you’re finally replacing those yellowed, plastic contractors-grade shades with something more intentional. In that moment of excitement, it is tempting to grab a hammer and go to town. But trust me, knowing how to remove roller blinds the right way is the difference between a thirty-minute swap and a weekend spent patching deep gouges in your window casing.
I have spent years obsessing over window math—measuring for 2.5x fullness, debating the merits of a 96-inch drop versus a floor-puddling 108, and, inevitably, dismantling the mistakes of the past. I’ve learned that window hardware is often more temperamental than it looks. Before you start pulling, take a breath. We’re going to get those old treatments down without a single puff of drywall dust hitting your rug.
- Always roll the fabric up completely before attempting removal to stabilize the weight.
- Identify your bracket type—pin-and-blade, spring-loaded, or cassette—before applying pressure.
- Keep a flathead screwdriver and a pair of pliers nearby for stubborn, painted-over screws.
- If the shade is wider than 48 inches, enlist a partner to catch the other end.
Why You Shouldn't Just Yank Them Down (And What to Do First)
The urge to forcefully remove roller blinds is real, especially when they’ve been sticking or rattling for months. But these units are usually under tension. If you yank, you aren't just pulling the shade; you’re putting leverage on the screws, which can turn a small pilot hole into a gaping crater in your drywall. I’ve seen beautiful Victorian trim split right down the middle because someone got impatient with a stuck bracket.
Before you even touch a tool, you need to know how to open roller blinds to their starting position. This means retracting the shade completely. When the fabric is wound tightly around the metal tube, the center of gravity is contained, and the internal spring is less likely to snap or uncoil violently during the process. Grab a sturdy step stool—don't balance on the arm of your sofa—and clear the windowsill of any ceramics or plants. You want a clear landing zone for when that hardware finally clicks loose.
Identifying Your Hardware (The Secret to Not Breaking Anything)
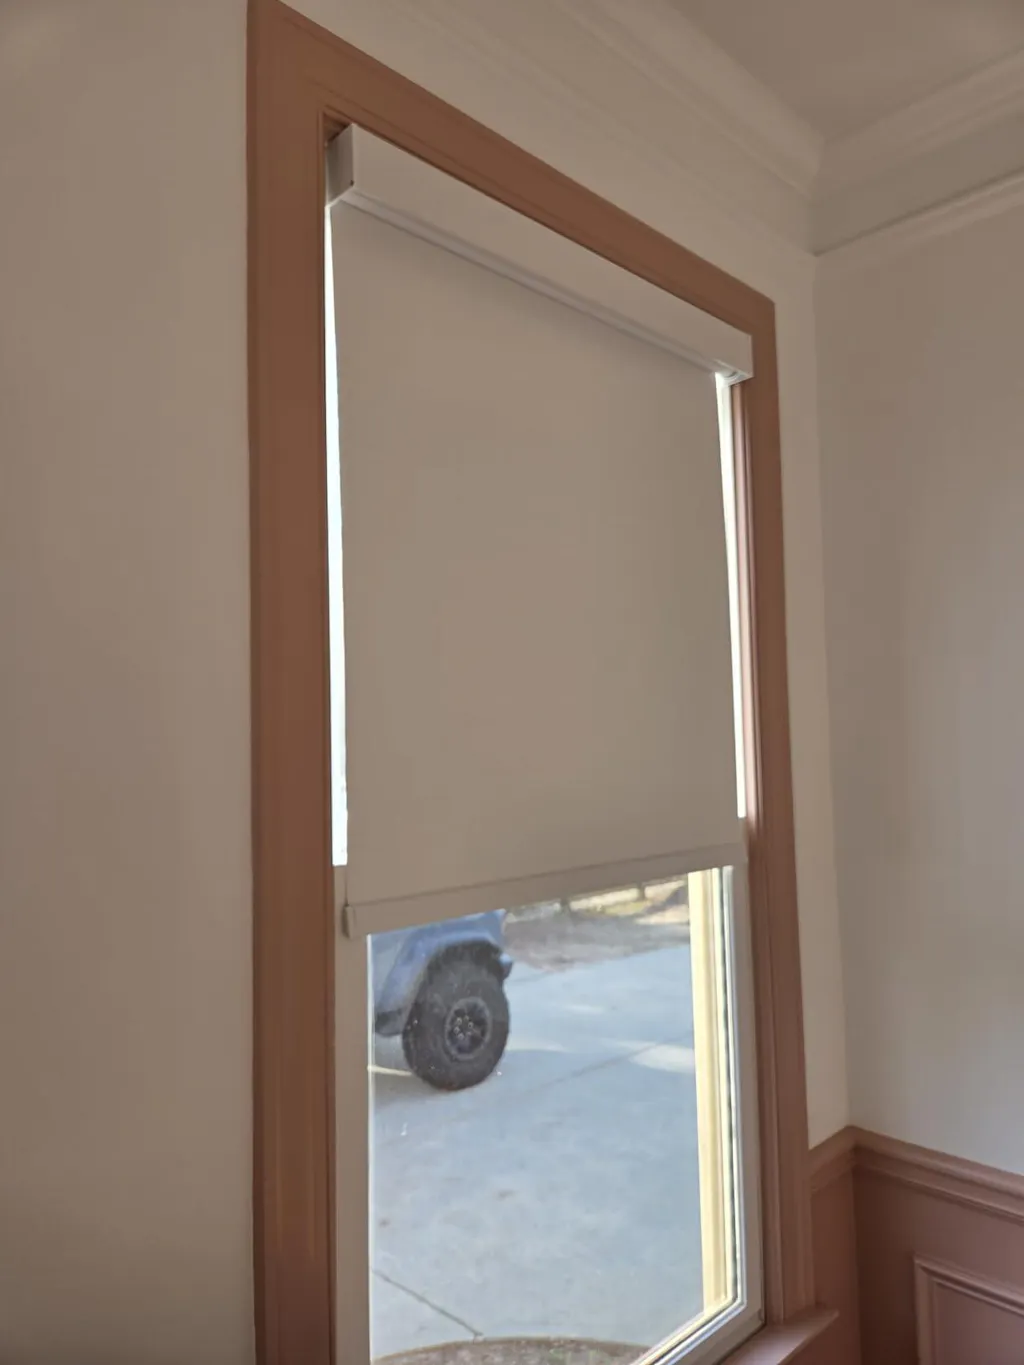
You cannot take down roller blinds effectively until you understand the physics of what’s holding them up. Most people assume all shades are screwed directly into the wood, but it’s usually a two-part system: the bracket and the shade itself. Modern Roller Shades often use sleek, hidden hardware that looks seamless but can be a puzzle to unlock if you don't know the trick.
Look closely at the ends of your shade. If you see a metal tab sticking out, you’re likely dealing with a standard pin-and-blade system. If the hardware is totally invisible, encased in a metal or plastic box, you have a cassette system. And if there’s a small plastic clear clip, you’re looking at a spring-tension mount. Identifying this now prevents you from stripping screws that don't actually need to be moved to get the shade out. I once spent twenty minutes trying to unscrew a bracket that was actually a simple 'push-to-release' mechanism—save yourself the frustration and look before you leap.
The Step-by-Step Guide: How to Remove Roller Blinds Safely
The goal here is a controlled release. You want to remove roller blinds from window frames without the tube falling and denting your floorboards. Generally, you’ll be working with one 'active' side and one 'passive' side. Once the active side is freed, the whole unit usually slides right out of the opposite bracket. Here is how to handle the three most common scenarios I encounter on the job.
Method 1: The Classic Pin and Blade Brackets
This is the most common DIY hardware. One side of the shade has a round pin, and the other has a flat metal 'blade.' To remove roller shades from brackets of this style, start at the pin side. There is usually a small serrated wheel or a sliding tab. Use your thumb to retract the pin toward the center of the shade. Once the pin clears the hole in the bracket, the shade will drop slightly. Now, simply slide the flat blade out of its slot on the opposite side. It’s a 'lift and slide' motion that feels incredibly satisfying once you find the sweet spot.
Method 2: Spring-Loaded Cassettes and Clips
When you want to remove roller blinds from clips, you’re often fighting a hidden spring. These are common in high-end installs where the hardware is meant to be invisible. Look at the top of the headrail. You’ll see small metal clips biting onto the back of the cassette. Insert a flathead screwdriver between the back of the rail and the clip. Gently twist. You’ll hear a distinct 'click' as the spring releases its grip. Be careful here; once that clip lets go, the shade can jump forward. Keep one hand on the center of the shade to steady it as you work your way across the clips.
Method 3: Motorized and Oversized Glass Systems
If you are trying to remove roll up blinds that are motorized, like the Canisteo Motorized Dual Roller Shades Cordless Custom Double Roller Blinds, you have an extra layer of complexity: power. Before you touch the brackets, disconnect the battery pack or unplug the DC transformer. For these premium dual-layered systems, the weight is significantly higher than a standard vinyl shade. I always recommend a second pair of hands for anything over 60 inches. You’ll follow the clip-release method, but having someone hold the weight prevents the internal motor from taking a jarring hit if the shade drops too fast.
Troubleshooting: When the Shade is Completely Jammed
We’ve all been there: the shade is lopsided, the spring is locked, and the screws are so caked in layers of 'eggshell white' paint that they look like blobs of plaster. If you can't take down a roller blind because it's jammed, do not force the fabric. Instead, use a pair of needle-nose pliers to grab the pin and force it to retract. If the screws are stripped, place a wide rubber band over the screw head before inserting your screwdriver—the rubber provides the grip the metal has lost. If the fabric is unspooled and won't roll up, use painter's tape to secure the roll to the tube so it doesn't become a tangled mess while you're on the ladder.
Prepping Your Naked Windows for the Upgrade
Once you successfully remove roller shade from bracket, you’re left with the 'naked window' phase. It’s a bit jarring, right? Suddenly the room feels twice as bright and half as private. Now is the time to do the dirty work. Use a damp microfiber cloth to wipe away the years of dust that collected behind the old headrail. Fill the old screw holes with a high-quality spackle, sand them flush once dry, and hit them with a dab of matching trim paint.
Prepping the surface ensures that when you move on to How To Install Your Shades, your new hardware sits perfectly level. If you’re worried about the new setup feeling too 'office-like,' check out my tips on How to Keep Modern Window Roller Blinds From Looking Corporate. A little bit of prep now—sanding those rough edges and ensuring a clean slate—makes the final reveal of your new 300 gsm blackout shades feel like a professional interior design job rather than a rushed DIY project.
Personal Experience: The 72-Inch Disaster
I learned the hard way about the 'second pair of hands' rule. I was working in a 1920s bungalow with original, brittle crown molding. I thought I could how to take down roller shades by myself on a 72-inch wide window. As soon as I popped the left clip, the weight of the heavy-duty metal tube shifted. The right side stayed locked, acting as a pivot, and the whole shade swung down like a pendulum, taking a two-inch chunk of original oak molding with it. I spent the next four hours with wood filler and a tiny paintbrush, cursing my impatience. Now, I always use a 'catch-man' for wide windows. It’s not worth the risk to your architecture.
Frequently Asked Questions
Can I reuse the old brackets for my new shades?
Rarely. Even if the shades look similar, manufacturers change the pin dimensions and clip depths constantly. It is almost always better to replace roller blind hardware entirely to ensure the warranty remains valid and the fit is secure.
What if the bracket is stuck behind a valance?
Most valances or fascias 'snap' onto the main brackets. Try lifting the bottom edge of the valance upward and outward. Once the valance is removed, you’ll have clear access to how to remove a roller blind from the bracket without obstruction.
Do I need a power drill to take roller blinds down?
You usually only need a manual screwdriver to how to take down a roller blind. In fact, using a power drill to remove old, potentially brittle screws can strip the heads. Save the power tools for the new installation and stick to hand tools for the demo.