I Was Terrified of Wiring, So I Tried an Automated Roller Blinds DIY
I have a confession: I am a design purist who is absolutely terrified of a wire stripper. For years, my high-set living room windows stayed bare because I couldn't reach the cord without a ladder, and the thought of hiring an electrician to hardwire smart shades made my bank account weep. I finally decided to tackle an automated roller blinds diy using battery-operated motors, and honestly, I should have done it three years ago.
Quick Takeaways
- Battery-powered motors eliminate the need for expensive electrical hardwiring.
- Check your tube diameter (usually 38mm or 40mm) before buying any diy roller shade motor.
- Programming 'upper' and 'lower' limits is the secret to making DIY shades look professionally installed.
- Solar charging strips are a lifesaver for windows that are difficult to reach with a charging cable.
The Electrician Quote That Forced My Hand
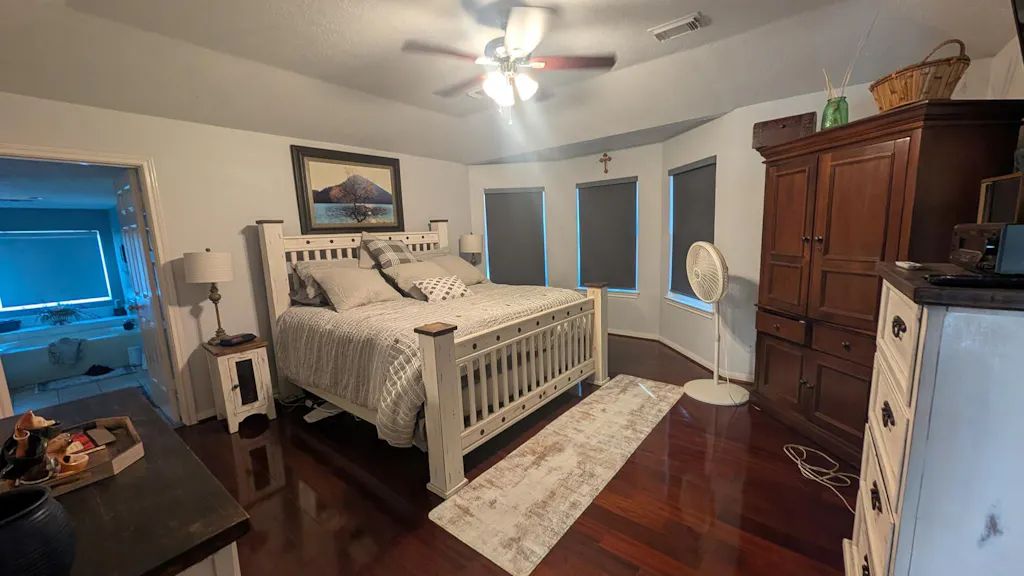
Last spring, I finally finished painting my primary suite in a moody, desaturated terracotta. The room was perfect, except for the 10-foot ceilings and the two massive windows that flooded the room with light at 6 AM. I wanted the convenience of diy motorized window blinds, but when the electrician quoted me $150 per window just to run the power—not including the cost of the shades themselves—I almost gave up. The total project cost was heading toward $2,000 for just three windows.
That sticker shock is what pushed me toward a do it yourself motorized blinds solution. I didn't need a whole-home integrated system; I just needed the shades to go up when I said 'Siri, good morning.' By opting for a motorised roller blinds diy project using rechargeable lithium-ion motors, I bypassed the need for a permit, a contractor, and a massive hole in my drywall.
Choosing the Right Motor (Without an Engineering Degree)
The hardest part of any motorized window shades diy project isn't the installation; it's the math. You have to measure the internal diameter of your roller tube. Most off-the-shelf sleek roller shades use a 1.5-inch (38mm) aluminum tube. If you get a motor that's even a millimeter too wide, it won't slide in; too small, and it will just spin uselessly inside the tube like a hamster in a wheel.
I looked for a diy smart blind kit that offered at least 1.1Nm of torque. Anything less and your heavy blackout fabric—especially if you're using a 300 GSM polyester—will struggle to lift. I also opted for a motor with a built-in Zigbee bridge. This meant I didn't need a bulky external hub cluttering up my nightstand. If you are doing a diy motorised blinds setup for the first time, stick to 12V battery motors. They are powerful enough for most residential windows and only need a charge once every six months.
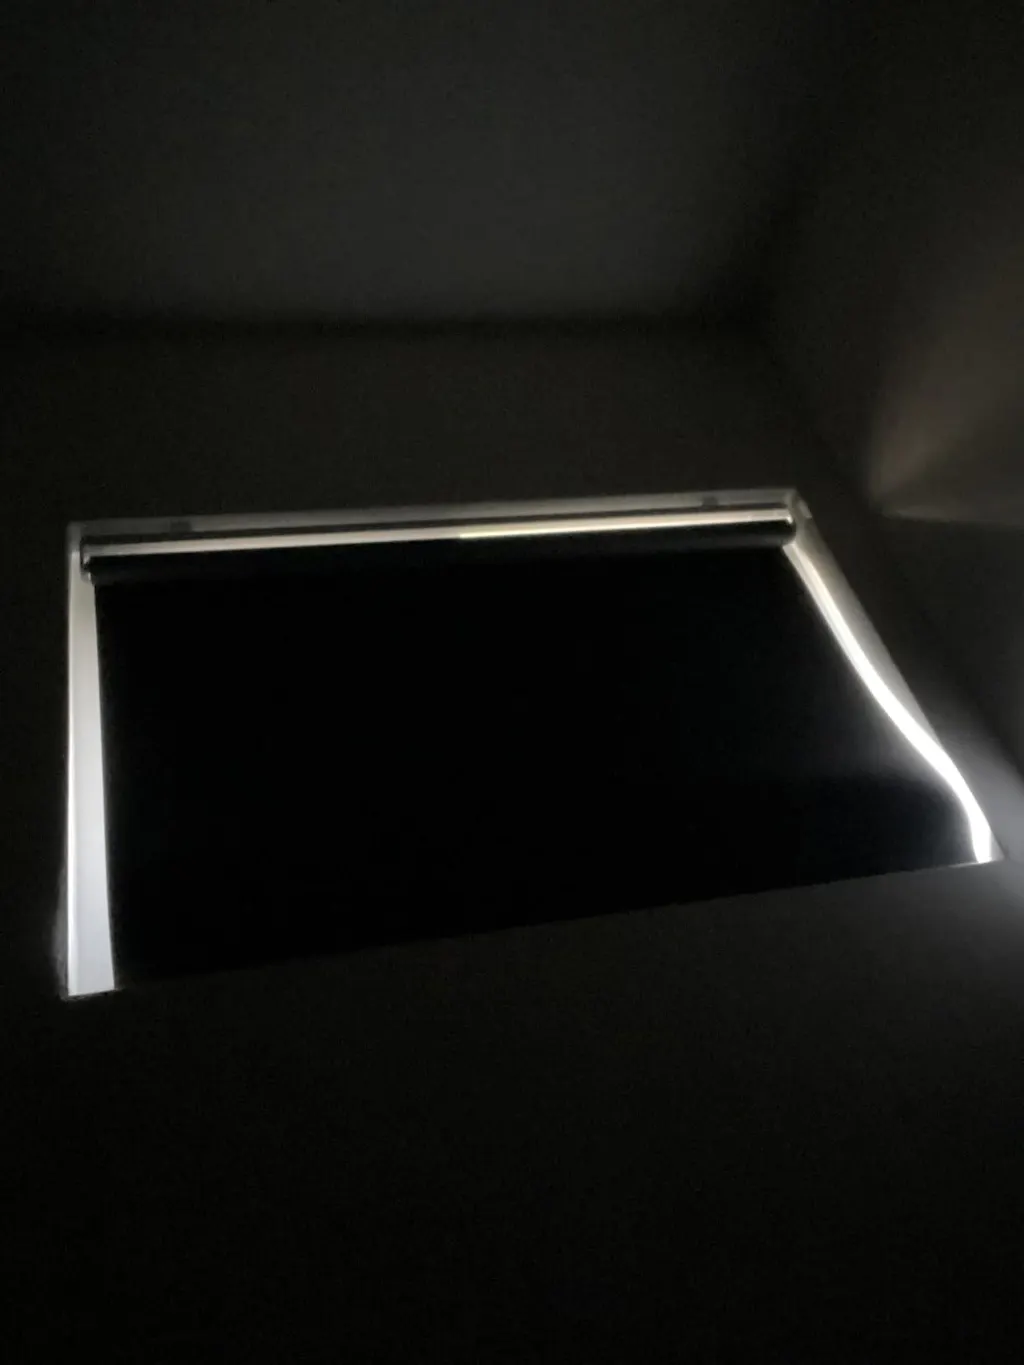
The Scary Part: Taking Apart My Expensive Treatments
There is a specific kind of heart palpitations that occurs when you take a pair of scissors to a $200 custom shade. To start my blinds automation diy, I had to remove the manual clutch—the part with the plastic chain—and pull it out of the tube. It felt like I was breaking the thing I just bought. But once that plastic piece popped out, sliding the diy roller blind motor in was surprisingly satisfying. It’s a simple 'plug and play' mechanism where the motor replaces the chain drive.
The key to a successful automated window blinds diy is ensuring the fabric stays aligned. If you tilt the tube while the motor is loose, you risk the fabric telescoping to one side, which leads to frayed edges and a jammed motor. I actually documented the moment I almost ruined my fabric in The 3 Things That Almost Ruined My Automated Roller Blinds DIY. Once the motor is seated, you just snap the bracket back into place. No drilling into studs required if your original brackets are still solid.
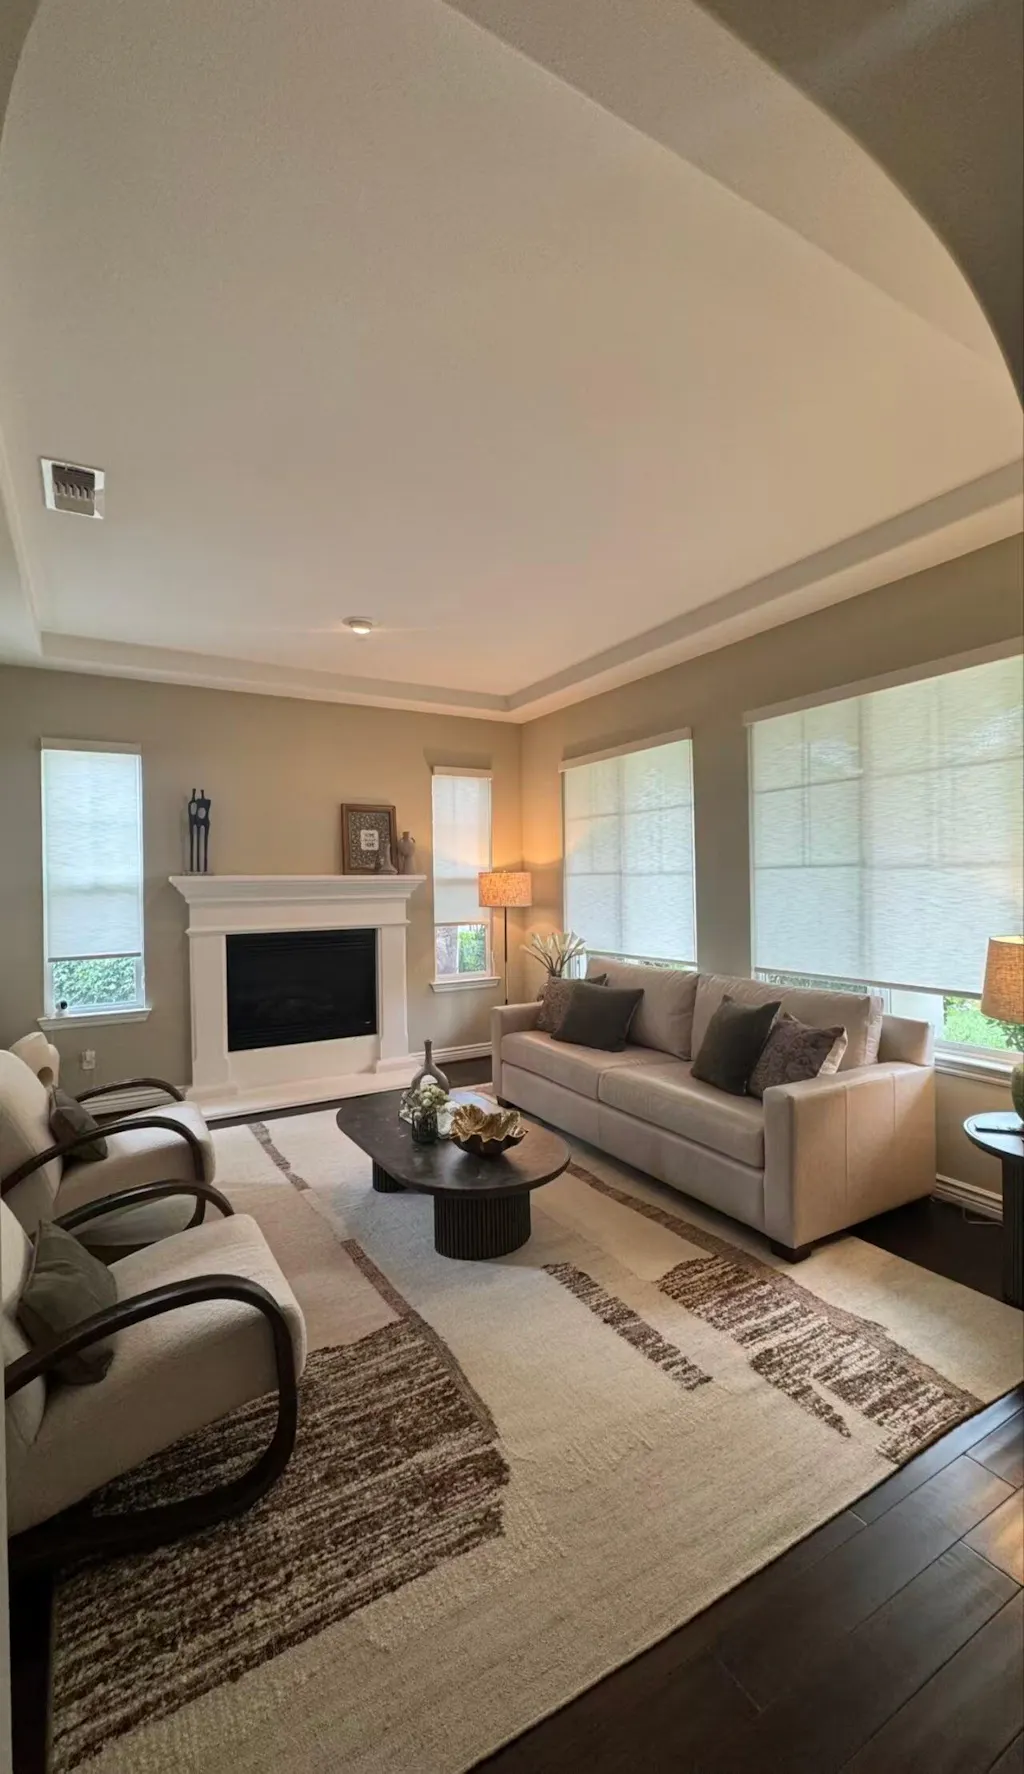
Hiding the Tech So It Still Looks High-End
Nothing kills a high-end vibe faster than a visible battery pack taped to the window frame. For my diy smart shades, I made sure to buy motors with internal batteries hidden inside the tube. If you must use an external battery wand for something like motorized 'cellular' shades diy, mount it behind the headrail or inside the window casing so it's invisible from the room. I’ve seen people do motorized vertical blinds diy where the wires hang out like loose spaghetti—don't be that person.
If you find the diy smart roller shades process too daunting, you can always look at professional alternatives like Canisteo Motorized Dual Roller Shades Cordless Custom Double Roller Blinds, which give you that layered sheer-and-blackout look without the DIY stress. For my project, I added a simple white valance over the top of the roller. This hid the motor head and the charging port, making the whole setup look architectural and built-in rather than like a science project I finished on a Sunday afternoon.
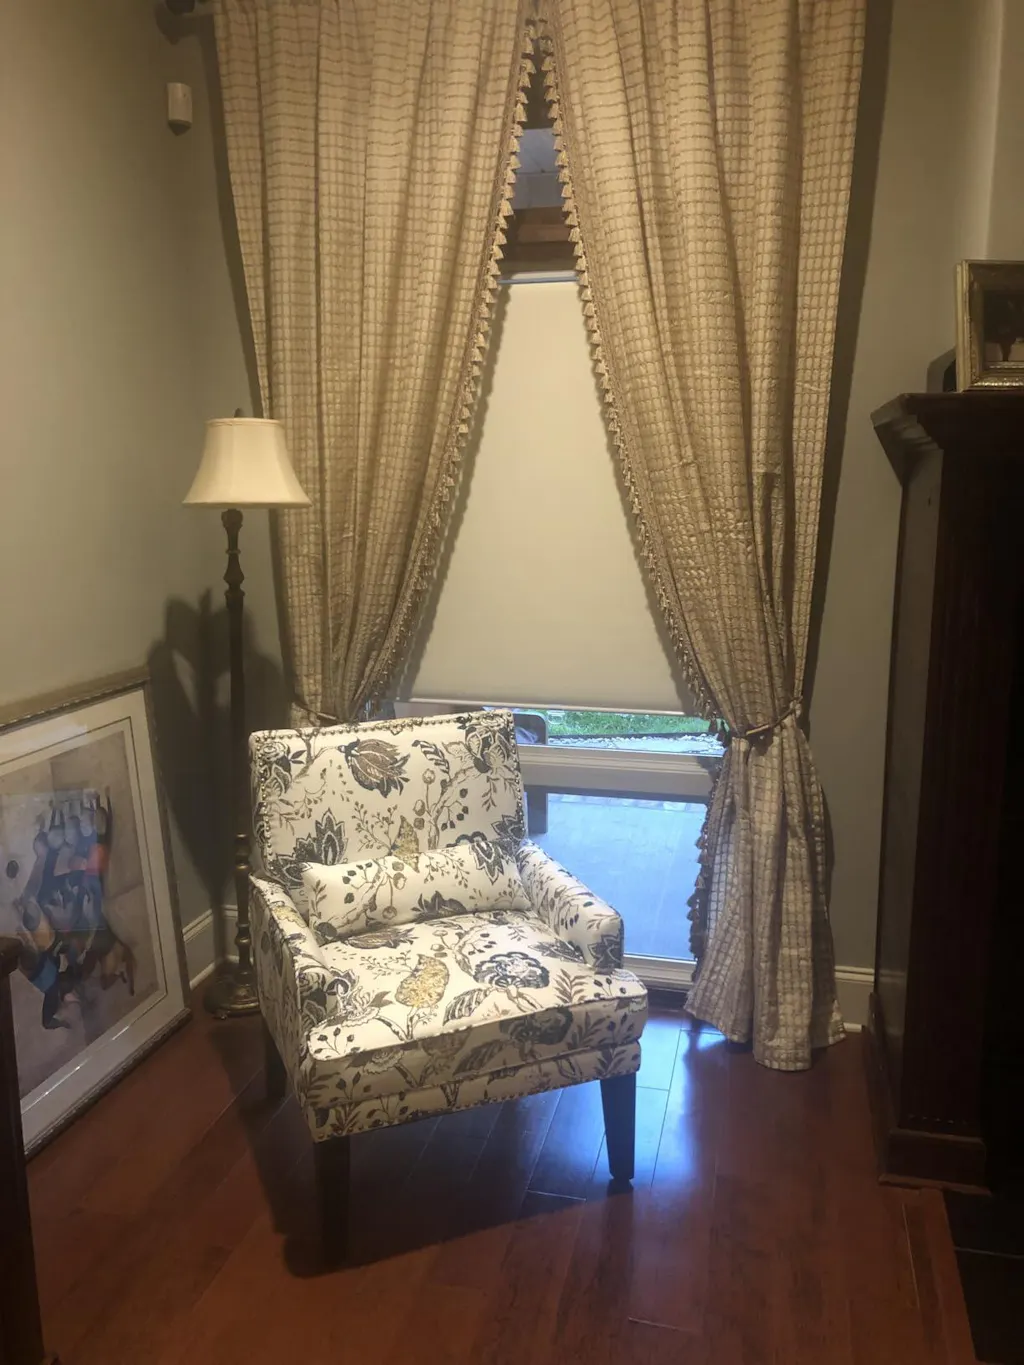
Setting Limits: The Difference Between 'Hovering' and 'Resting'
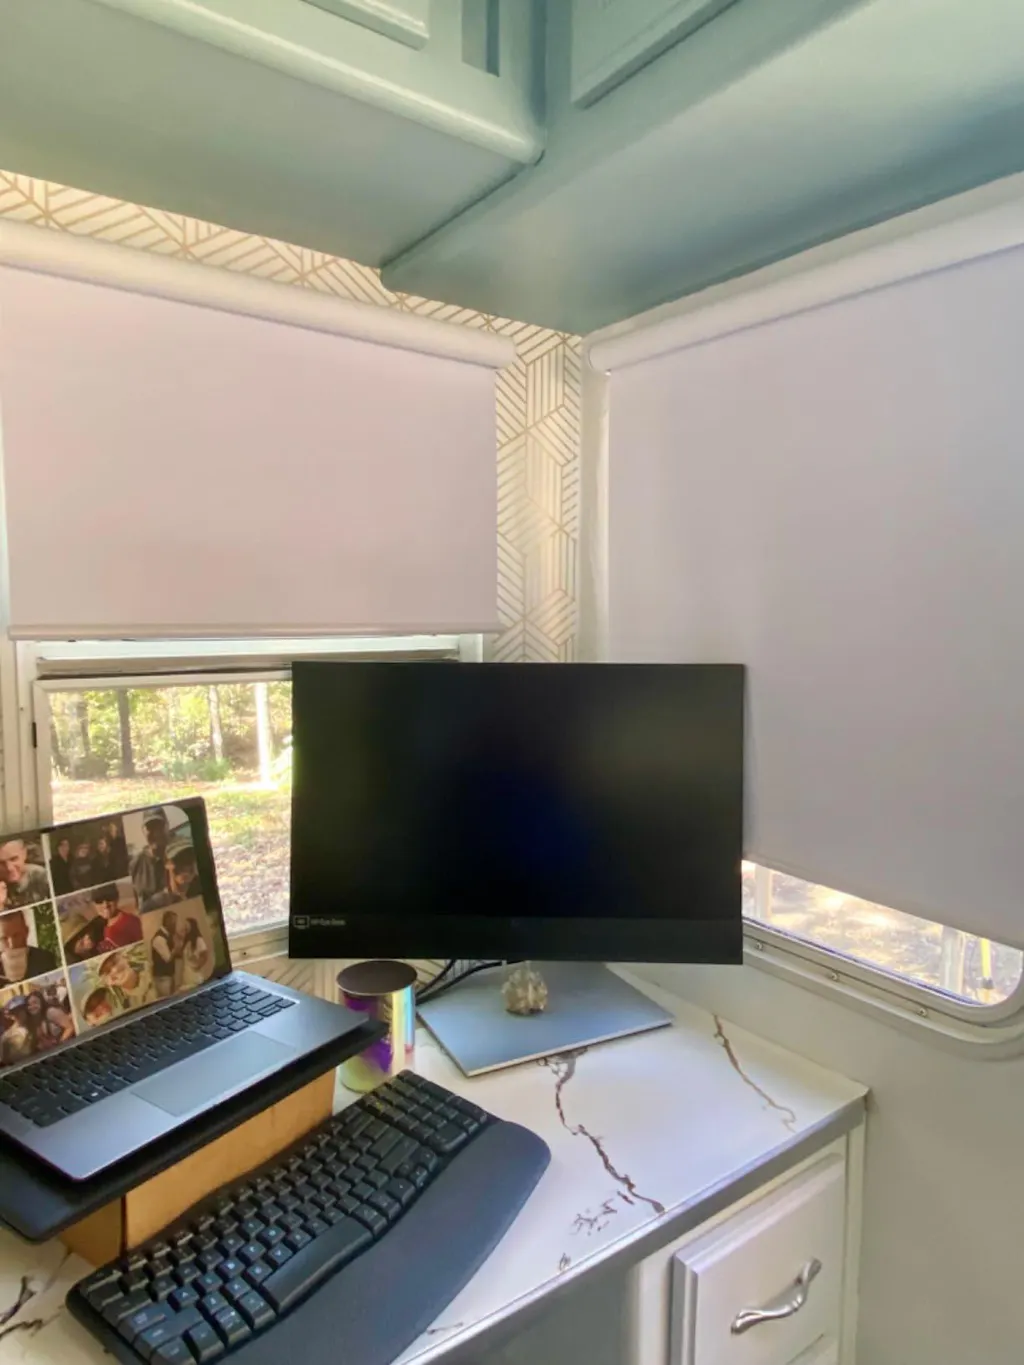
This is where the magic happens. A diy automatic blinds project only looks expensive if the shades stop exactly where they are supposed to. I spent a good forty-five minutes with the remote, clicking the 'up' and 'down' buttons in micro-movements. I wanted my shades to kiss the window sill, not hover an inch above it like an awkward teenager at a school dance. This level of precision is especially vital for out-of-reach spots, much like what you'd see with Canisteo Motorized Skylight Cellular Shades Flex.
Programming the 'favorite' position is also a total luxury move. I set mine so that with one tap, the shades stop at the halfway point—perfect for blocking the harsh 3 PM glare while still letting me see the garden. Most diy motorized cellular shades or roller kits allow for at least three custom limit settings. Take the time to do this; it's the difference between 'it works' and 'it's wonderful.'
Was the Weekend Struggle Actually Worth It?
After a full weekend of tinkering, I sat back and watched my shades glide up in perfect unison. Total cost? About $450 for three windows, including the motors and the shades. I saved over $1,000 by doing the how to automate blinds work myself. The only downside? Now I want to motorize every single thing in my house. My diy motorized outdoor shades for the patio are next on the list. If you can use a screwdriver and follow a YouTube video, you can do this. The luxury of never touching a cord again is worth every second of the struggle.
FAQ
Can I motorize my existing 'old school' blinds?
If your blinds have a hollow metal or PVC tube (common in roller and cellular shades), yes. You just need a motor for blinds diy that matches the tube diameter. If they are solid wood or have a very narrow headrail, you might need to buy new shades designed for automation.
How do I charge diy electric roller blinds?
Most modern motors use a standard USB-C or micro-USB cable. You just plug a long cable into the motor head once or twice a year. If the window is very high, I recommend adding a small solar panel that sticks to the glass—it keeps the battery topped off indefinitely.
Do I need a special remote for diy automated blinds?
Most kits come with a radio frequency (RF) remote, but if you want to use your phone or voice, you'll need a smart bridge. These are usually small plugs that connect your blinds to your home Wi-Fi, allowing you to set schedules and 'scenes.'