How to Make Blackout Roller Shades With Your Own Good Fabric
I remember staring at a beautiful three-yard remnant of heavy Belgian linen and then looking at the hideous, plastic-y white roller shade in my bedroom. The sun was aggressively waking me up at 5:15 AM, and the quotes I was getting for custom blackout shades were enough to fund a small vacation. I decided right then to figure out how to make blackout roller shades myself, even if it meant risking a very expensive piece of fabric.
Quick Takeaways
- Fabric choice is everything—stick to mid-weight linens or cotton blends for the best results.
- Fusible blackout laminate is your best friend; spray glue is a messy trap that often bubbles.
- A rotary cutter and a metal straight edge beat scissors every single time for perfectly straight lines.
- The roller tube must be perfectly level, or the whole shade will 'telescope' and jam the mechanism.
The Problem With Store-Bought Blackout Fabrics
Let’s be honest: most off-the-shelf blackout shades have all the charm of a hospital waiting room. They are usually made of stiff, shiny vinyl that smells like a shower curtain and refuses to hang with any kind of grace. When you are trying to create a room that feels layered and intentional, that flat, synthetic texture ruins the vibe.
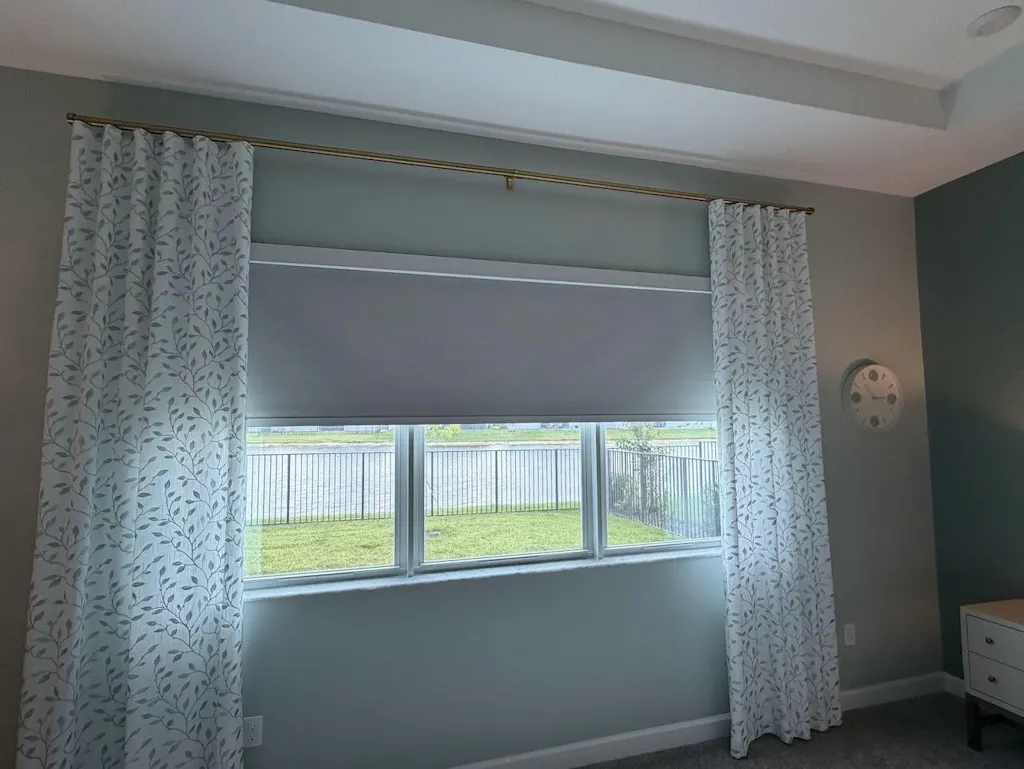
Interior design lovers crave the way light interacts with real woven cloth. We want to see the slubs in a linen or the soft matte finish of a cotton twill. Standard Roller Shades from big-box stores just can't replicate that. By making your own, you get the light-blocking utility you need without sacrificing the tactile beauty of high-end textiles.
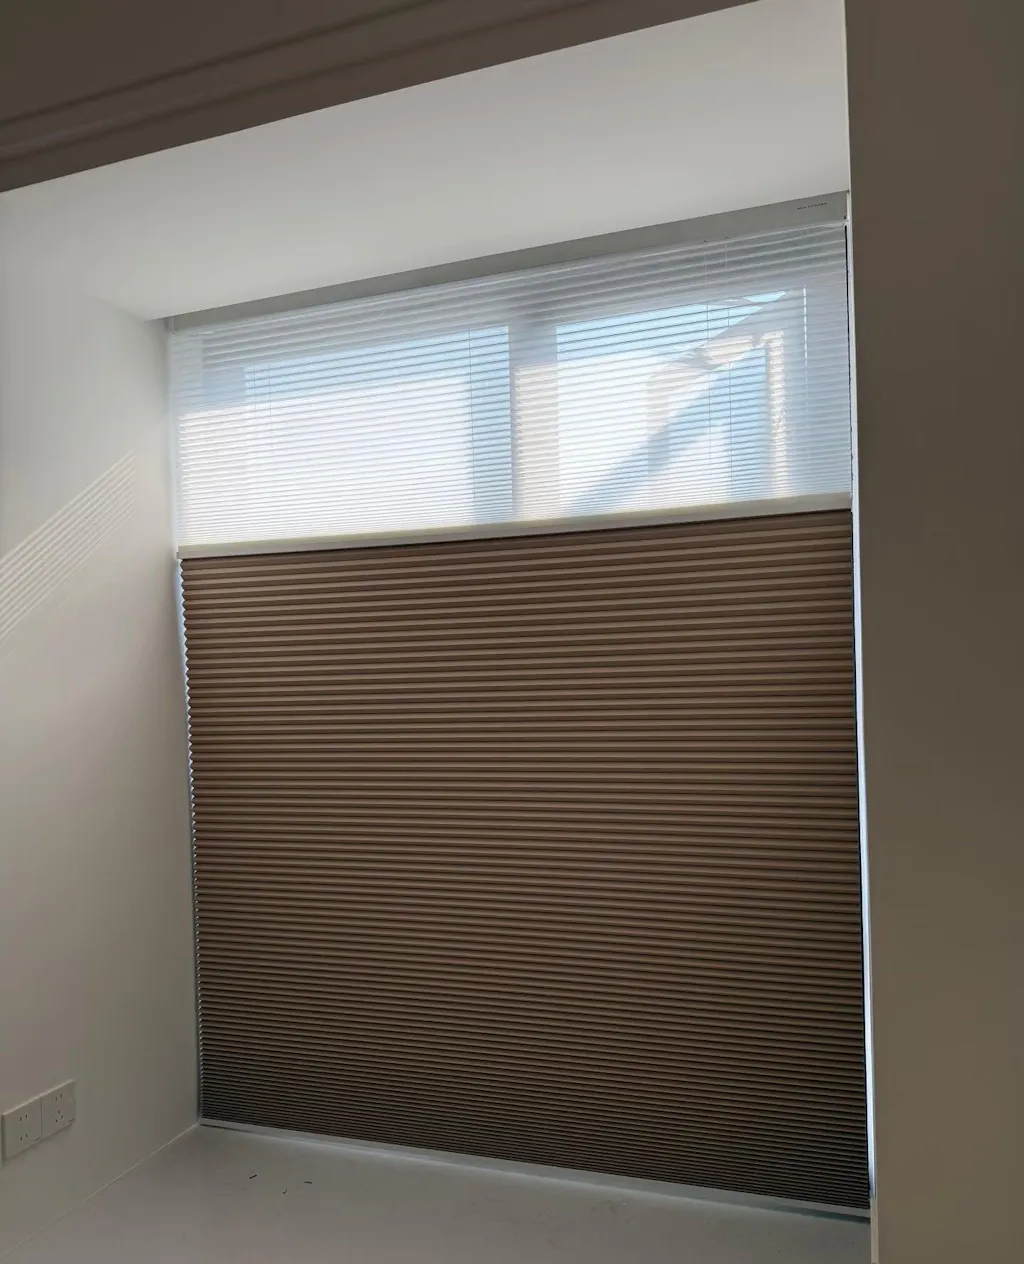
The Anatomy of a Custom Fabric Roller Blind
A roller shade is deceptively simple, but the physics of it are unforgiving. You have the roller tube (usually aluminum), the clutch mechanism that holds the chain, and the fabric itself. The biggest mistake people make is thinking they can just staple raw fabric to a tube and call it a day. If you do that, the fabric will stretch, sag, and fray within a week.
To make this work, the fabric needs structure. It has to be 'stiffened' so it rolls up like a sheet of paper rather than a wet towel. This is why we bond the face fabric to a specialized blackout liner. This creates a composite material that is stable enough to stay square as it travels up and down the window frame.
Gathering Your Supplies (And Why the Right Adhesive Matters)
You’ll need your face fabric, a blackout iron-on laminate, a roller shade kit (tube and clutch), and a very good iron. I cannot stress this enough: avoid heavy spray adhesives. They off-gas, they smell, and they almost always create bubbles when the hot afternoon sun hits the window. Fusible web or iron-on blackout backing is the industry secret for a reason.
Before you commit, read How To Make Blackout Roller Shades Without Ruining Your Good Fabric. You must test your adhesive on a small swatch first. Some delicate silks or high-sheen synthetics will react poorly to the heat required to melt the bonding agent, and you don't want to find that out after you've cut your main panel.
Step-by-Step: How to Make Blackout Roller Shades
This is where the magic happens. You are essentially creating a new, custom-engineered textile that performs like a professional window treatment but looks like a designer's dream.
Fusing the Face Fabric to the Blackout Backing
Lay your face fabric face-down on a large, clean table. Place the blackout liner on top. Starting from the center and working your way out, iron the two layers together. Keep the fabric taut. If you leave even a tiny wrinkle, it will be magnified ten times once the shade is hanging and the light hits it from behind. Use a dry iron and steady pressure.
Cutting the Perfect Unfrayed Edge
Forget your sewing scissors. To get a professional edge that won't fray or look 'hairy,' you need a rotary cutter and a long metal straight edge. Measure three times. If your shade is even a millimeter wider at the bottom than the top, it will roll up crookedly. A perfectly square cut is the difference between a DIY project and a custom-looking installation.
Mounting the Fabric to the Roller Tube
Most roller tubes come with an adhesive strip. Align the top edge of your fabric perfectly with the line on the tube. If it’s off by even a fraction of a degree, the fabric will 'telescope'—meaning it will spiral toward one end of the tube as you pull it up, eventually jamming the bracket. Take your time here. I usually use a few pieces of painter's tape to hold it in place before I commit to the permanent adhesive.
The Retrofit Route: How to Make Roller Blinds Blackout
If you already have a functioning roller blind but hate the fabric, you don't have to start from zero. You can learn how to make roller blinds blackout by simply stripping the old vinyl and using the existing hardware. This is a great way to save money on the clutch and tube components while still getting that custom look.
I’ve seen people successfully use the 'fake custom' method by taking a budget-friendly, cut-to-size shade and bonding their fabric directly to it. If you're interested in that shortcut, check out How I Faked Custom With Cut To Size Blackout Roller Shades. It’s a bit less labor-intensive than building the whole mechanism from scratch but gives you 90% of the same look.
When to DIY and When to Just Buy Custom
DIYing a shade is a labor of love. It’s perfect for that one weird-sized window or that specific Schumacher floral you’ve been hoarding. But if you have an entire house to do, the fatigue sets in fast. Bonding fabric to liners is hard on the back and requires a lot of floor space. Sometimes, the cost of the designer fabric plus the DIY components ends up being surprisingly close to a professional order.
If you find yourself overwhelmed by the math or the fear of ruining ten yards of linen, there is no shame in buying. For rooms where you want total luxury and zero effort, something like the Canisteo Motorized Zebra Shades 60 Blackout Luxe offers a level of precision and ease that is hard to match with an iron and a rotary cutter.
Personal Experience
The first time I tried this, I used a cheap spray glue on a navy blue cotton. It looked great for exactly three days. On the fourth day, the sun heated up the glass, the glue liquefied, and the fabric started to peel away from the liner like a bad sunburn. I spent my Saturday night scraping gummy residue off an aluminum tube. Use the fusible backing. Trust me. It’s the only way to get a shade that actually lasts through a summer heatwave.
FAQ
Can I use any fabric for a roller shade?
Technically yes, but mid-weight fabrics work best. Avoid anything too thick like heavy velvet (it won't fit in the brackets when rolled up) or anything too thin like voile (the adhesive might bleed through).
How do I stop the edges from fraying?
The bonding process with the blackout liner usually seals the edges, but using a sharp rotary cutter is the real secret. If you're still worried, a very thin bead of Fray Check along the cut edge can provide extra insurance.
Do I need a sewing machine?
Nope. This is a 'no-sew' project. In fact, sewing the edges can actually make the shade too bulky to roll up properly. Bonding is the preferred method for that crisp, modern look.