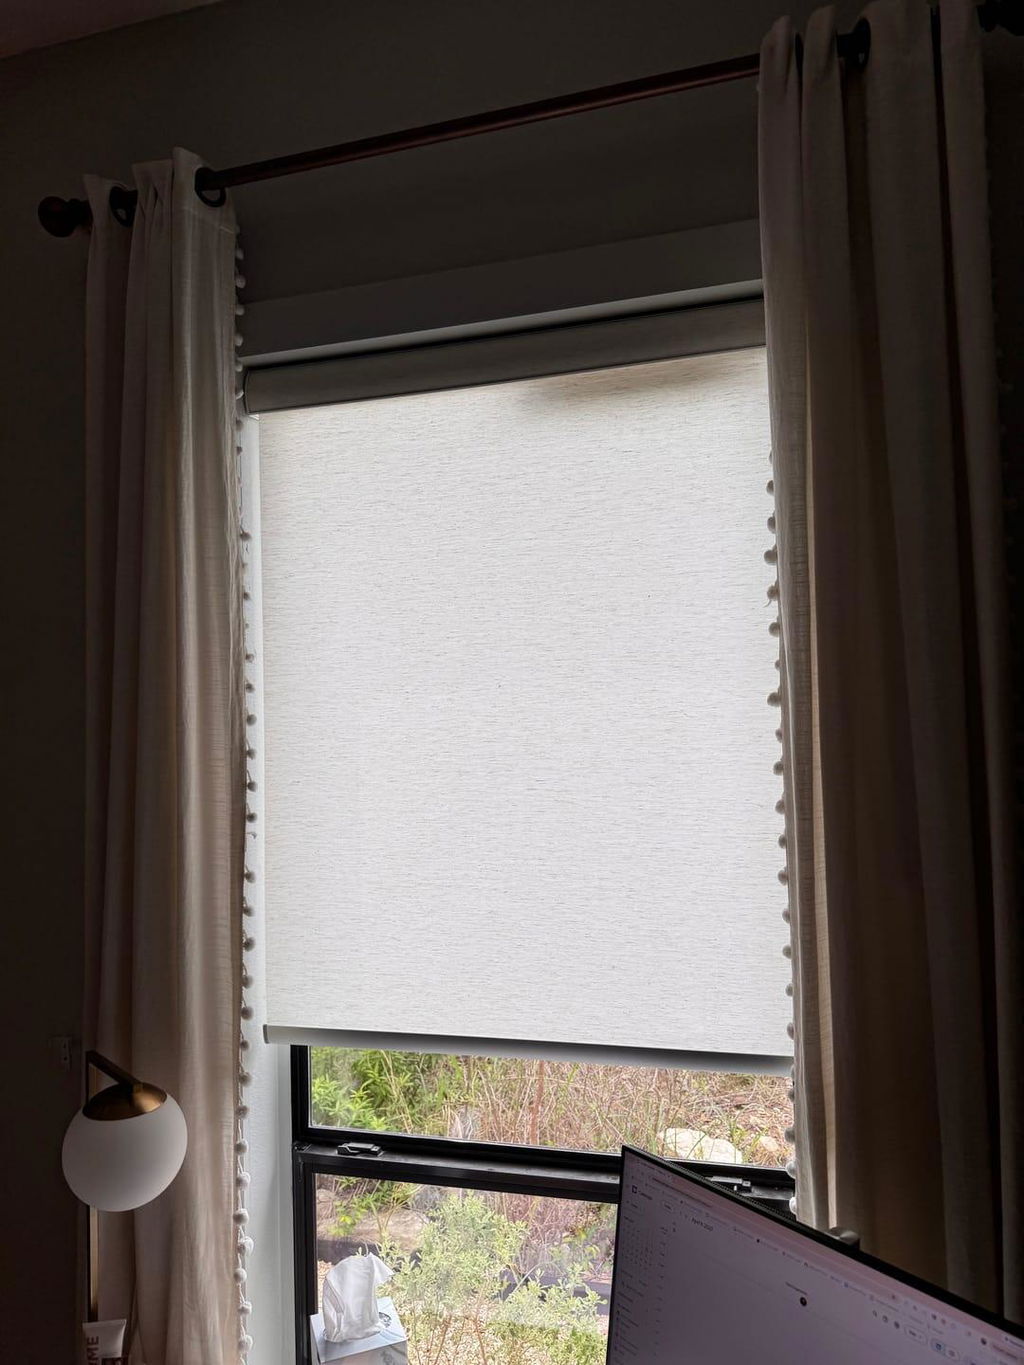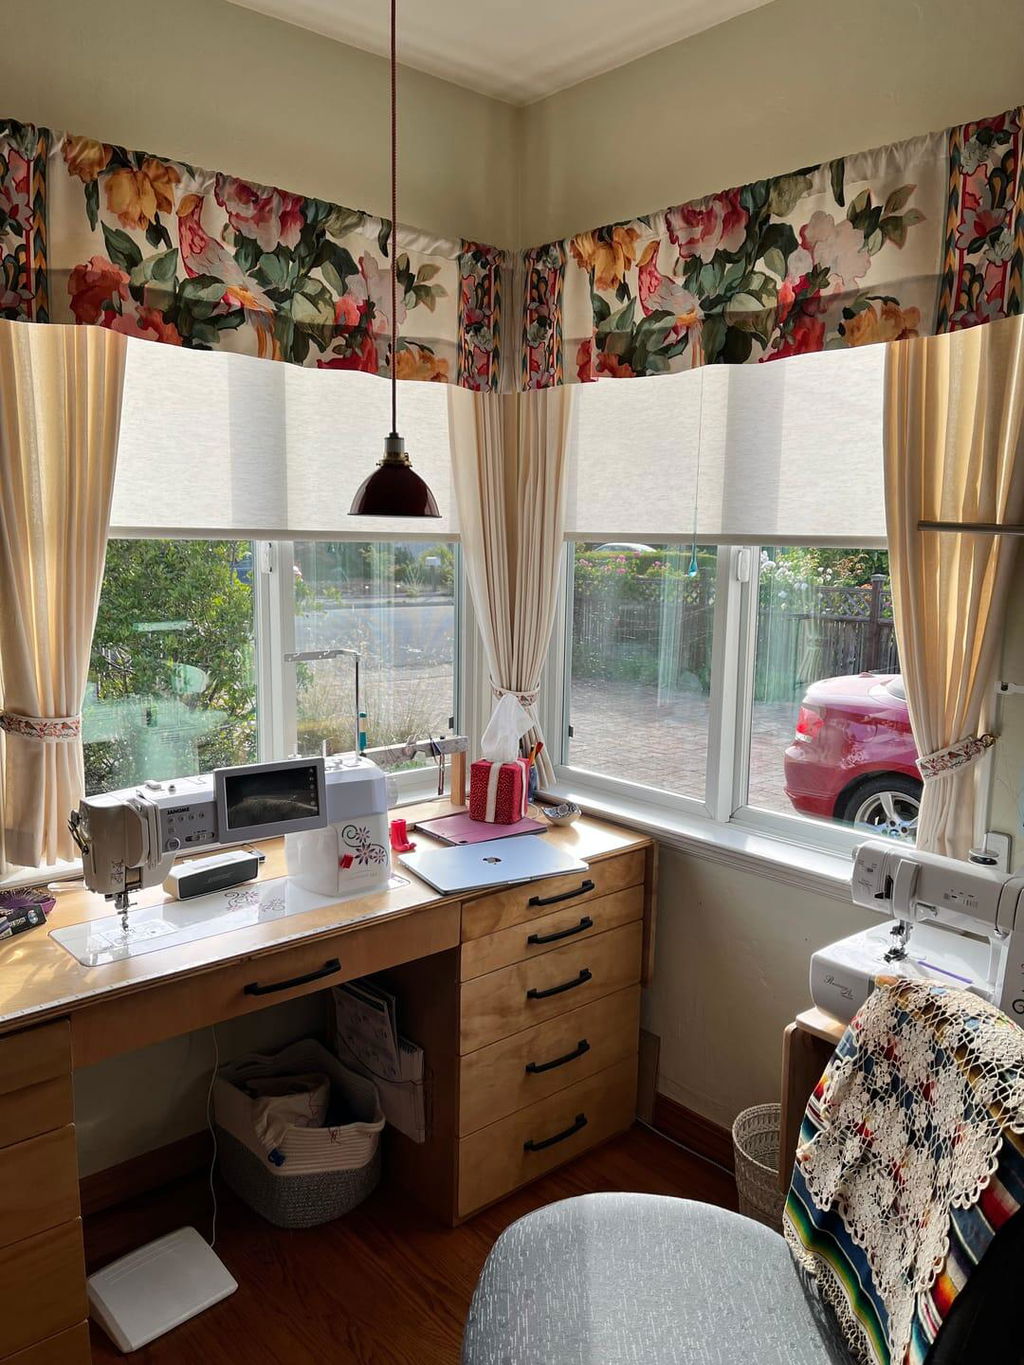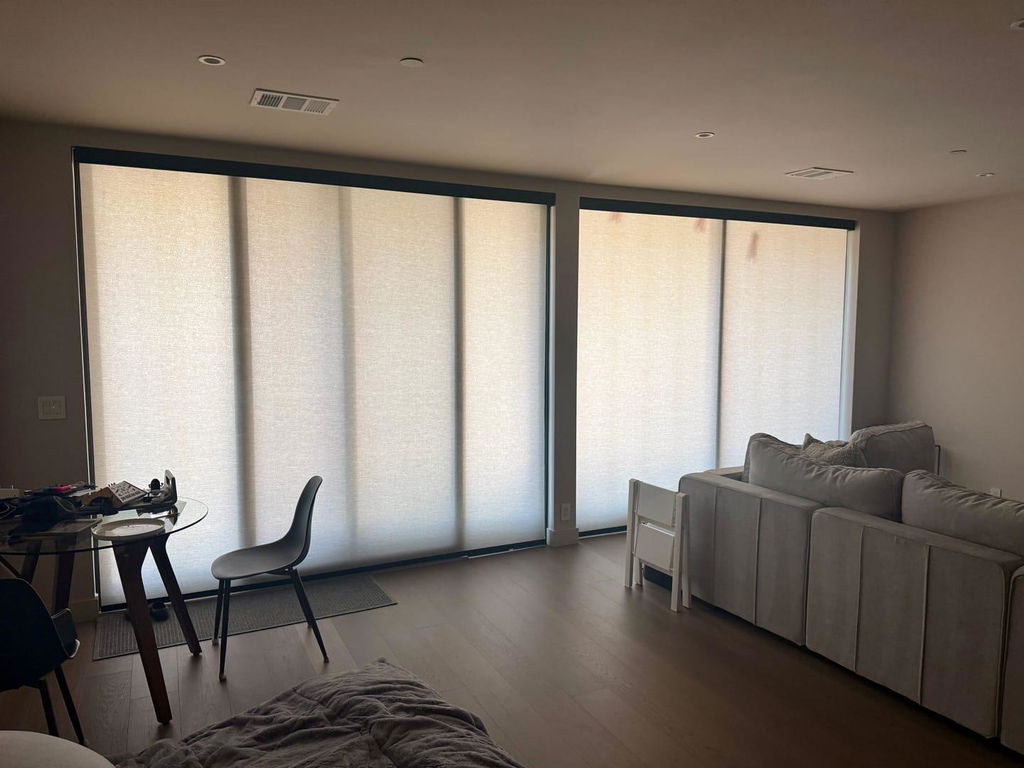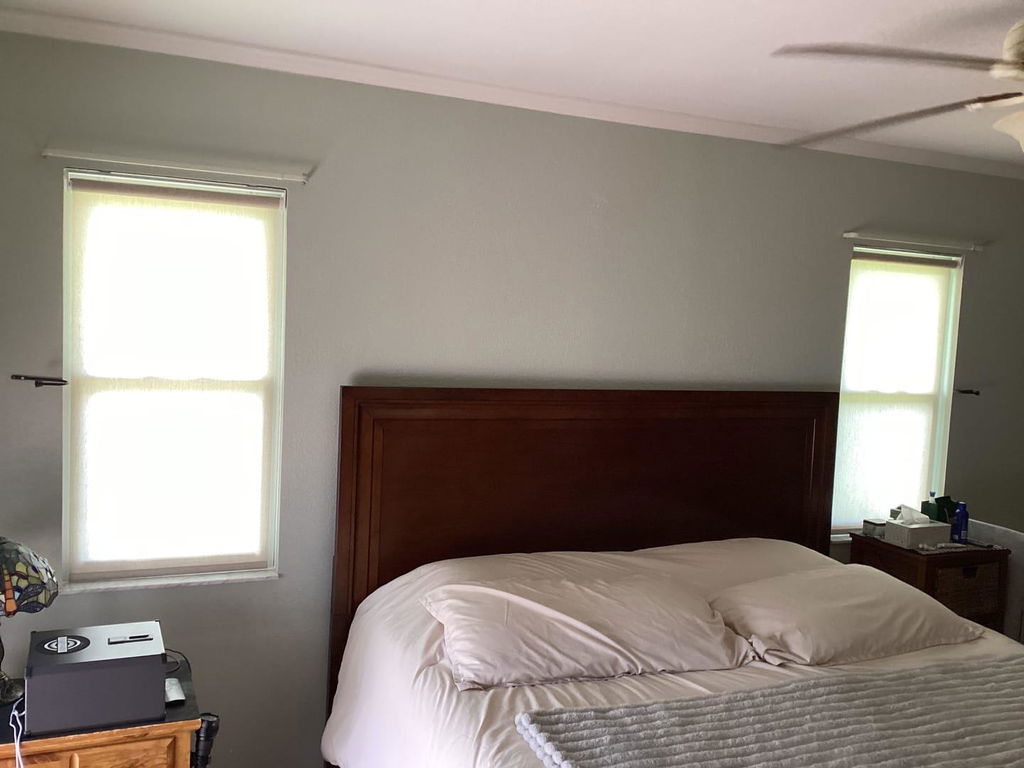
Your Shallow Windows Actually Need Mini Blinds With Side Brackets
I remember staring at the windows in my first apartment—a 1920s walk-up with trim so beautiful I wanted to cry, but frames so shallow I could barely fit a pencil in the gap. I bought a standard set of aluminum slats, tried to top-mount them, and the headrail stuck out two inches like a clumsy shelf. It looked amateur, and every time the wind blew, the whole thing rattled against the casing. That was the afternoon I discovered mini blinds with side brackets.
- Side brackets allow for a flush fit in windows with less than two inches of depth.
- They preserve the integrity of historic top-trim by mounting into the side jambs instead.
- End-mount hardware is the secret to making inexpensive blinds look like custom millwork.
- Always measure the exact inside width at the top, middle, and bottom to ensure a snug tension fit.
The Day I Realized Top-Mount Brackets Weren't Going to Work
My 1920s house had these gorgeous, angled casings that had been painted about fifteen times over the last century. When I tried to use standard top-mounting hardware, the screws hit the structural lintel at an awkward angle, and the wood started to splinter. Even worse, the headrail was so wide it completely obscured the delicate bead detail at the top of the frame. It was a design disaster in the making.
I realized that if I kept forcing a top-mount, I was going to ruin the historic character of the room. The blinds were meant to provide privacy, not act as a giant plastic eyebrow over my windows. I needed a way to tuck the treatment inside the frame without needing three inches of flat ceiling space inside the window well. That’s when I pivoted to blinds that mount on the side, and the difference was night and day.
What Are Side Brackets (And When Do You Actually Need Them?)
Side brackets, often referred to in the industry as end mount blinds, are exactly what they sound like. Instead of the hardware sitting on top of the headrail and screwing upward, the brackets box in the ends of the rail and screw horizontally into the side jambs. It’s a lateral installation that relies on the width of the window rather than the depth of the top casing.
You actually need these more often than you think. If you have French doors, the glass is often flush with the wood, leaving no room for a traditional bracket. If you have arched windows where the top is curved, a top-mount is physically impossible. Side brackets provide the stability you need by anchoring into the straight vertical sides of the frame. It’s the only way to get a clean look in shallow architectural profiles.
The Aesthetic Difference: Flush Mounting vs. Protruding Blinds
There is nothing that kills the vibe of a curated room faster than hardware that sticks out past the drywall. When blinds protrude, they create a gap where light leaks in at the top, and they ruin the silhouette of your window. By using window blinds with side brackets, you can often push the headrail further back into the window well, even if the top of the frame is obstructed by a crank handle or old sash weights.
A flush mount makes the treatment look integrated. It’s about respect for the architecture. You should Stop Hiding Your Window Trim Why You Need Inside Mount Roller Blinds by choosing hardware that stays out of the way. When your blinds sit deep, the eye focuses on the view and the trim, not the mechanical bits of the headrail. It turns a $40 blind into something that feels like a $400 custom job.
Hardware Hacks: Working With Side Tension and Clips
Installation here is a game of millimeters. Because you are mounting horizontally, your measurements must be dead-on. If the blind is too wide, you’ll be forced to shave down the headrail (which is a nightmare). If it’s too narrow, the window blinds hanging clips won't reach the side brackets, and the whole thing will collapse the first time you pull the cord. I always measure the width at the exact height where the brackets will sit.
When you drill, use a pilot hole. You are drilling into the side jamb, which is often a thinner piece of wood than the header. To prevent splitting, I use a bit one size smaller than my screw. Once the brackets are in, the headrail should slide in with a satisfying 'click.' If you’re worried about the technical side, check out the How To Install Your Shades guide for a breakdown of the torque needed for a secure lateral fit.
Do Side Mounts Work for Heavier Window Treatments?
People always ask me if they can use this method for their 5-pound velvet drapes. The answer is: it depends on the bracket. While mini blinds with side brackets are lightweight and easy, side mount roman shades require significantly more beefy hardware. If the shade is wide—say, over 40 inches—the center might sag because you don't have a center support bracket to take the weight.
For heavier Roman Shades, I only recommend side mounting if you can get at least two long screws into a solid wood stud behind the jamb. If you’re mounting into hollow drywall with anchors, stay away from heavy fabrics. Stick to lightweight aluminum, cellular shades, or thin wood slats. My one regret from my last project was trying to side-mount a heavy bamboo shade in a wide window; it eventually bowed in the middle, and I had to start all over again.
Are side mount brackets visible?
Usually, the bracket is a 'box' style that covers the end of the headrail. If you choose a color that matches your headrail, they blend in perfectly. They actually look cleaner than top-mounts because there are no visible clips hanging over the front.
Can I use side brackets on a metal window frame?
Yes, but you will need a metal drill bit and self-tapping screws. The tension is actually very secure on metal frames because the material doesn't compress like old wood does.
What if my window is slightly too wide for the blind?
Many side-mount kits come with plastic spacers or 'shims' that you can slide behind the bracket to close a small gap. If the gap is more than a quarter-inch, you'll need to exchange the blind for a better fit.