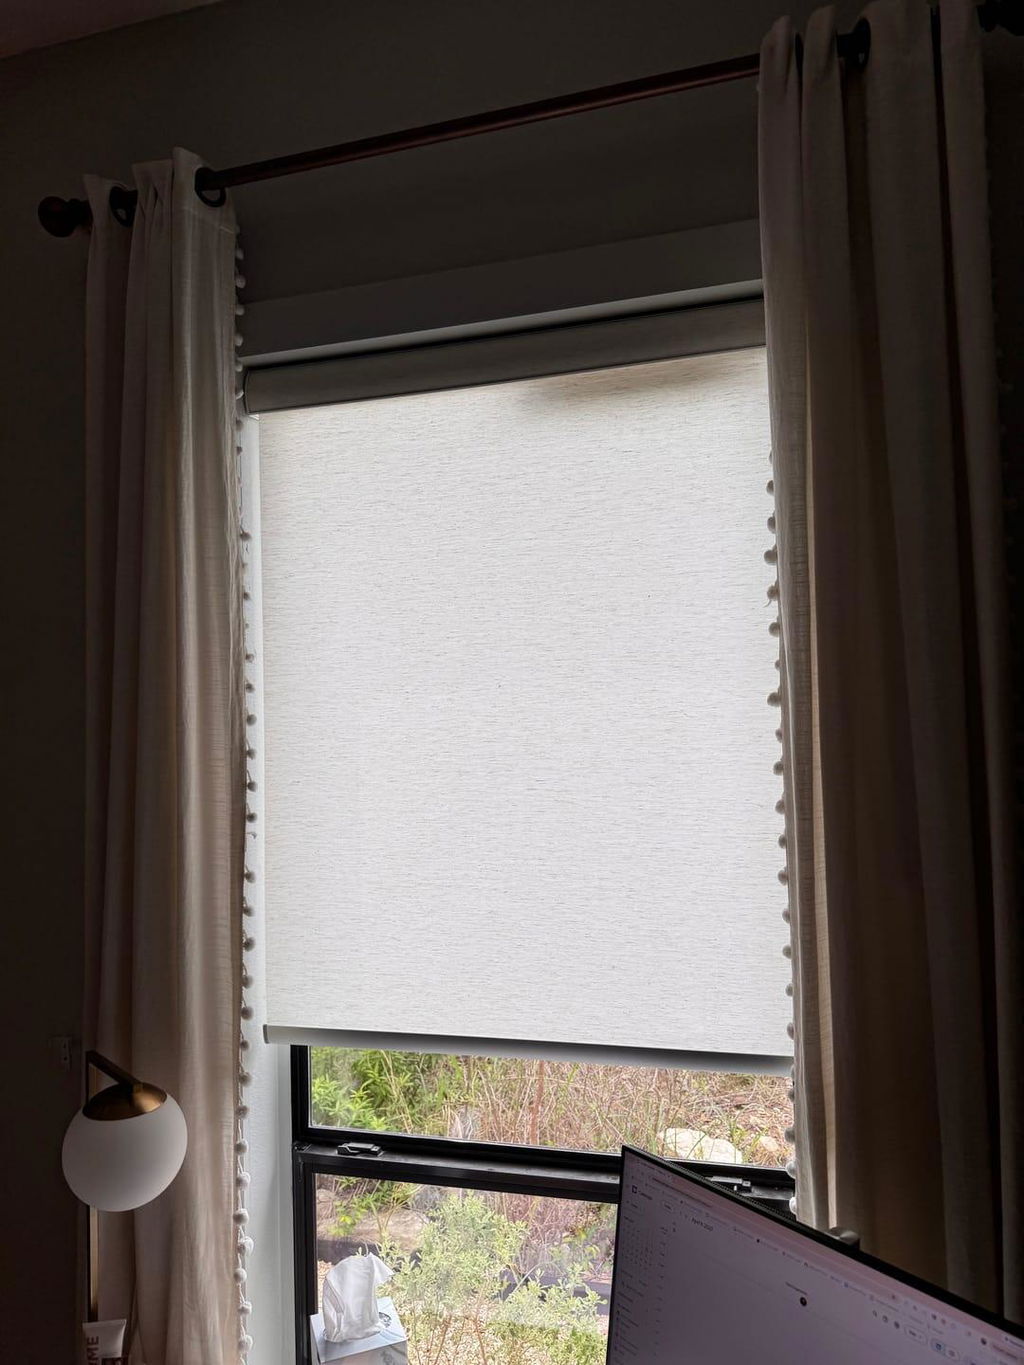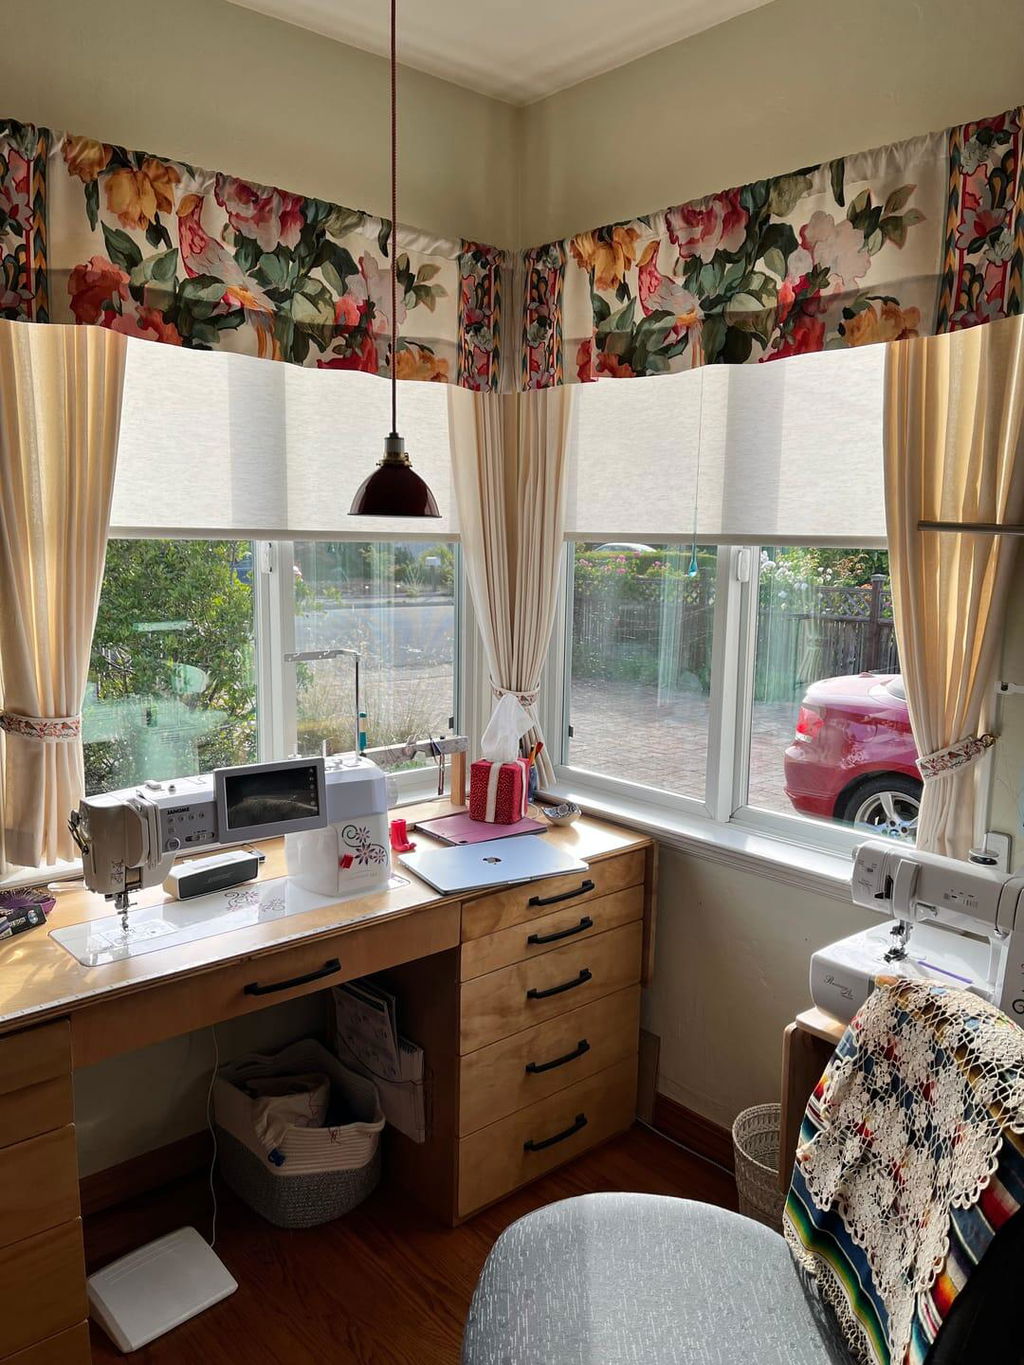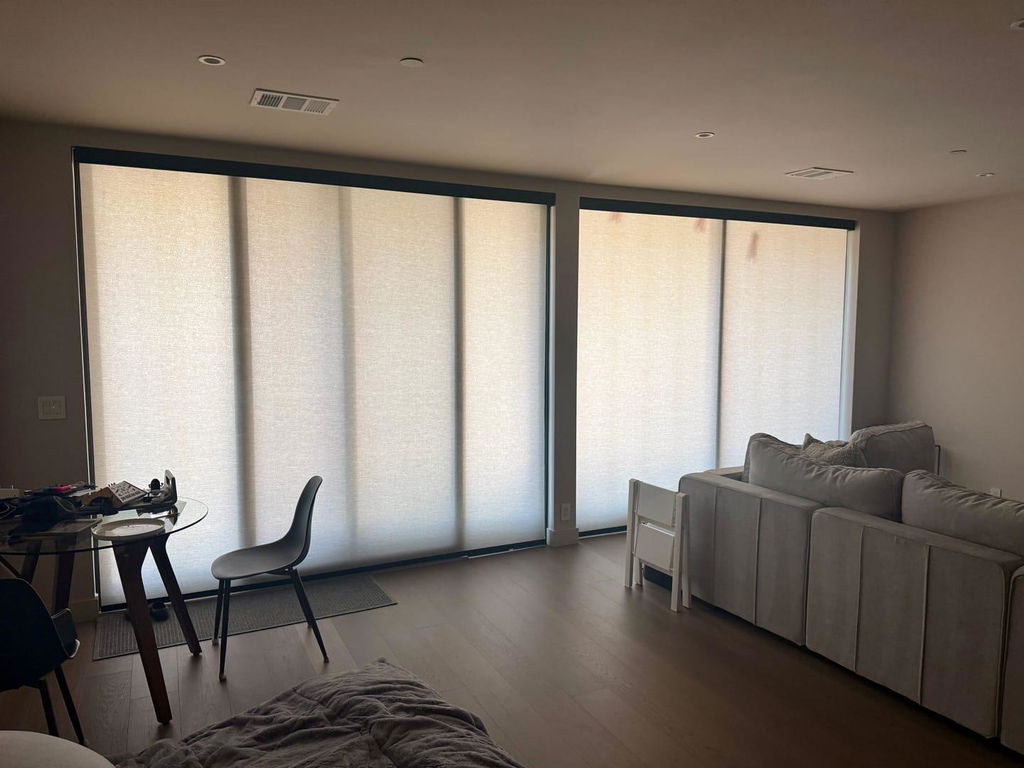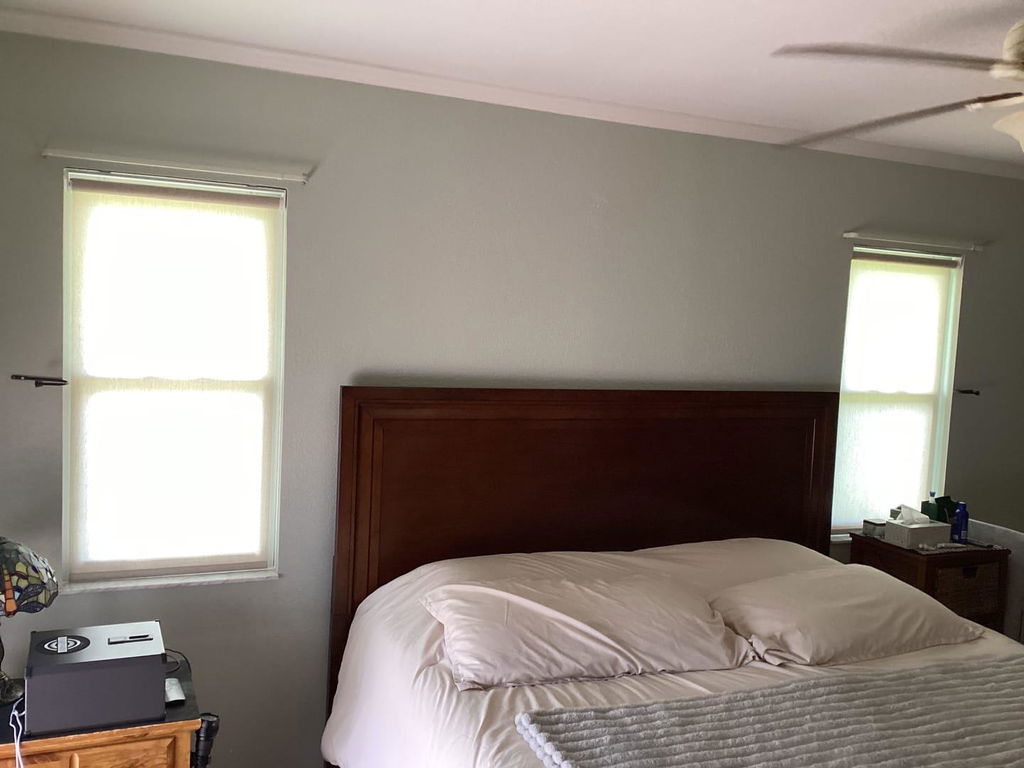
Why Inexpensive Roman Shades Stick Out an Inch From the Glass
I remember the first time I unboxed a set of budget Romans for my guest room. I expected that crisp, tailored stack you see in the glossy magazines, but what I got looked like a stiff duck bill poking out from the window frame. It turns out, inexpensive roman shades aren't inherently bad; they're just stubborn.
When you're dealing with inexpensive roman shades for windows, you aren't just buying a product; you're buying a project. These shades arrive with a literal case of amnesia—they've forgotten how to fold. But with a little heat and some patience, you can make a $50 shade look like a $500 custom commission.
- The Flare Factor: Most budget fabrics are treated with stiff sizing agents that cause a 'duck bill' effect at the hem.
- Training is Mandatory: You cannot expect a boxed shade to hang perfectly without a 48-hour 'training' period.
- Fabric Choice Matters: Poly-linen blends are the secret weapon for a soft, expensive-looking drape.
- Mounting Depth: A shallow window casing is often the hidden culprit behind a shade that won't sit flush.
The Fabric Memory Problem Nobody Talks About
Mass-produced shades are soaked in industrial sizing agents—basically liquid starch on steroids—to keep them perfectly flat during the manufacturing process. Then, they are tightly rolled and crammed into narrow shipping boxes where they sit for months. By the time they reach your living room, the fabric has developed 'memory' for being flat and crushed, not for the graceful cascading folds you're after.
This is why, when you first hang them, the bottom pleat refuses to tuck back toward the glass. It sticks out an inch or two, ruining the silhouette. It’s not a defect; it’s physics. The best affordable roman shades usually feature a synthetic blend that, while durable, is particularly prone to this stiffness until it’s properly broken in.
How to Actually 'Train' Inexpensive Roman Shades for Windows
You have to break the fabric's will. To do this, I use a high-output handheld steamer. Start with the shade fully lowered and steam the entire surface to relax those factory chemicals. Then, slowly raise the shade, manually tucking each fold into place as it rises. Don't just pull the cord and hope for the best—use your hands to ensure every pleat is crisp and uniform.
Once the shade is fully raised, take three strips of ribbon or scrap fabric. Tie one in the center and one on each side, snug enough to hold the folds together but not so tight that you crease the fabric. Leave it like this for at least 48 hours. This 'sets' the new memory. When you finally untie them, the shade will naturally want to fall into those beautiful, stacked pleats every single time you raise it.
The Blackout Lining Trap (And What to Do Instead)
The quickest way to make a cheap shade look like cardboard is to opt for a low-end blackout lining. These are often made with a stiff acrylic coating that is sprayed onto the back of the fabric. It makes the shade heavy, rigid, and completely ruins the drape. If you're sensitive to light but hate the 'board' look, consider Day Night Shades. They offer a brilliant alternative by separating the light-blocking layer from the decorative fabric, giving you total darkness without the stiff, clunky movement of a single-layer blackout shade.
How to Spot the Best Affordable Roman Shades Online
When you're scrolling through options, ignore the styled room photos and look at the fabric close-ups. 100% cotton canvas is tempting because it's natural, but it’s a wrinkle magnet that requires constant steaming. I always hunt for a poly-linen blend—usually around 85% polyester and 15% linen. This mix gives you the look of expensive flax but adds enough 'bounce' so the folds don't turn into a crumpled mess.
Look for a weight of at least 250 gsm. Anything lighter will feel like a bedsheet and won't have the gravitational pull needed to hang straight. You can find these heavier, designer-grade weights by browsing curated Roman Shades collections that prioritize fabric density over sheer volume of sales.
Stop Blaming the Shade: Your Mounting Depth is Wrong
Sometimes the shade isn't the problem—your window is. For an inside mount to look truly professional, you need a casing depth of at least 2 to 3 inches. If your casing is shallow, the headrail will protrude, forcing the fabric to hang further away from the glass. This creates a massive light gap and makes the shade look like it doesn't fit.
If you're dealing with shallow windows, an outside mount is often the better 'designer' choice. Mounting the shade 4 inches above the trim can make your windows look significantly taller. This is exactly Why I Chose Roman Shades for Living Room Windows Over Heavy Drapes in my last project; the clean, architectural line of a well-placed Roman shade can do more for a room's height than heavy, floor-to-ceiling velvet ever could.
Personal Experience: The Midnight Mistake
I once tried to 'train' a set of inexpensive roman shades using masking tape because I couldn't find any ribbon. It was 11 PM, I had guests arriving the next day, and I was desperate. By morning, the heat from the sun had melted the tape adhesive into the fabric. I spent three hours with rubbing alcohol and a toothbrush trying to save the shade. Take it from me: use ribbon, use scrap fabric, or even use shoelaces—but never use tape.
FAQ
Can I wash my Roman shades in the machine?
Almost never. The internal cords will tangle, and the sizing agents will wash out, leaving you with a limp rag. Stick to vacuuming with a brush attachment or very light spot cleaning.
Why is one side of my shade hanging lower?
Check the rings on the back. Usually, one of the lift cords has slipped out of a ring or gotten snagged. Level it out manually and ensure the cord lock is gripping both strings evenly.
Will the 'duck bill' flare go away on its own?
No. Gravity isn't enough to overcome factory sizing agents. If you don't steam and train the folds, that flare is there to stay.