The 3 Mistakes I See During Every Blackout Blinds Installation
I remember the first time I finished a bedroom renovation for a client who worked night shifts. I had spent hours steaming 300 gsm velvet drapes, only to realize the next morning that a sliver of 6 AM sun was slicing through the top of the roller shade like a laser beam. A successful blackout blinds installation isn't just about getting the fabric onto the window; it's about managing the physics of light.
We have all been there. You spend $200 on a custom shade, drill your holes, and snap the cassette in, only to find the room is still glowing like a 90s neon sign. Fitting blackout blinds requires a level of precision that goes beyond just 'eyeballing it' with a screwdriver.
Quick Takeaways
- Measure the depth of your window casing before committing to an inside mount.
- Always use heavy-duty wall anchors; the ones in the box are usually garbage.
- Standard roll direction is non-negotiable for maximum darkness.
- If you have light bleed, side tracks or layering with curtains are your best friends.
Why Does Every DIY Mount Leak Light?
The frustrating reality is that most people approach an installation as a weekend chore rather than a light-sealing project. You aren't just hanging a piece of fabric; you are creating a seal. When you install blackout shades, even a 3mm gap at the edge of the fabric can illuminate an entire room.
Most DIY mounts leak light because windows are rarely perfectly square. If you mount your brackets perfectly level but your window frame is slanted by even a fraction of an inch, you'll end up with a wedge-shaped gap that lets the sun pour in. True blackout is achieved through tight tolerances, not just thick fabric.
Mistake 1: Forcing an Inside Mount on a Shallow Window Frame
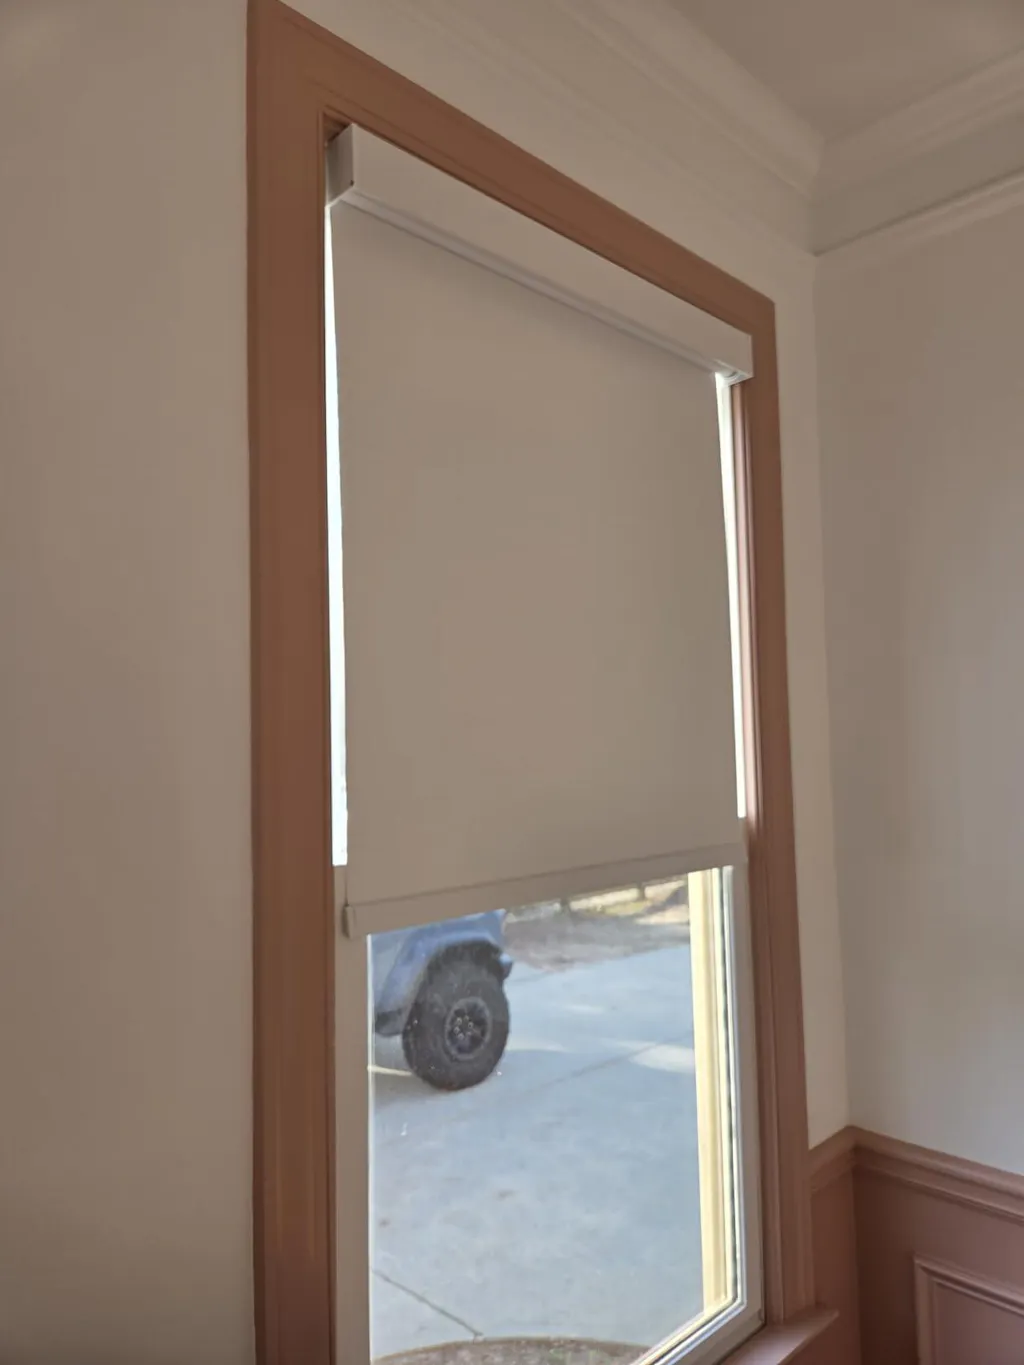
This is the most common error I see. Homeowners love the clean, architectural look of an inside mount where the shade sits tucked neatly within the frame. However, if your window casing isn't at least 2.5 to 3 inches deep, an inside mount is a recipe for failure. This lack of depth is exactly why your blackout roller shades inside mount aren't pitch black.
When the frame is too shallow, the roller tube has to sit forward. This creates massive gaps on the left and right sides where the fabric doesn't sit flush against the trim. If you don't have the depth, pivot to an outside mount. Extending the shade 3 inches past the trim on each side is the only way to truly kill the light halo.
Mistake 2: Screwing the Brackets Too Close to the Glass
When learning how to install blackout blinds, the instinct is to push the brackets as far back as possible. Don't do it. If the fabric is too close to the glass, it will snag on the window lock or scrape against the handle every time you lower it. This eventually frays the edges of your blackout coating, leading to pinpricks of light.
I always aim for a 'sweet spot'—about 10mm of clearance from the furthest protruding part of the window hardware. This ensures the shade drops smoothly while remaining close enough to the frame to minimize the air gap. Use a pencil to mark your bracket holes while holding the shade in place to check for obstructions before you ever touch a drill.
A Quick Warning About Included Hardware
I am going to be blunt: throw away the plastic anchors that came in the box. They are flimsy, they strip easily, and they will eventually pull out of the drywall under the weight of a heavy blackout roll. Spend the five dollars on high-quality zinc self-drilling anchors or Toggler Snaptoggles. If you can hit a stud, do it. A falling blackout shade at 2 AM is a heart attack you don't need.
Mistake 3: Getting the Roll Direction Completely Wrong
There are two ways a shade can roll: standard (fabric falls off the back, closest to the glass) and reverse/waterfall (fabric falls off the front, away from the glass). For how to install blackout roller blinds correctly, you almost always want a standard roll. This keeps the fabric as tight to the window frame as possible.
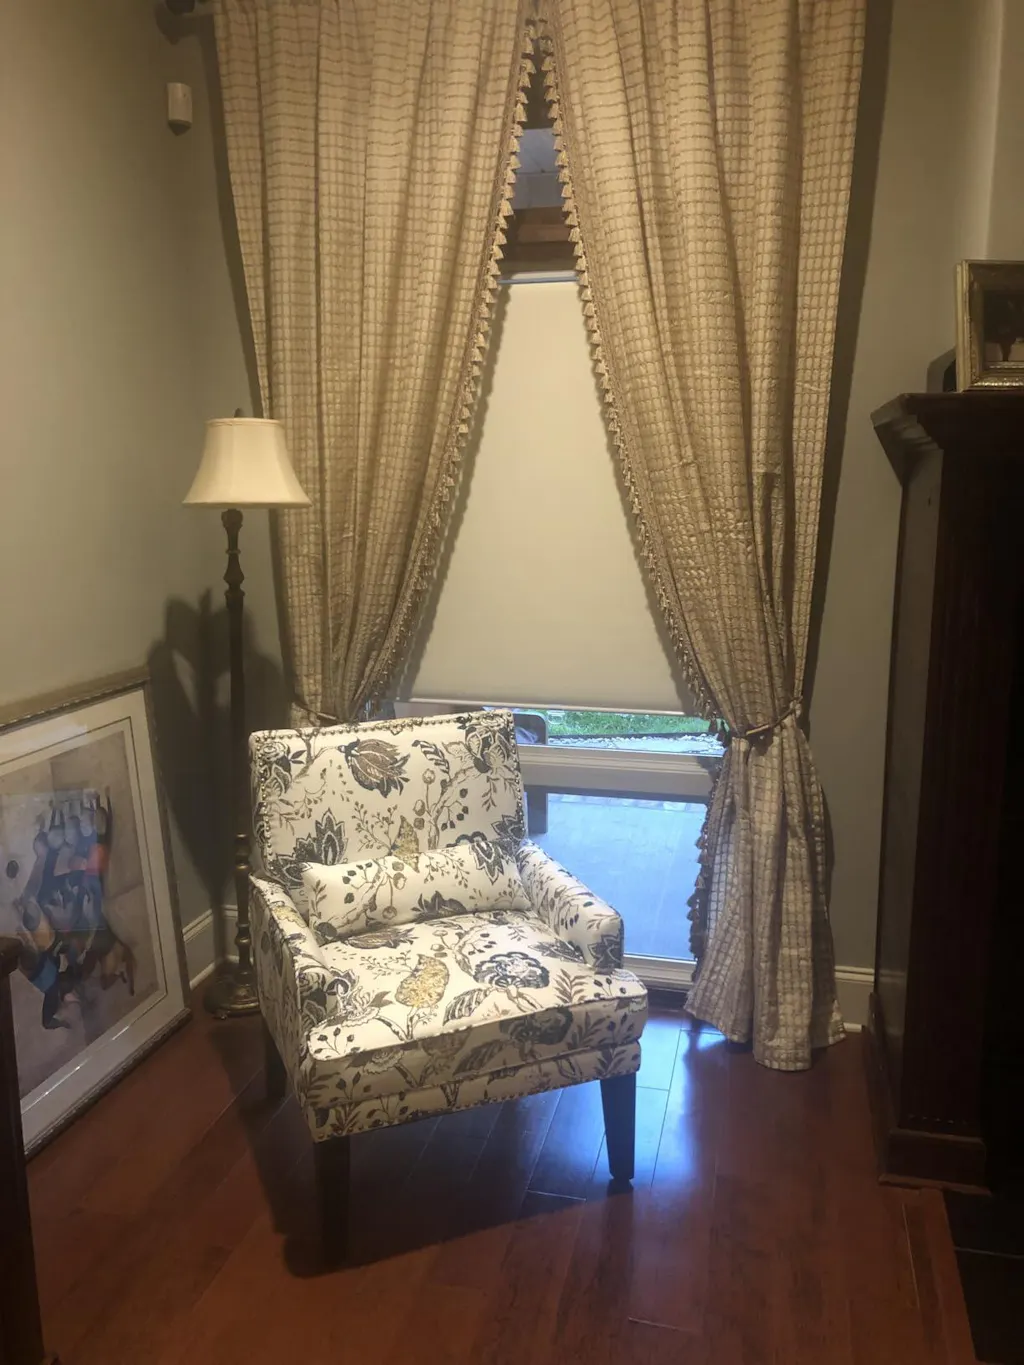
A reverse roll looks 'prettier' because it hides the roller tube, but it creates a one-inch gap between the fabric and the window. That gap is a highway for light. If you are using something like the Canisteo Motorized Zebra Shades 85 Blackout Breeze, pay close attention to the cassette mechanics. These specialized products are designed for specific layering, and reversing the roll direction can ruin the light-blocking geometry entirely.
My Foolproof Process to Install Blackout Shades
When I install blackout roller shades, I follow a strict sequence. First, I measure the width at the top, middle, and bottom. I use the narrowest measurement for the shade width. Next, I use a laser level—not a bubble level—to mark my bracket heights. Even if the window trim is crooked, the shade must be level to roll straight.
Pre-drill your pilot holes with a 1/8-inch bit to prevent the wood trim from splitting. Once the brackets are secure, snap the cassette into place. You should hear a distinct 'click.' If you have to force it, your brackets are likely misaligned or skewed. Take the time to shim the brackets if your walls are uneven; a flat mounting surface is the secret to a silent, smooth-operating shade.
For the final touch, I always check the 'telescoping.' If the fabric is rolling to one side, a tiny piece of masking tape on the roller tube on the opposite side will fix the alignment. It's a blackout roller blinds installation trick that saves your fabric from fraying against the brackets.
What If You Already Messed Up? (The Quick Fixes)
If you've already finished fitting blackout blinds and the light bleed is driving you mad, don't panic. You don't have to start over. The easiest fix is adding 'Light Blockers'—these are simple plastic U-channels with an adhesive backing that you stick to the side of the window frame. They hide the side gaps perfectly.
Alternatively, embrace the 'hotel look.' Layer a set of blackout curtains over your roller shades. Not only does this add a soft texture to the room, but the curtains act as a secondary seal for any light escaping the edges of the blinds. It's the ultimate 'oops' fix that actually makes the room look more expensive.
Personal Experience: The Midnight Remeasure
I once spent an entire evening installing 'perfect' custom shades in my own guest room, only to realize I hadn't accounted for the thick decorative molding at the base of the window. The shades hit the molding and flared out, leaving a massive gap at the bottom. I ended up having to unmount everything and move the brackets forward by 5mm. It was a midnight lesson in checking every single obstruction—locks, handles, and trim—before committing to the first screw.
FAQ
Should I do an inside or outside mount for blackout?
Outside mount is always superior for total darkness. By overlapping the window frame by several inches on all sides, you eliminate the light gaps that are inherent to inside mounts.
How do I stop light from coming in the top of the blinds?
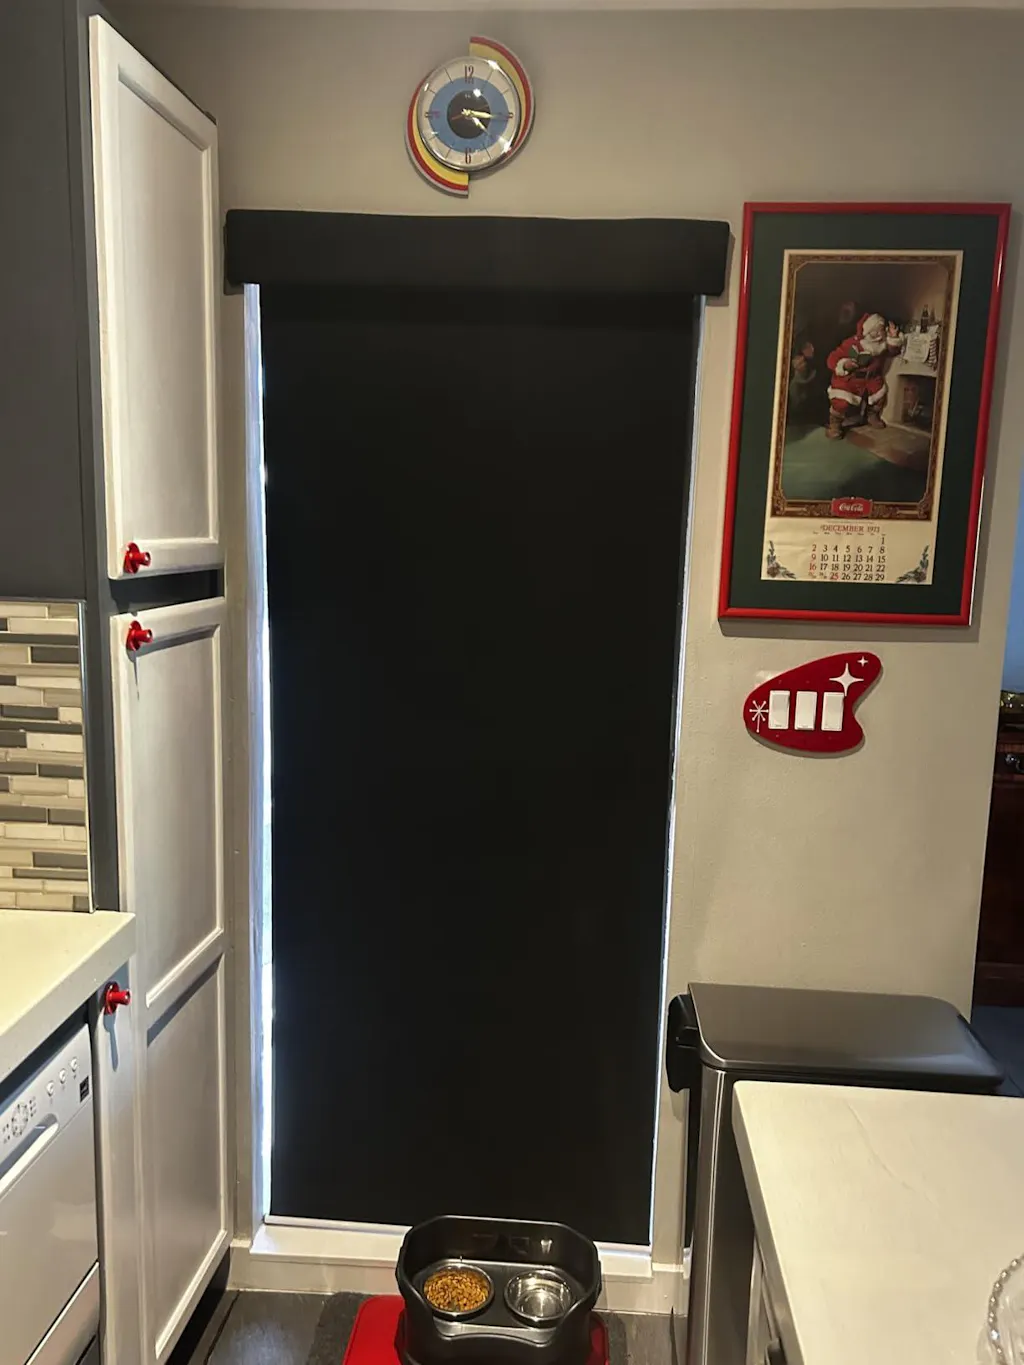
A decorative valance or a 'cornice box' is the best solution. It covers the roller tube and the top gap where light tends to bounce off the ceiling and into the room.
Do I need a professional for blackout blinds installation?
Not if you are comfortable with a drill and a level. However, if your windows are over 72 inches wide, the weight of the blackout material makes it a two-person job to ensure the brackets stay aligned during the snap-in process.