The 1-Inch Clearance Rule for Perfect Bay Window Roller Shades
I remember the first time I tried to dress a Victorian bay window in a drafty Brooklyn brownstone. I spent three weeks staring at those three angled panes like they were a trigonometry exam I was destined to fail. I had ordered three beautiful, heavy wood blinds, only to realize during the install that the headrails were so deep they literally smashed into each other at the corners. It was an $800 mistake that taught me a cold, hard lesson: bay windows are the divas of the floor plan. They demand precision, or they will make your hardware look like an architectural pile-up.
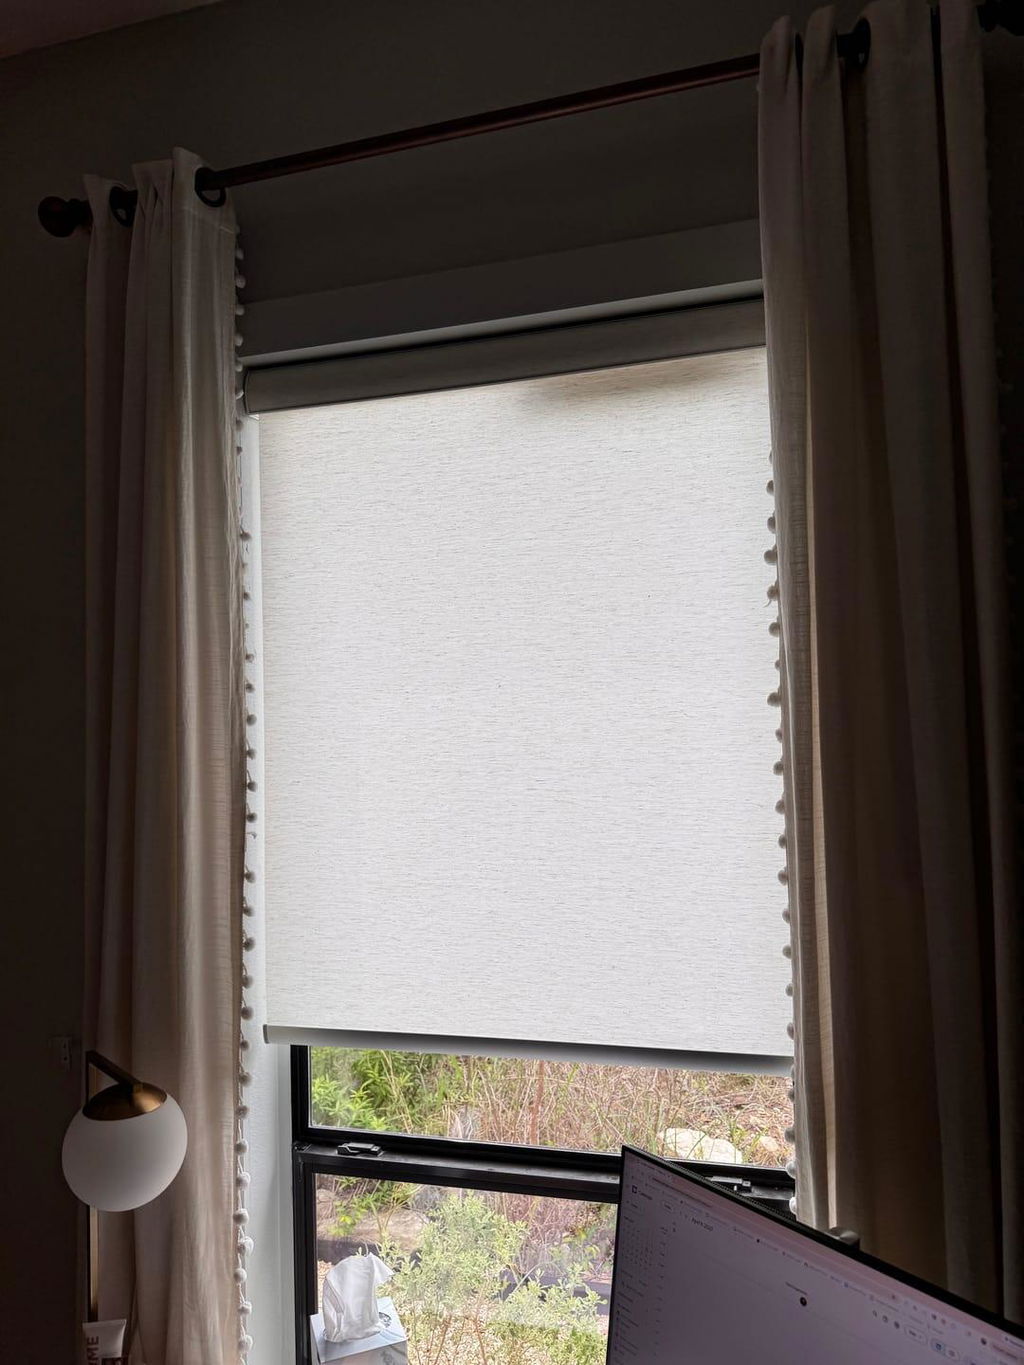
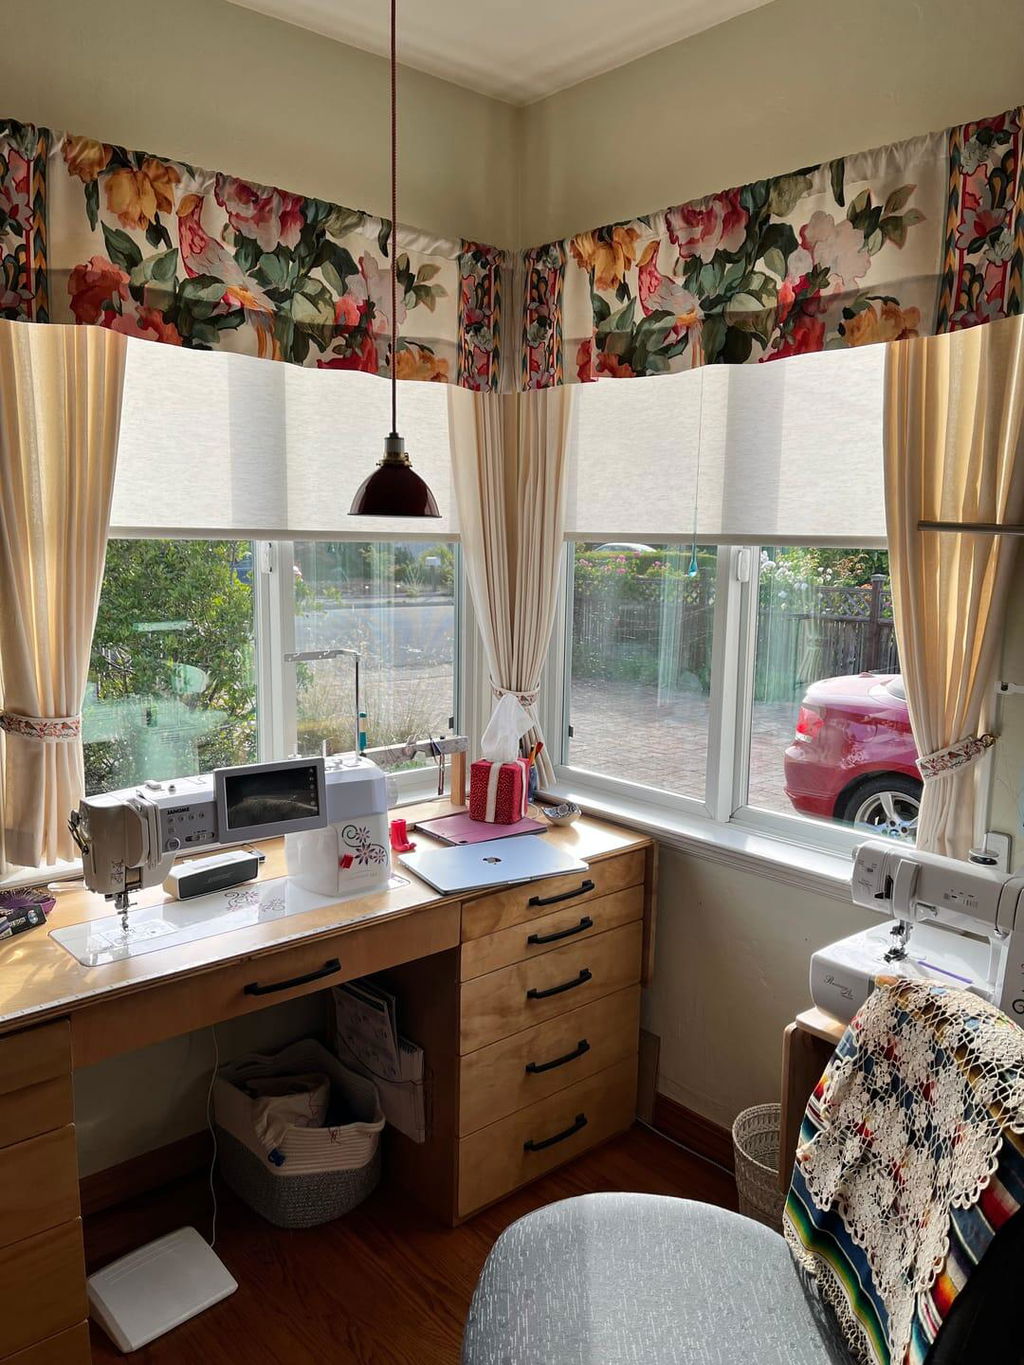
Choosing bay window roller shades is the smartest move you can make for these tricky alcoves. They offer the slimmest profile possible, which is exactly what you need when you are fighting for every millimeter of space where those window frames meet. When done right, they look integrated and intentional. When done wrong, you end up with awkward light gaps that make your living room feel like a fishbowl at night.
Quick Takeaways
- Always measure the depth of your window casing first; you need at least 2 inches for a clean inside mount.
- The '1-inch rule' is your best friend to prevent hardware from colliding in the corners.
- Use a reverse roll for windows with protruding cranks or handles.
- Stick to inside mounts to preserve the architectural shape of the bay.
- Motorization is a lifesaver for large, hard-to-reach center windows.
The Geometry Problem With Angled Architecture
Bay windows are beautiful, but they are an absolute nightmare for standard hardware. The issue is that most windows aren't built with the 'dressing' in mind. You have three or more distinct glass panels meeting at 45 or 90-degree angles, and the frames are often frustratingly narrow. If you try to use standard roller shades for bay windows without accounting for the hardware depth, you will find that the brackets simply won't fit side-by-side.
I’ve seen many homeowners try to install chunky blinds for box bay windows, only to realize the center blind prevents the side blinds from fully closing. It creates this jagged, unfinished look that ruins the flow of the room. You aren't just dealing with width and height; you are dealing with 'projection.' This is why I almost always steer my clients away from wood blinds or heavy Romans in a bay and toward low-profile roller systems. You want the window to be the star, not the metal brackets holding up the shades.
Another common fail is ignoring the 'mullions'—the vertical dividers between the glass. If your window frames are shallow, your shades will hang out past the trim, which looks messy. You need a solution that sits flush, or as close to it as possible, to maintain that crisp, architectural silhouette that makes a bay window so desirable in the first place.
Calculating the Dreaded Corner Clearance
The secret to a professional-looking install is the 1-inch clearance rule. Here is the technical reality: every roller shade has a 'bracket-to-bracket' measurement that is wider than the actual fabric. In a bay window, where the windows meet at an angle, those brackets are competing for the same corner space. If you measure from corner to corner and order your shades to that exact width, they will overlap and you won't be able to mount them.
To fix this, you need to calculate the 'corner deduction.' If you are using a standard 2-inch deep cassette, you typically need to pull the shade back about 1 inch from the vertex of the angle. This creates a small gap in the fabric—the 'light gap'—but it ensures the hardware can actually function. This is why I advocate for roller shades for bay windows as the ultimate solution; their brackets are significantly smaller than those used for cellular shades or horizontal blinds.
When measuring, I always use a piece of cardboard cut to the depth of the shade's headrail. Place the cardboard in the corner where the two windows meet. Mark where the front of the headrail ends on both sides. Your measurement for the shade should start from that mark, not the actual corner of the glass. It feels counterintuitive to leave a gap, but a clean 1-inch gap looks a thousand times better than two shades jammed together at a crooked angle.
Why I Always Use a Reverse Roll Here
If you have ever tried to lower a shade only to have it get caught on a window crank, you know my pain. This is a chronic issue with blinds for bay windows designs. Most roller shades are 'standard roll,' meaning the fabric hangs off the back of the tube, closest to the glass. This is great for privacy, but terrible for clearance.
I almost always specify a 'reverse roll' for bay windows. This is where the fabric rolls over the front of the tube, cascading down like a waterfall. It gives you an extra inch or two of clearance, allowing the shade to clear those annoying brass cranks or deep mullions. Plus, it looks much cleaner because you don't see the roll of fabric at the top; the fabric itself acts as its own valance.
Inside Mount vs. Outside Mount in a Bay
This is a hill I will die on: bay blinds should almost always be an inside mount. The whole point of a bay window is the alcove effect. If you do an outside mount—where the shades are fixed to the wall above the window—you essentially 'flat-back' the bay, turning it into one big wall of fabric. You lose the depth, the angles, and the character of the window.
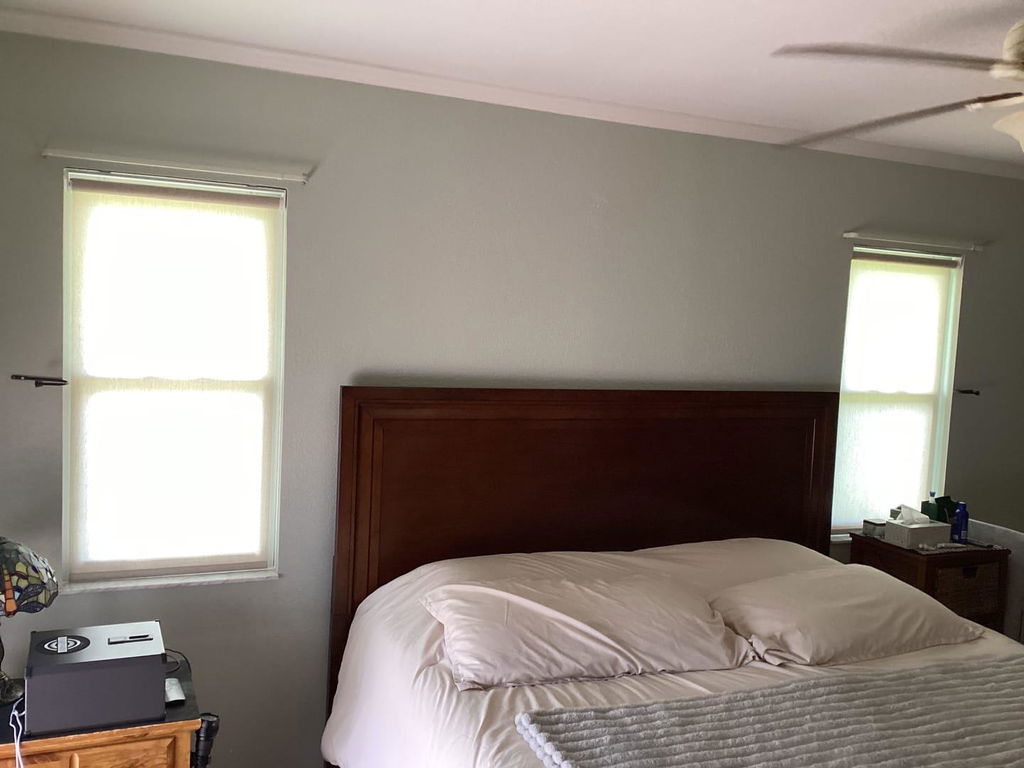
Inside mounting bay window mini blinds or rollers allows the architecture to breathe. However, if your window frames are less than 2 inches deep, you might be tempted to go outside. Don't do it. Instead, look for 'slim-profile' hardware. I’ve seen beautiful rooms ruined because the owner thought outside mounts would provide better light blocking, but it ended up looking like a giant sheet was draped over the alcove. If you’re worried about light leaks, read up on why your bedroom blinds look unfinished to understand how to manage those gaps without sacrificing the inside mount look.
Layering Drapes Without Looking Cluttered
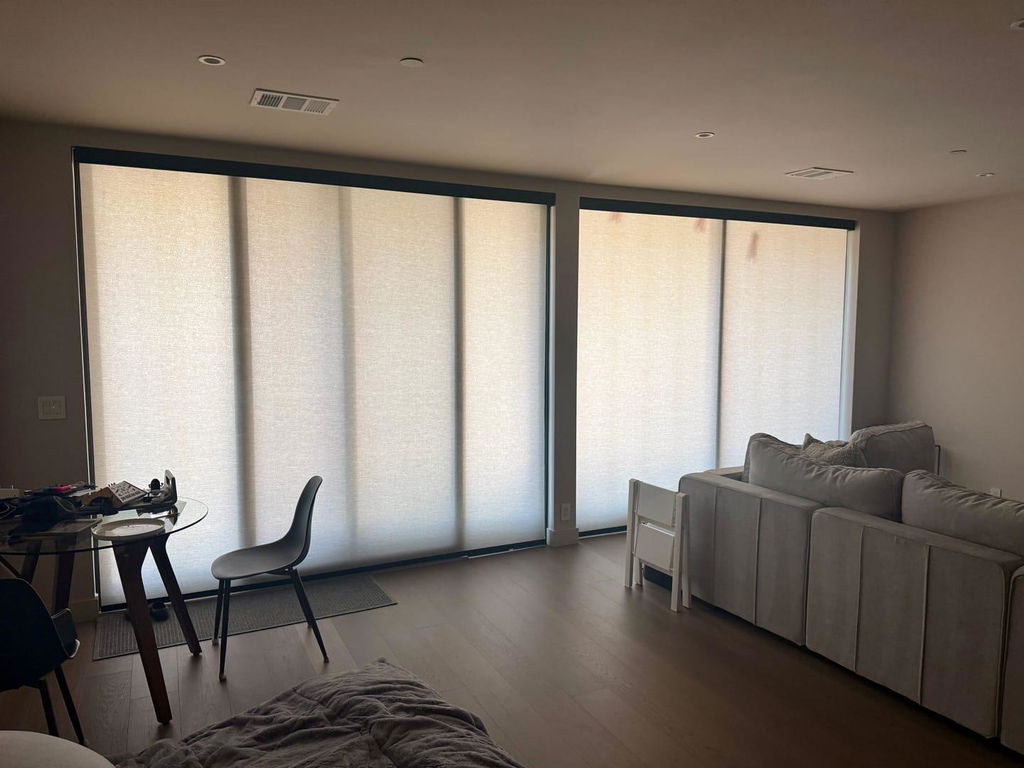
For living room bay window blinds, the 'functional plus decorative' approach is my go-to. I like to keep the roller shades strictly functional—think a 5% openness solar screen or a light-filtering linen weave. These stay inside the window frames. Then, to add warmth and softness, I hang a single curtain rod across the very top of the entire bay area, but I only put drapery panels on the far left and far right flat walls.
This frames the bay without cluttering the angles with five different curtain panels. It keeps the center window clear to let in that glorious afternoon light. If you want the best of both worlds—privacy and light—without the bulk of drapes, you might consider day night shades. They give you two layers of fabric in one slim headrail, which is a lifesaver in tight living room bays where you don't have space for multiple rods.
Bridging the Gap: The Continuous Valance Trick
When you are dealing with blinds for large bay window setups, the visual 'breaks' between the three shades can look a bit busy. A pro trick to make the whole thing look custom-built is to use a continuous valance or a unified fascia. This is a single piece of wood or metal that runs across the top of all three windows, hiding the individual rollers and brackets.
For the ultimate luxury, I recommend motorized dual roller shades. There is nothing quite like pressing one button and watching all three shades in a massive bay window rise in perfect synchronization. It eliminates the mess of dangling cords—which are a safety hazard and a visual eyesore—and makes the entire installation feel like a high-end architectural feature rather than a DIY project.
My Honest Experience
I once installed a set of heavy, dark grey rollers in a client's box bay. We went for the 'perfect' tight fit. By mid-July, the heat caused the window frames to expand just enough that the center shade started rubbing against the side brackets. Every time they lowered the shade, it made a horrific screeching sound. I had to go back, take them all down, and shave a quarter-inch off the mounting boards. Now, I always leave that 1-inch 'breathing room.' It’s not just about aesthetics; it’s about physics.
FAQ
Do roller shades for bay windows leave light gaps?
Yes, because of the brackets, there will always be a small vertical gap between the fabric panels. In a bay window, these gaps occur at the angles. Using a reverse roll or a decorative valance can help minimize the visual impact, but a small gap is necessary for the hardware to fit.
Can I use one single rod for a bay window?
For curtains, yes, you can use a flexible or hinged rod. For roller shades, no. Each pane of glass needs its own individual shade and set of brackets to follow the angle of the window correctly.
What is the best fabric for living room bay window blinds?
I love a high-quality solar screen for living rooms. It cuts the glare on the TV and protects your furniture from UV damage while still allowing you to see your garden or the street. If you need total privacy, a textured fabric like a 300 gsm faux-linen provides a soft, high-end look that doesn't feel like an office.