Stop Forcing Inside Mounts: Try Outside Mount Blackout Shades
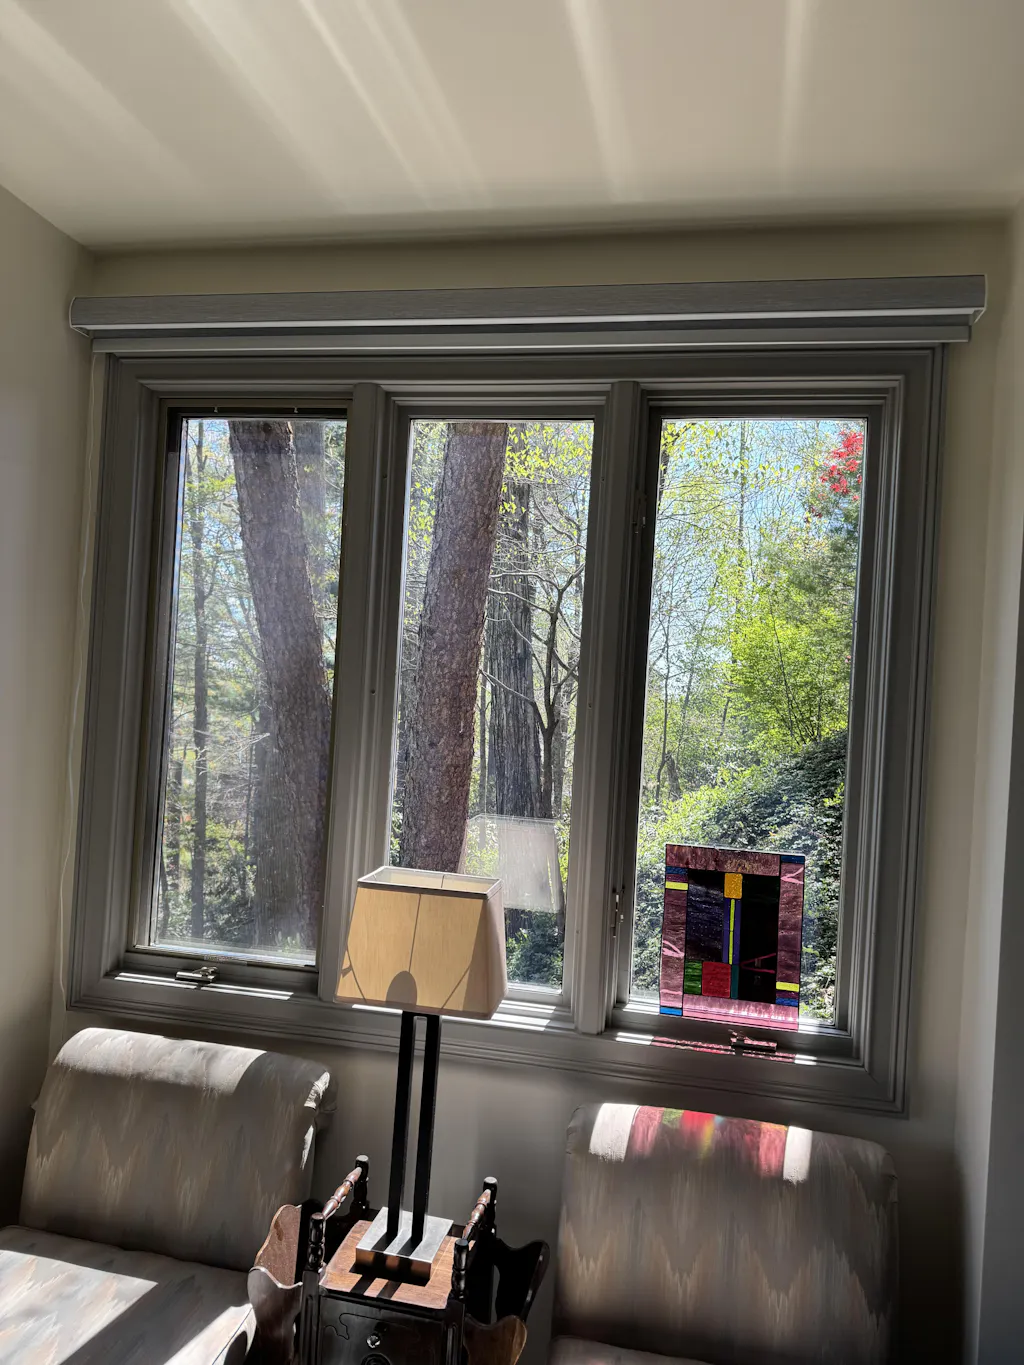
I remember staring at the half-inch gap in my bedroom window at 5:30 AM, watching a laser beam of sunlight hit me right in the eye. I had spent weeks picking the perfect fabric, only to realize my builder-grade frames were too shallow to actually hold the hardware. I’d forced an inside mount because I thought it looked 'cleaner,' but the result was a messy halo of light that rendered the blackout fabric useless.
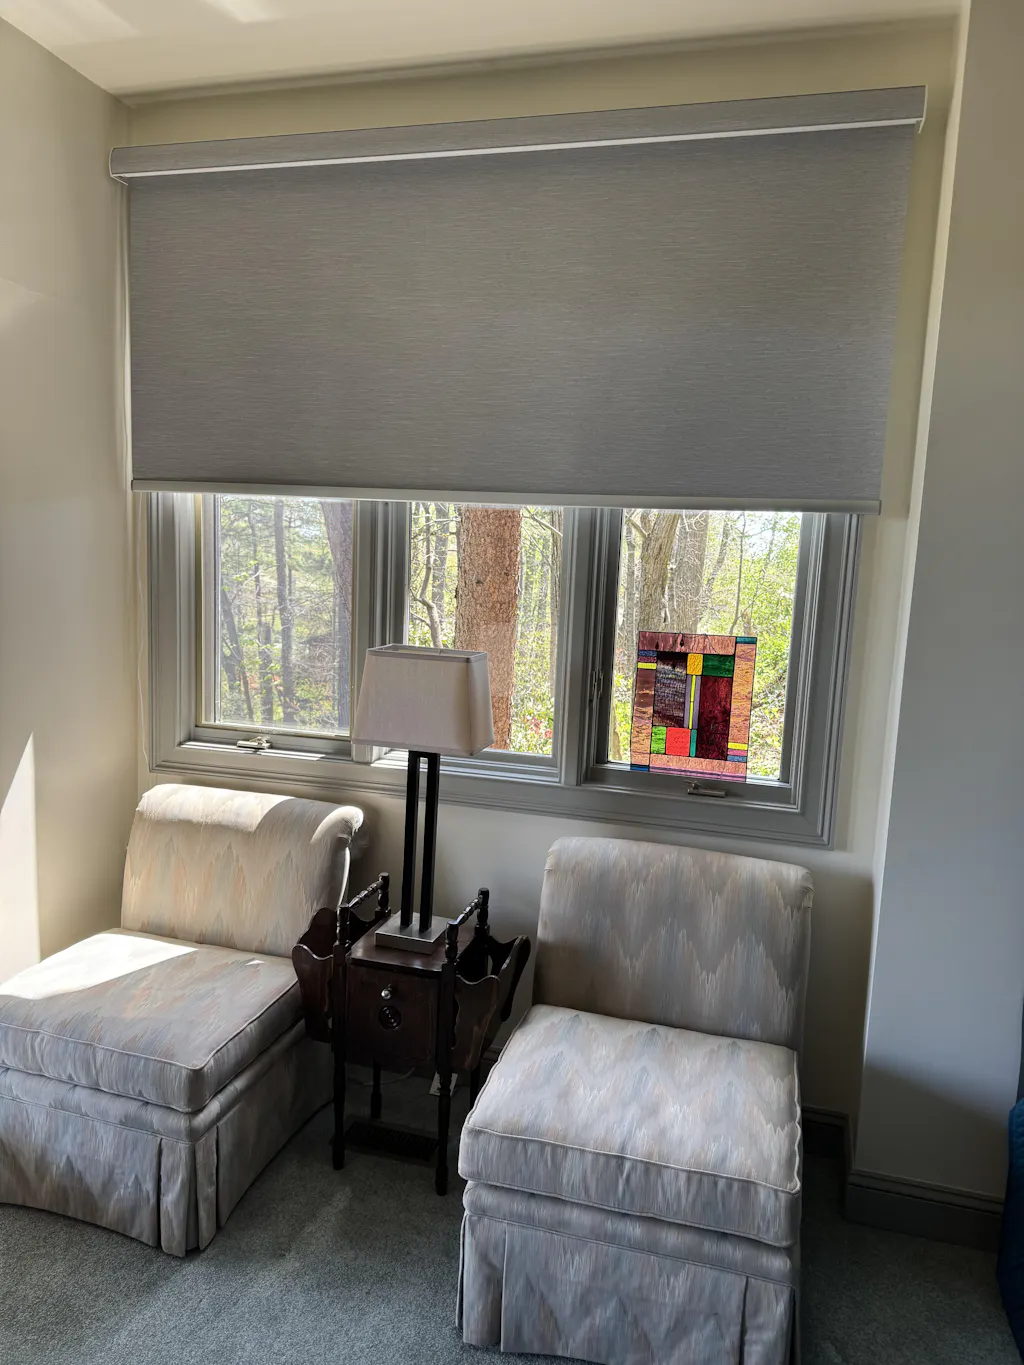
Switching to outside mount blackout shades isn't a compromise; it’s a strategic design move. Whether you are dealing with thin drywall returns or older windows that have been painted shut ten times, mounting on the wall or trim is often the only way to get true darkness. It’s about taking control of the architecture you have, rather than fighting against it.
- Eliminate the 'light halo' by overlapping the window frame entirely.
- Create the illusion of larger windows by mounting hardware higher and wider.
- Avoid the frustration of shallow, builder-grade window depths.
- Provide a cleaner surface for layering decorative drapery panels.
Why Forcing an Inside Mount on a Shallow Frame is a Design Mistake
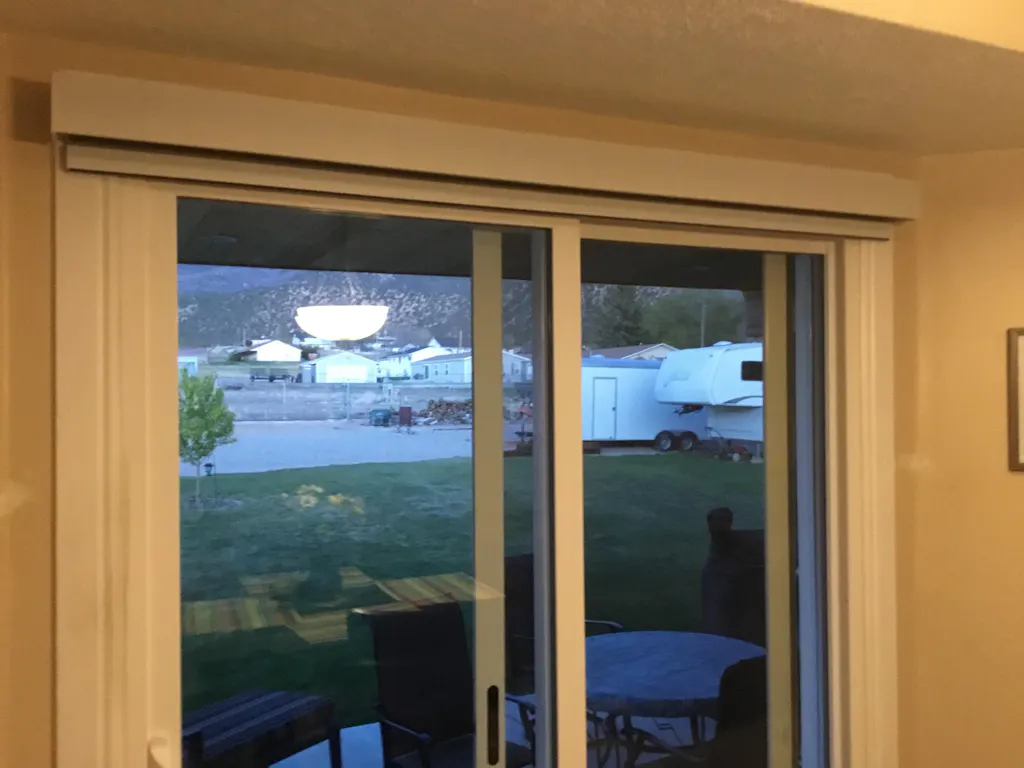
Most modern apartments and suburban builds come with windows that have about an inch of mounting depth. If you try to jam a high-quality blackout roller there, the hardware will stick out like a sore thumb. It’s not just an aesthetic issue; it’s a functional failure. When a shade doesn't sit flush within the frame, light leaks through the sides, the top, and even the bottom. You end up with a glowing border that makes it impossible to sleep in on a Saturday morning.
I’ve seen clients try to fix this with weather stripping or 'light blockers,' but those are just Band-Aids. The real culprit is the lack of depth. If your window casing isn't at least 2.5 inches deep, Why Your Blackout Roller Shades Inside Mount Aren't Pitch Black is a reality you'll have to face. Using blackout blinds outside mount allows the fabric to sit flat against the wall or the trim, creating a physical barrier that light can't easily bypass. It’s the difference between a door that’s slightly ajar and one that’s deadbolted shut.
There is also the 'protrusion' problem. An inside mount on a shallow sill means the roller tube hangs out into the room. It looks unintentional and cheap. By choosing an outside mount from the start, you acknowledge the hardware needs space. You can then choose a mounting style that looks like a deliberate architectural choice rather than a measuring error.
How to Fake Grand Architecture with an Outside Mount
One of my favorite tricks for making a standard 48-inch window look like a custom feature is to ignore the actual window size entirely. When you use outside mount blackout shades, you aren't limited by the glass. I typically suggest mounting the brackets at least 4 to 6 inches above the top of the window trim. This draws the eye upward, immediately making your ceilings feel like they’ve gained a foot in height.
This 'height hack' works best when you also extend the width. If you mount the shade so it covers the side trim and a few inches of the wall, the window appears much more substantial. It hides those skinny, cheap-looking wood trims that builders love. Instead of a small hole in the wall, you have a bold, structured block of fabric that feels grounded and expensive. I recently did this in a nursery with 8-foot ceilings, and the room felt twice as airy the moment we moved the shades out of the frames and onto the walls.
The fabric choice matters here, too. A heavy-duty polyester with a matte finish or a subtle linen texture prevents the shade from looking like a plastic sheet. When the shade is down, it looks like a custom fabric panel. When it’s up, it’s tucked away high above the glass, allowing every bit of natural light to flood the room without the hardware blocking the view.
The 'Plus Three' Rule for Sizing Your Shade
To get that pitch-black room and the architectural 'lie' just right, you need to follow the 'Plus Three' rule. This is my personal standard for blackout roller shades outside mount. You measure the width of your window including the trim, and then you add three inches to each side. That six-inch total increase ensures that even if the fabric shifts slightly on the roller, you still have a massive overlap to kill light bleed.
For the height, add at least three inches to the top and two inches below the bottom sill. If you don't have a protruding sill, let the shade overlap the wall at the bottom. This creates a seal that prevents light from bouncing off the floor and into the room. Once you have these numbers, check out How To Install Your Shades to ensure you're hitting studs or using the right heavy-duty anchors. A 72-inch blackout shade has some weight to it, and you don't want it pulling out of the drywall three months in.
Don't be afraid of the extra width. I once had a client worry that the shades would look 'too big' for the wall. Two weeks later, she called to tell me she finally slept past 7 AM for the first time in years. The extra three inches of fabric on the sides acts as a gasket, trapping the light behind the shade. It's a technical necessity that happens to look great.
Hiding the Hardware: Valances That Actually Look Custom
The biggest gripe people have with outside mount blackout roller shades is seeing the 'guts' of the operation—the metal tube and the roll of fabric. If you leave it exposed, it can look a bit industrial. The fix is a cassette or a valance. A sleek, fabric-wrapped cassette box hides the roller completely and gives the treatment a finished, furniture-quality look. It makes the shade look like a part of the wall rather than an afterthought.
I prefer a squared-off cassette over a rounded one. The sharp lines feel more contemporary and align better with the edges of your window frame. If you're going for a more traditional look, you can even install a custom wood corniced box over the shade. This completely hides the mounting brackets and allows the fabric to drop down like a theater curtain. It’s a high-end look that you simply can’t achieve with an inside mount.
Another tip: match your hardware color to your wall color. If you have white walls, use a white cassette. This makes the hardware 'disappear' when the shades are up, keeping the focus on your decor rather than the mechanics of your window treatments. It’s these small, intentional details that separate a DIY project from a professional design.
How to Layer Drapes Over an Outside Mount Without the Bulk
If you love the softness of curtains but need the functional darkness of a roller, layering is your best friend. The trick to layering over an outside mount is all in the rod projection. You need a drapery rod that sits at least 2 inches further out than the shade hardware. Most standard 'double rods' are too cramped for this, so I usually buy individual heavy-duty brackets with a 6-inch projection.
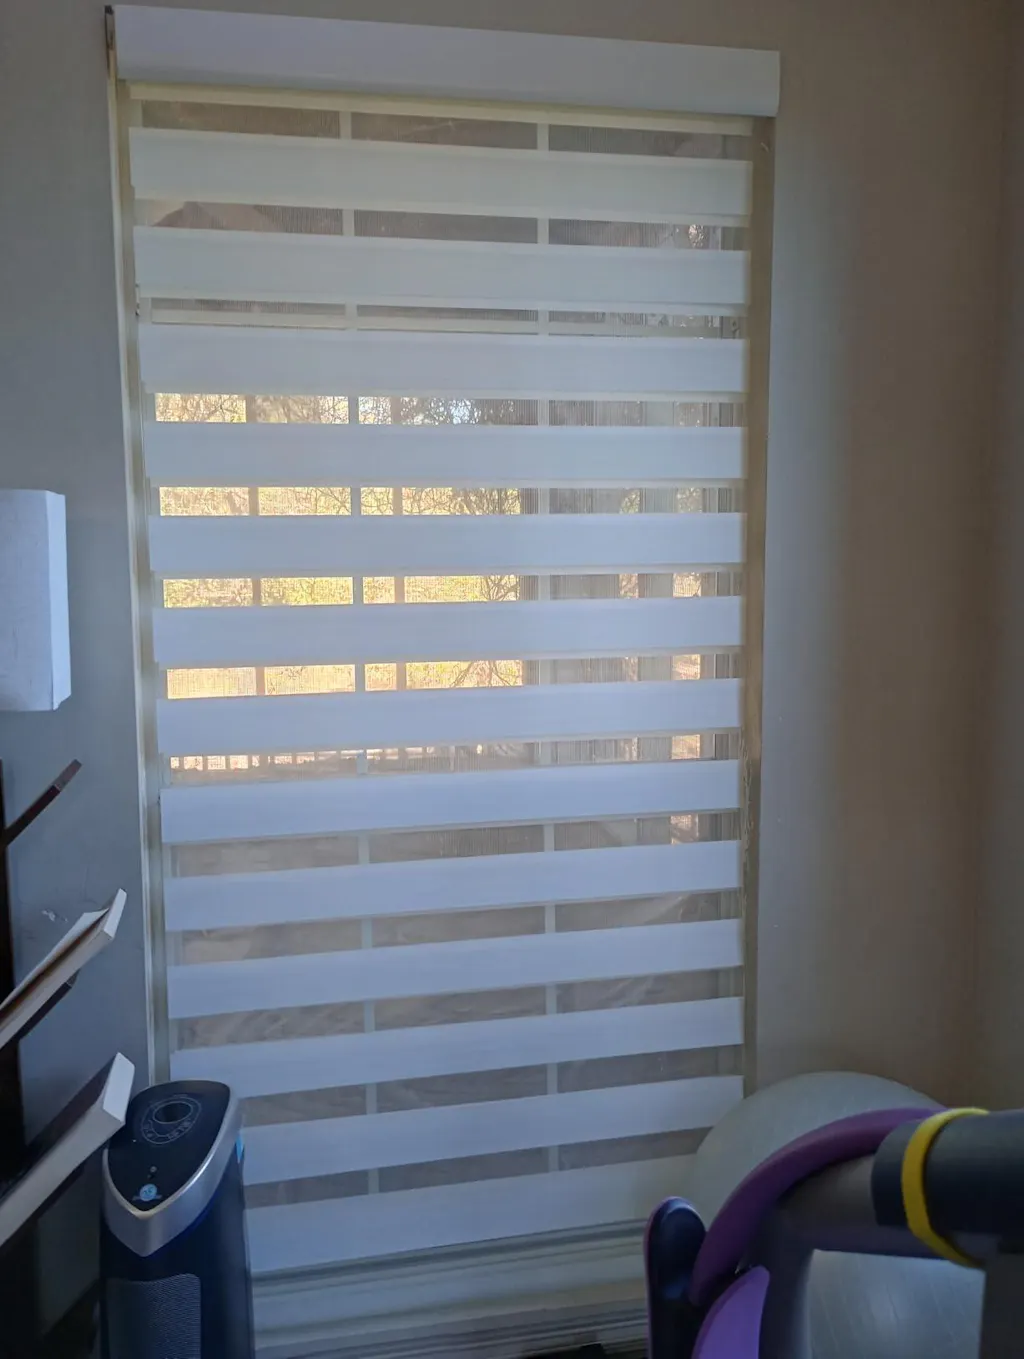
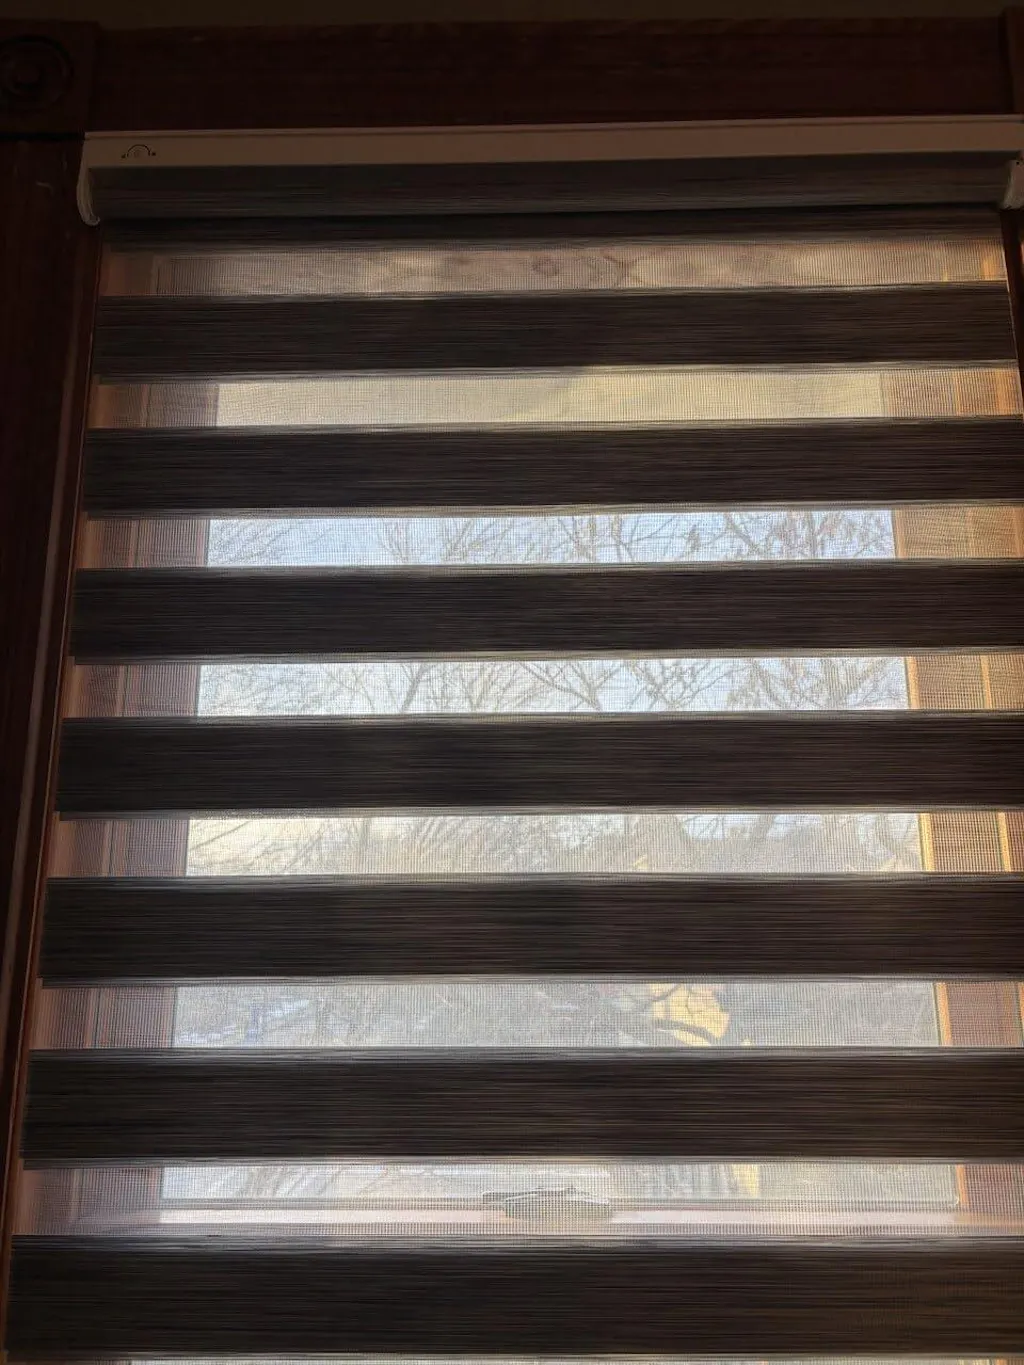
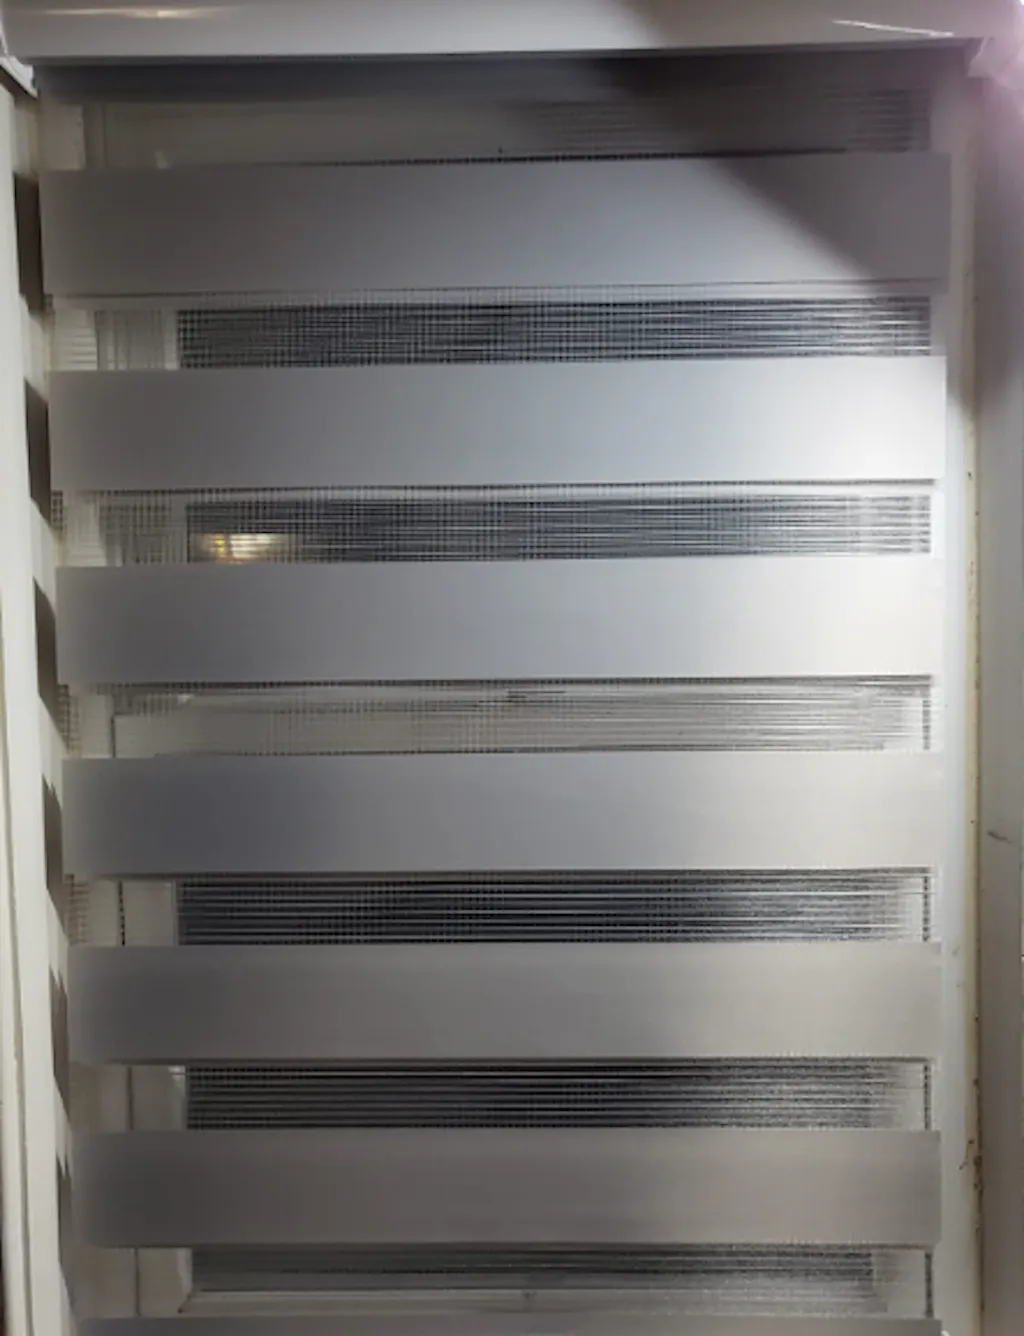
For the base layer, something like the Canisteo Motorized Zebra Shades 60 Blackout Luxe works beautifully because it offers a slim profile while providing that essential light control. When you flank a shade like this with stationary linen panels, you get the best of both worlds: the crisp, functional lines of the shade and the soft, tactile warmth of the drapes. It hides the edges of the outside mount hardware and makes the whole window look like a custom installation.
Make sure your drapery panels are wide enough. I always recommend 2.5x fullness. For a standard window, that means using two 50-inch panels on each side. If the panels are too skimpy, the outside mount shade will look bulky underneath. With enough fabric in the drapes, the shade just looks like a high-end lining. I once messed this up in my own guest room by using thin, single-width panels, and the shade brackets poked through like sharp elbows. I had to go back and double the panels to get that lush, high-end hotel feel.
Personal Experience: The Midnight Re-Measure
I learned the hard way that you can't wing it with outside mounts. Early in my career, I ordered a beautiful navy blackout shade for a client's bedroom. I measured the glass, added an inch, and called it a day. When it arrived, the light bleed was so bad it looked like the window was on fire. I ended up staying until midnight, re-mounting the brackets higher and eventually having to re-order the entire shade three inches wider. It was an expensive lesson in the importance of that side overlap. Now, I never go less than three inches past the trim. It’s the only way to guarantee a happy client (and a good night's sleep).
Frequently Asked Questions
Can I install outside mount shades on the window trim?
Yes, but I don't usually recommend it unless your trim is flat and very sturdy. Mounting to the wall above the trim is usually more secure and allows you to play with the height of the room. If you do mount on the trim, make sure you use pilot holes so you don't crack the wood.
Will an outside mount shade damage my walls?
It requires drilling a few holes, but no more than a standard curtain rod would. If you're a renter, just keep a small tub of spackle handy for when you move. The trade-off for better sleep is well worth two small holes in the drywall.
Do I need a professional to measure for outside mounts?
Not at all. Just remember: measure the outer edges of your trim, then add your 'Plus Three' to the width. It’s actually much more forgiving than an inside mount, where being off by an eighth of an inch can mean the shade won't fit in the frame.