My Cheat Code for How to Make Roman Shades Easy (Without Sewing)
I remember staring at the bare windows of my first apartment for six months. Custom window treatments were quoted at a price that rivaled my monthly rent, and the cheap tension rods I bought kept crashing down at 3 AM. I wanted that tailored, high-end look of a structured fold, but I didn't have a sewing machine or the patience for a three-day craft project. This is exactly why I figured out how to make roman shades easy without losing my mind or my security deposit.
You don't need a professional workroom to get crisp lines. You just need to stop trying to build a shade from scratch and start using a skeleton that already works. This method is the ultimate easy roman shade hack for anyone who wants the look of a $400 linen treatment for the price of a takeout dinner.
- Use a cheap vinyl mini-blind as your structural base.
- Stick to medium-weight linen or cotton blends (around 200-250 gsm).
- Heavy-duty hem tape is your best friend—skip the hot glue gun.
- Always mount 4-6 inches above the window frame to cheat the ceiling height.
Why Most Pinterest-Inspired Window Hacks Look Like Craft Projects
We've all seen those tutorials that promise a five-minute window makeover. Usually, they involve a hot glue gun and a prayer. The problem with most diy roman shades easy tutorials is that they ignore physics. Hot glue is thick and rigid; when it dries, it creates visible lumps under the fabric that scream DIY in the worst way possible. It also smells like a craft store for weeks.
Another common mistake is choosing fabric that is either too thin or too stiff. If your fabric has the structural integrity of a cardboard box, it won't fold—it will just bulge. You want a diy roman shades easy project to result in something that drapes with a soft, architectural weight. I once tried using a heavy outdoor canvas for a Roman shade, thinking it would be durable. Instead, it was so stiff it looked like a trapezoid hanging from my wall. It never settled into those classic folds, and I ended up ripping it down in a fit of design rage at midnight.
The Mini-Blind Hack: How to Make Roman Shades Easy
The secret to an easy to make roman shades project is repurposing a standard, corded vinyl mini-blind. Instead of measuring out complicated ring systems and cord locks, you use the blind’s existing mechanism. You simply snip away the thin ladder strings—the ones that hold the slats together—keeping only the thick center pull-cords. Then, you remove most of the slats, leaving just enough to create your folds.
You'll leave one slat every 8 to 12 inches to act as the ribs of your shade. This provides the structure that keeps your folds perfectly horizontal. Once your fabric is attached to the top rail and the remaining slats, how to install your shades is as simple as snapping the original blind back into its brackets. It is the exact same mechanical process as a standard blind, just disguised as a high-end custom piece.
Choosing a Fabric That Won't Fight You
I’ve learned that fabric choice is 90% of the battle. If you go too heavy—like a 400 gsm upholstery velvet—the shade will be too bulky to stack at the top of the window. It becomes a giant roll of fabric that blocks half your light. If you go too light, like a sheer voile, you will see every glob of adhesive and the plastic slats behind it. I always recommend a medium-weight linen-cotton blend. It has enough memory to hold a fold but enough softness to look expensive.
If you pick something with too much synthetic content, you might find Why Your Cloth Roman Shades Hang Stiffly (And How to Fix It) becomes your next troubleshooting search. Natural fibers like flax and cotton respond better to steam, which is the pro secret to making a DIY shade look like it came from a designer showroom. A 7-ounce linen is usually my sweet spot for these projects.
The Secret to Folds That Look Bespoke, Not Botched
Precision is what separates the pros from the amateurs. When you’re spacing out your slats, use a ruler—don't eyeball it. If your slats are 10 inches apart, every single one must be exactly 10 inches apart. If you're off by even half an inch, the bottom hem will sag on one side, and you'll be reminded of that mistake every time you walk into the room.
Once the shade is assembled, you have to train the fabric. This means folding the shade up manually into its finished position and leaving it there for 24 to 48 hours. I usually use a few clothespins to hold the folds in place. This sets the creases so that when you lower and raise the shade later, it naturally falls back into those crisp, clean lines without you having to finger-pleat it every single morning.
The Brutal Truth About Daily Raising and Lowering
I’m going to be honest with you: this is a styling hack more than a heavy-duty solution. If this is a window you plan to raise and lower three times a day—like a kitchen window over a sink or a primary bedroom window—the DIY version might eventually show some wear. The adhesive on the slats can pull away over time under constant tension and heat from the sun.
For high-traffic windows where privacy and light control are a constant daily dance, you are almost always better off investing in custom Roman Shades. They are built with industrial-grade components and stitched seams that can handle thousands of cycles without the fabric peeling off the ribs. But for a guest room, a home office, or a nursery? The DIY route is a brilliant way to save hundreds of dollars while still getting that tailored aesthetic.
How to Style Your New 'Custom' Shades Like a Pro
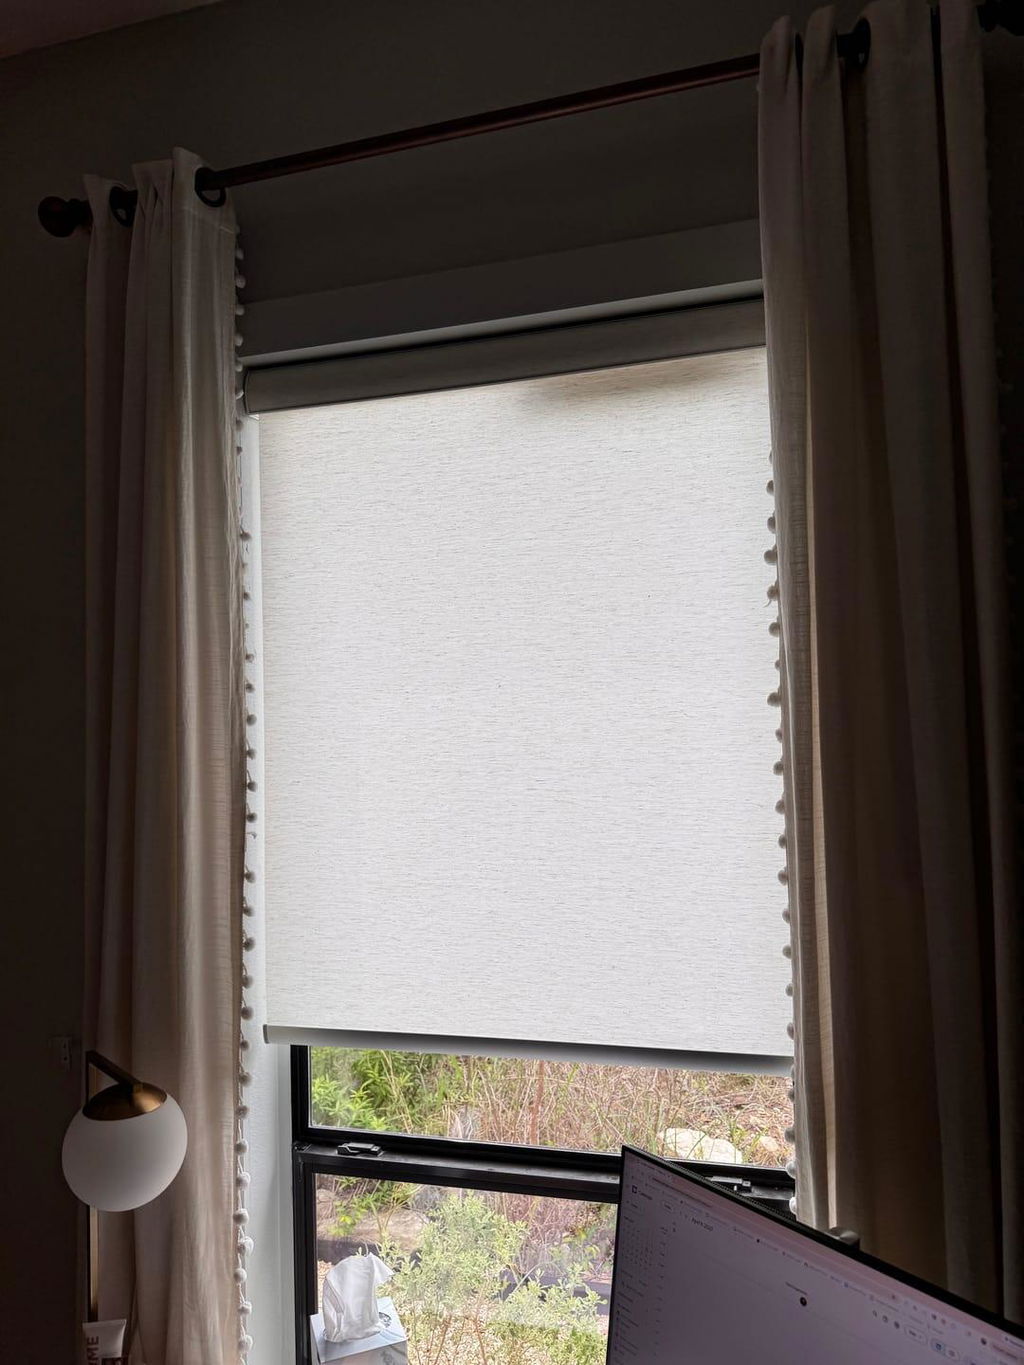
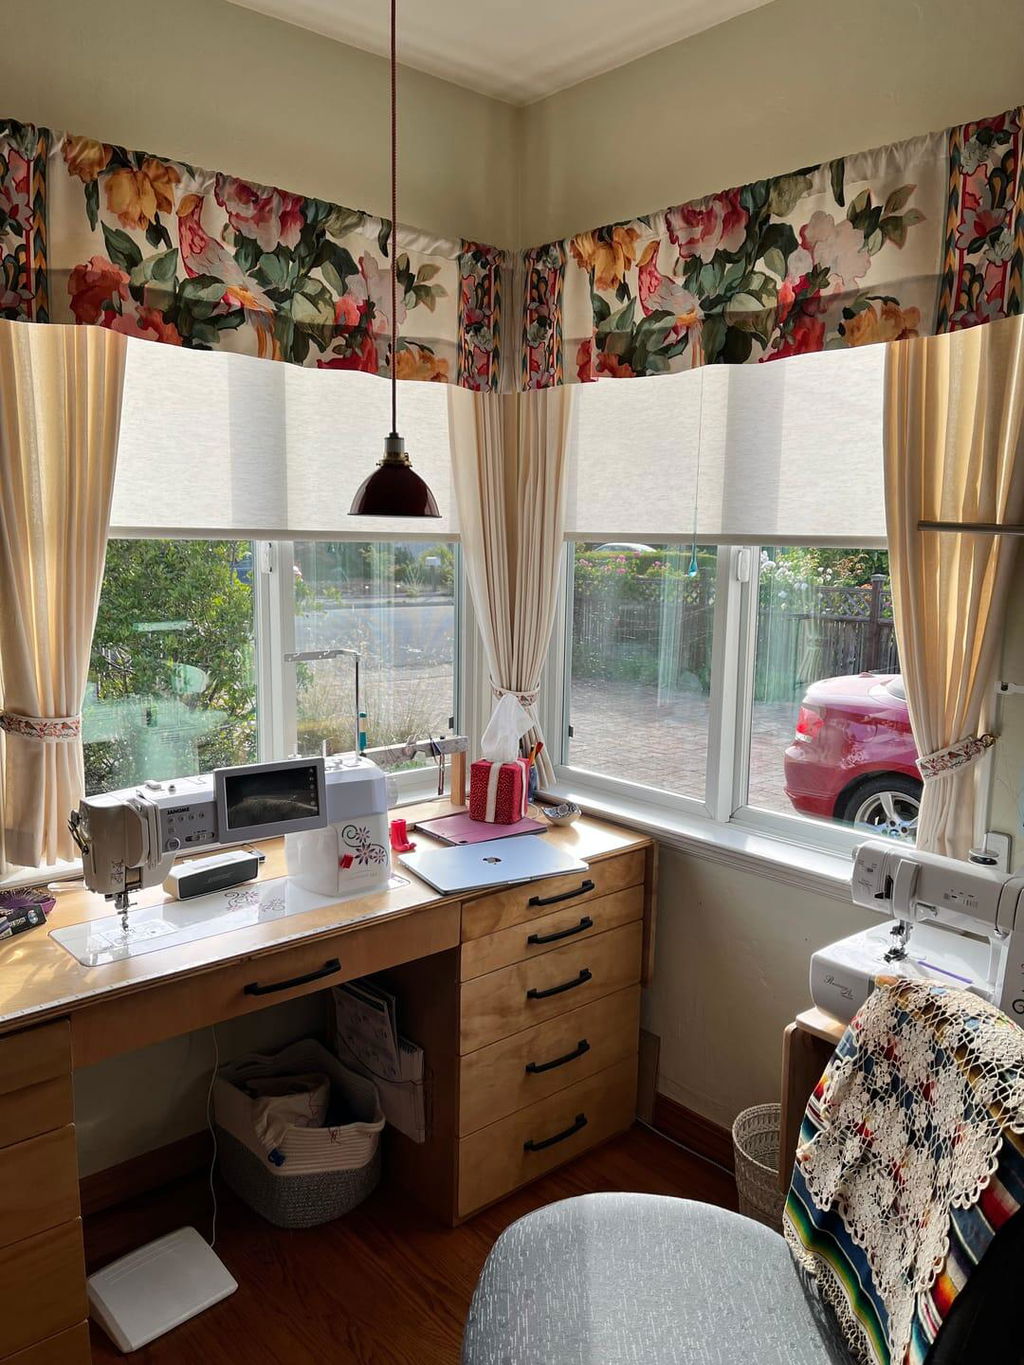
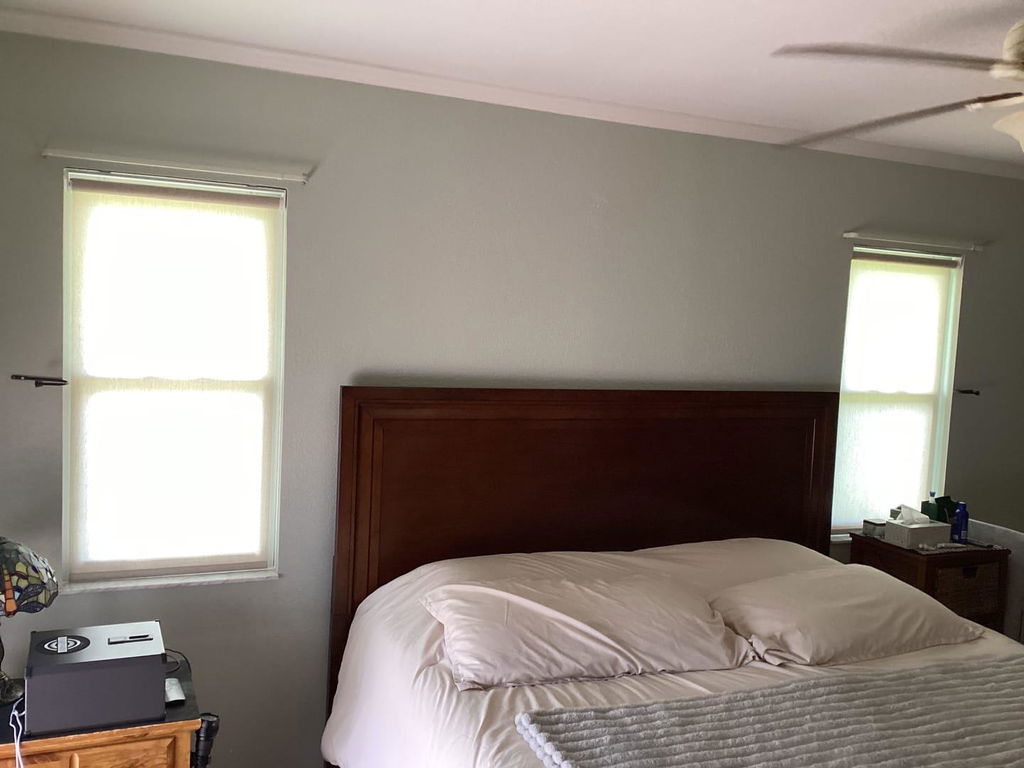
Placement is everything. Never mount your shade inside the window frame if you want the room to feel taller. Instead, mount the headrail 4 to 6 inches above the trim. This makes the window appear larger and allows more light to enter the room even when the shade is partially stacked. Give the whole thing a final pass with a handheld steamer while it's hanging to relax any packaging wrinkles. It makes the linen look supple and high-end rather than crunchy.
Is it better to use glue or hem tape?
Heavy-duty heat-activated hem tape is usually more reliable than liquid fabric glue. It creates a flatter bond and won't seep through the fibers of your linen. Just make sure your iron is on the correct setting so you don't scorch your fabric before the project is even finished.
Can I wash my DIY roman shades?
Not really. Since the fabric is bonded to plastic slats and a metal headrail, you can't exactly toss it in the machine. Spot clean with a damp cloth or use a vacuum attachment to keep the dust off. This is why I suggest choosing a fabric with some texture—it hides the occasional smudge better than flat white cotton.
What if my window is wider than a standard mini-blind?
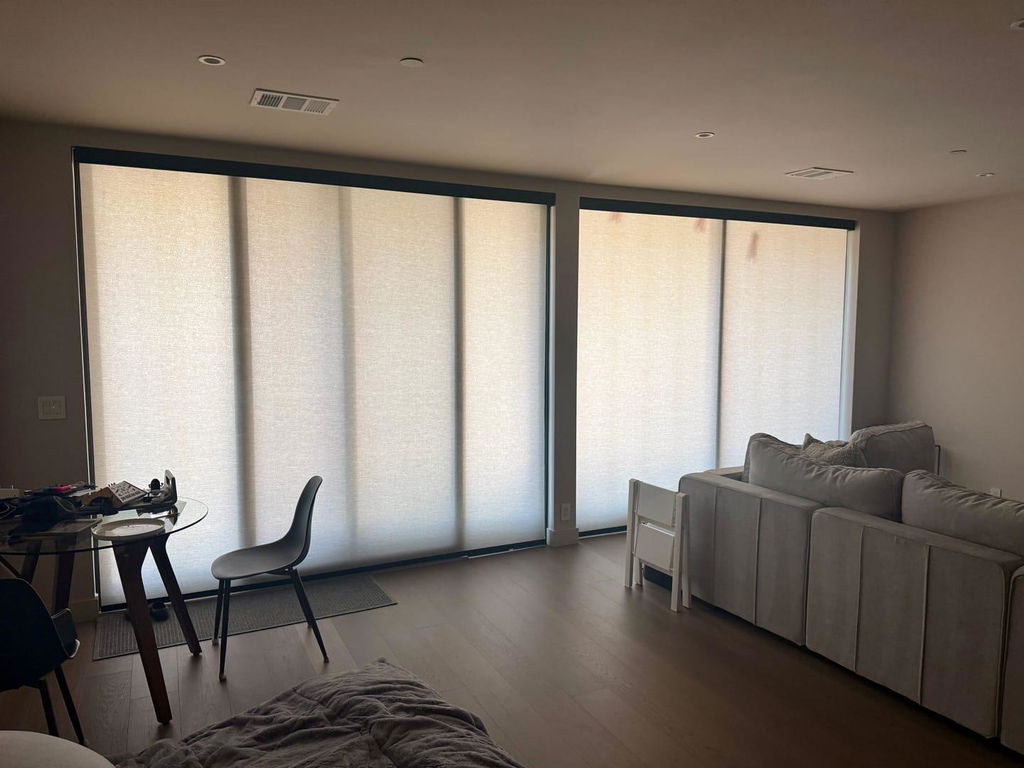
If you have an extra-wide window, don't try to piece two blinds together. It will look messy. Instead, use the faux method where you simply mount the fabric and slats to a board for a stationary look, or bite the bullet and order a custom-width shade to ensure it functions safely.