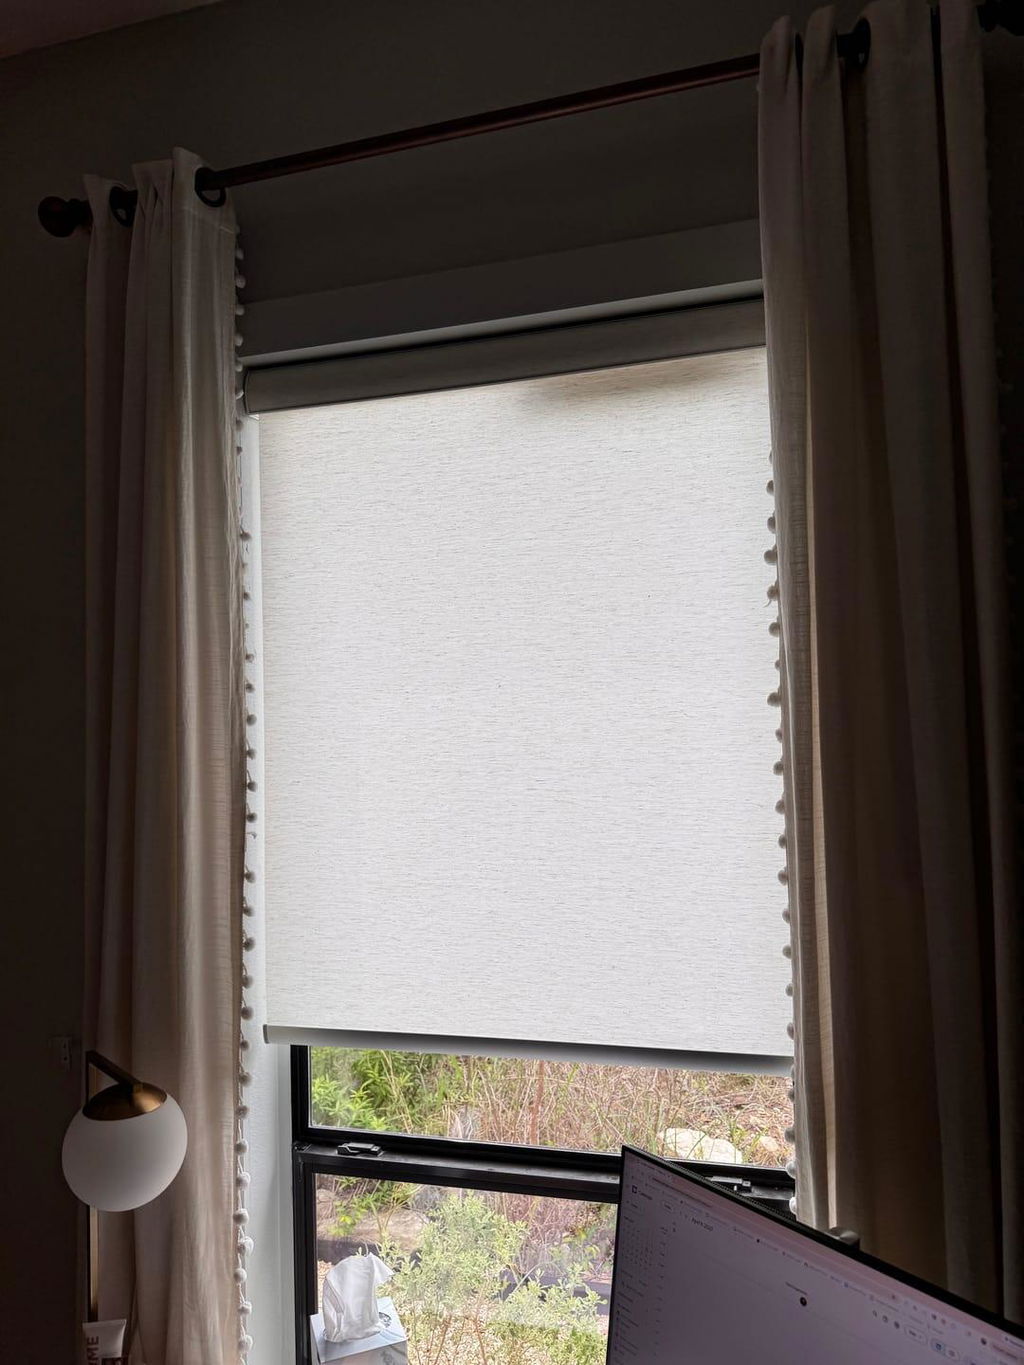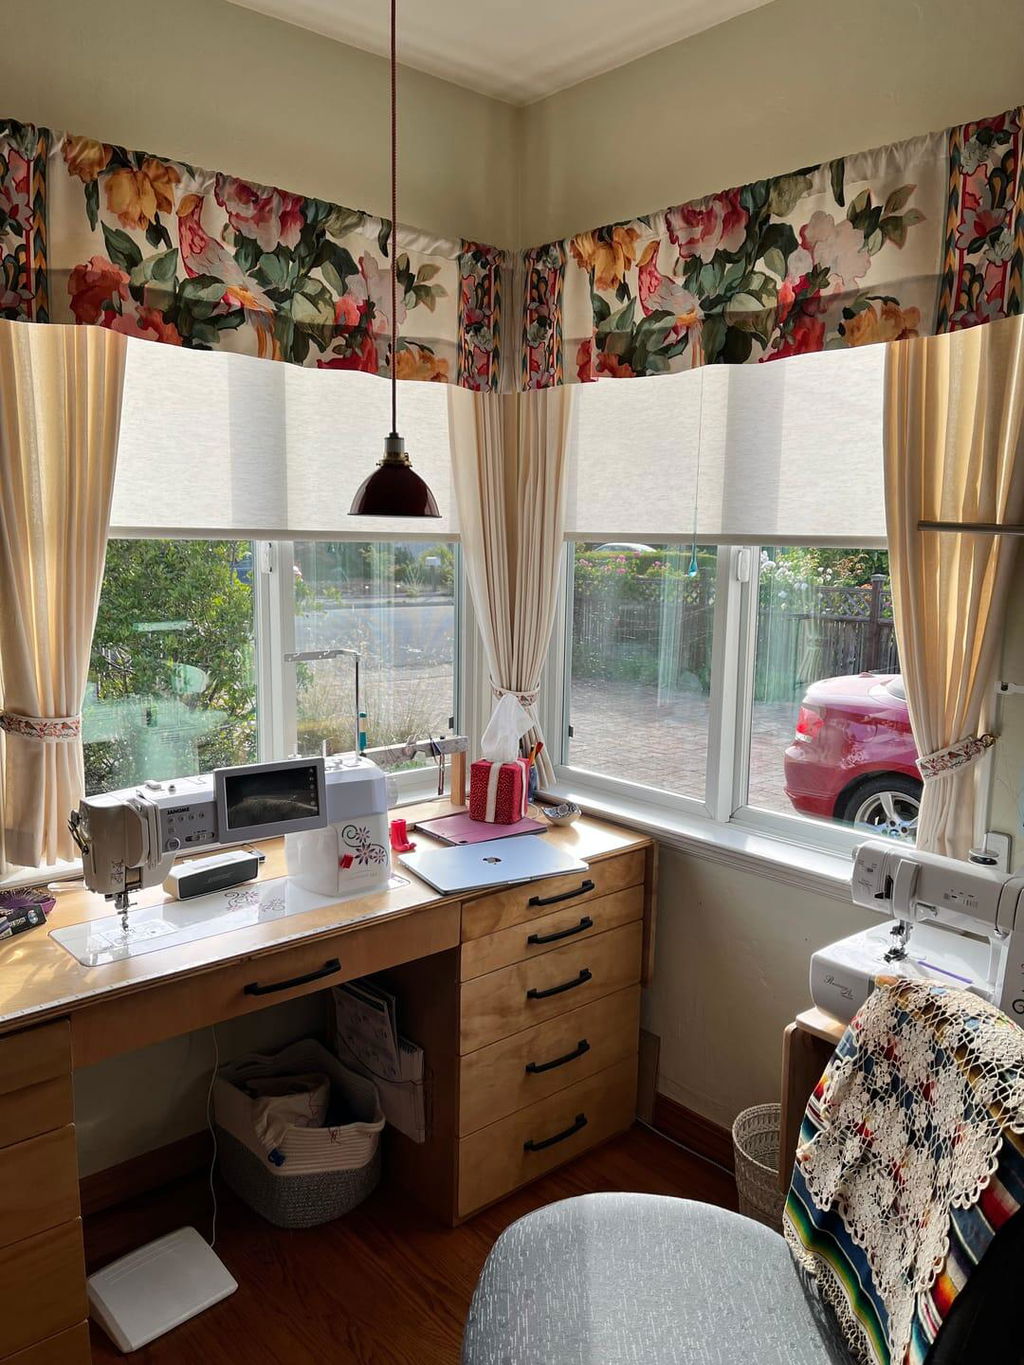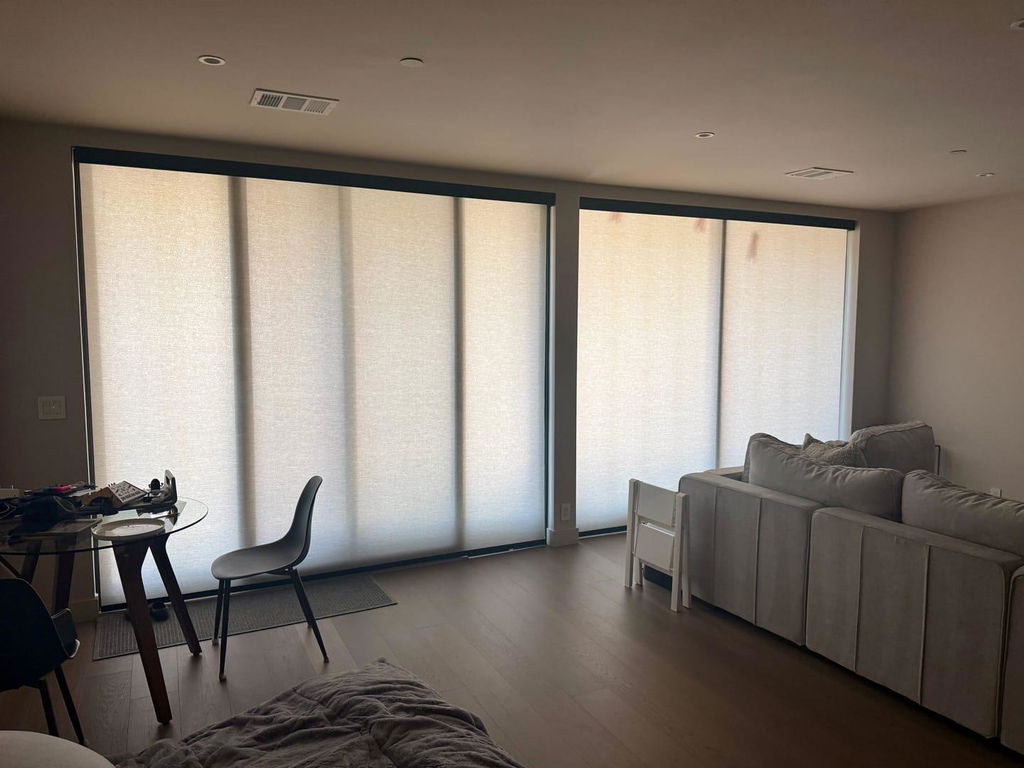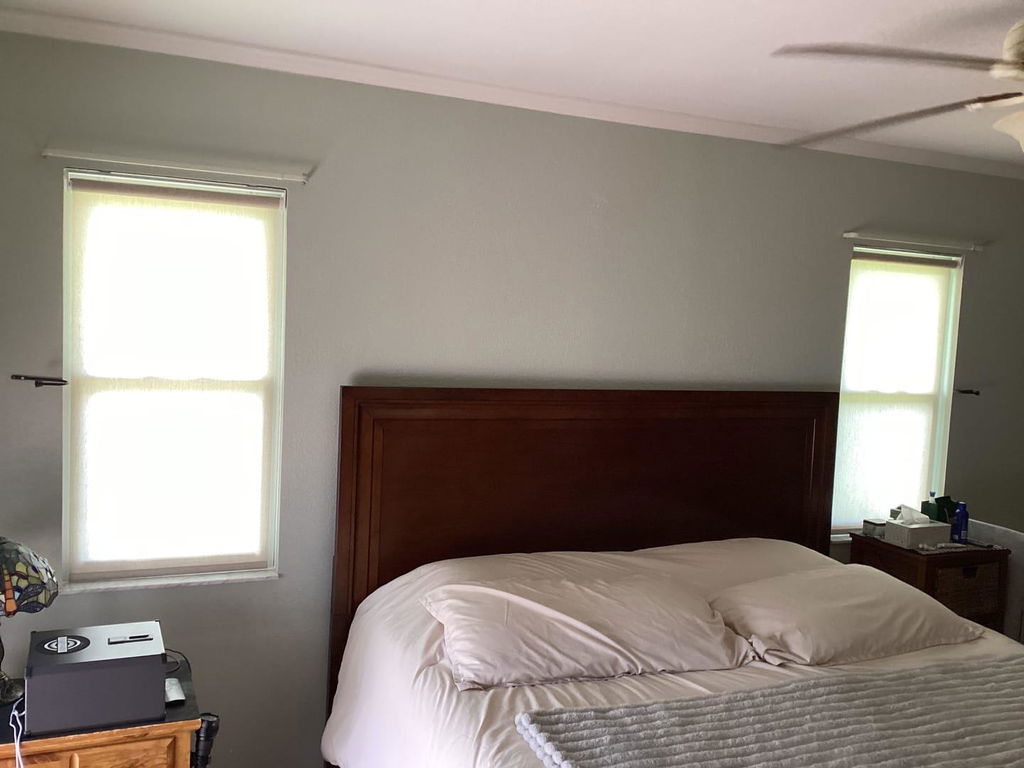
I Made $400 Custom Fabric Shades Using a $25 Roller Blind Kit
I remember the first time I got a quote for custom Roman shades for my breakfast nook. I wanted that specific Schumacher citrus print—something punchy to wake me up. The workroom quoted me $450 per window, labor only. I nearly fell off my vintage bentwood chair. That is when I realized I was paying for the mystery, not the complexity.
The truth is, a custom shade is often just a gorgeous piece of textile wrapped around a simple mechanical core. Once you realize you can buy a roller blind kit for less than the price of a fancy brunch, the curtain is pulled back on the whole industry. You don't need a professional sewing room; you just need a steady hand and the right hardware.
- Custom fabric shades for 90% less than workroom prices.
- Professional-grade hardware is accessible to everyone.
- Fabric choice is the difference between success and a jammed roller.
- Squaring your fabric is the most critical step for a straight hang.
The $400 Workroom Secret I Was Told Never to Share
High-end designers have a vested interest in making window treatments feel like dark magic. They talk about bespoke tension and proprietary clutches, but if you peek behind a $500 designer shade, you will often find the exact same aluminum tube and plastic bracket system used in standard roller shades. The markup isn't in the metal; it is in the luxury of not doing it yourself.
By using a roller blind diy kit, you are essentially acting as your own workroom. You source the fabric—maybe a remnant of heavy Belgian linen or a discontinued Scalamandré print—and you marry it to the hardware. It is the ultimate hack for getting a high-end, tailored look in a rental or a first home without draining your savings account.
What Actually Comes in These DIY Roller Blinds Kits?
When your roller shade kit arrives, it looks deceptively simple. You generally get two mounting brackets, a beaded chain or a spring mechanism, and the roller shade kit with tube. That tube is the backbone of the project. It is usually lightweight aluminum, and many diy roller shade kits allow you to cut the metal to your exact window width with a simple hacksaw.
I prefer the chain-drive systems for DIY projects because they are easier to troubleshoot. If the tension in a cordless spring-loaded shade roller kit goes wonky, it is a nightmare to recalibrate. With a manual clutch, you have total control. The window shade kit ensures all the bits and bobs actually fit together, saving you three trips to the hardware store.
The Biggest Mistake You'll Make: Picking the Wrong Fabric Weight
Not all fabrics are born to roll. I once tried to make a shade out of a heavy, plush velvet because I wanted that moody, library vibe. It was a disaster. The fabric was so thick that by the time the shade was halfway up, the roll was four inches thick and jammed against the brackets. If you have your heart set on something that heavy, you might need heavy-duty motorized dual roller shades designed for commercial weight.
For a diy roller shade kit, stick to medium-weight linens, cotton ducks, or stiffened canvas. You want something around 200-300 gsm. Too thin, like a voile or a cheap quilting cotton, and the shade will look flimsy and wrinkle every time you touch it. A crisp linen-cotton blend is the sweet spot; it has enough body to hang straight but stays slim enough to roll up tightly onto the diy roller shade tube.
The 'Stiff Edge' Trick: How to Keep Your Fabric From Fraying
Factory-made shades have heat-sealed edges to prevent fraying. Since you likely don't have a laser cutter in your kitchen, you have to get creative. My secret is heavy-duty iron-on interfacing or a dedicated fabric stiffener spray. I apply a one-inch strip of ultra-firm interfacing to the side edges of the fabric before I even think about the shade roller kit.
This gives the fabric a memory. It stays rigid and resists the urge to curl inward at the sides—a common homemade giveaway. If you are using a diy roller blind kit with a sheerer fabric, use a liquid stiffener. It makes the textile feel almost like paper, allowing it to track perfectly straight without those annoying little threads catching in the mechanism.
Step-by-Step: Assembling the Shade Without It Looking Homemade
The moment of truth is attaching the fabric to the d i y roller blinds kits. Most tubes come with a sticky adhesive strip. Before you peel that backing, use a carpenter's square to ensure your fabric is cut at a perfect 90-degree angle. If your cut is even an eighth of an inch off, the shade will telescope—it will spiral off to one side as you roll it up, eventually shredding the edge against the bracket.
I lay everything out on the floor, tape the fabric down to keep it taut, and then slowly press the tube onto the fabric edge. Once it is stuck, I give it one full manual wrap before installing it in the brackets. If you find yourself struggling with the alignment, there are plenty of shade solutions available online, but patience is your best tool here. Measure three times, stick once.
When to Build It Yourself vs. When to Just Buy Custom
I love a DIY project, but I also know when to wave the white flag. A roller window shade kit is perfect for standard-sized windows, especially in kitchens or bedrooms where you want a specific pattern. However, if you are dealing with a double-height living room window or a skylight, do not try to DIY it. The sheer weight of the fabric over a 72-inch span will cause the diy roller blinds kits to bow in the middle.
Even if you go the custom route for your main rooms, learning how to use a roller shade kit is invaluable. I once saved a gorgeous, expensive shade in my guest room that had a snapped cord by using a basic roller blind repair kit. Knowing the anatomy of the hardware means you are never at the mercy of a repairman for a simple fix.
Can I use blackout fabric with a roller blind kit?
Yes, but make sure it is a four-pass blackout fabric that isn't too rubbery. Some cheap blackout linings are very sticky and can cling to themselves on the roller, causing the motor or chain to strain. Look for a fabric-faced blackout material for the best results.
Do I need a sewing machine?
Actually, no. If you use fabric stiffener or iron-on hem tape, this can be a completely no-sew project. In fact, sewing hems can sometimes add too much bulk to the edges, making the shade roll unevenly. A clean, stiffened raw edge often looks more professional.
How do I clean a DIY fabric shade?
Since the fabric is glued to the tube, you can't exactly toss it in the wash. I recommend vacuuming with a brush attachment weekly. For stains, spot clean with a damp cloth and mild detergent, but avoid soaking the fabric, as it might lose the stiffness you worked so hard to create.