I Hung an Outdoor Roller Shade 144 x 96—Here's What I Learned
I remember the moment the delivery truck pulled up with a tube that looked like it belonged on a commercial construction site rather than my back patio. Ordering an outdoor roller shade 144 x 96 felt like a smart way to reclaim my deck from the brutal 4 PM glare, but seeing twelve feet of hardware laid out on my lawn was a reality check. This isn't just a window treatment; it is a structural element that requires a bit of respect for the laws of physics.
- Don't trust the screws that come in the box for a 12-foot span.
- Openness factor is your best friend for wind management.
- A laser level is non-negotiable to prevent fabric fraying.
- You need at least two sets of hands, though three is better.
Why a 12-Foot Span Changes Everything (The Physics of Big Shades)
When you move from standard indoor roller shades to a massive exterior installation, the rules of engagement change. A 144-inch span is prone to 'smiling'—that annoying dip in the center of the tube caused by gravity. If that tube bows even slightly, your fabric won't roll up straight, and you’ll end up with a crumpled mess on one end and a gap on the other.
I realized quickly that the weight of the fabric alone—roughly 96 square feet of HDPE or PVC-coated polyester—is enough to pull cheap brackets right out of a header. You aren't just fighting the sun; you are fighting the constant downward pull of a 12-foot aluminum or steel roller tube. I had to ensure my mounting surface was perfectly flat across the entire width before I even thought about drilling my first hole.
The Wind Load Reality of a 144 Inch Outdoor Roller Shade
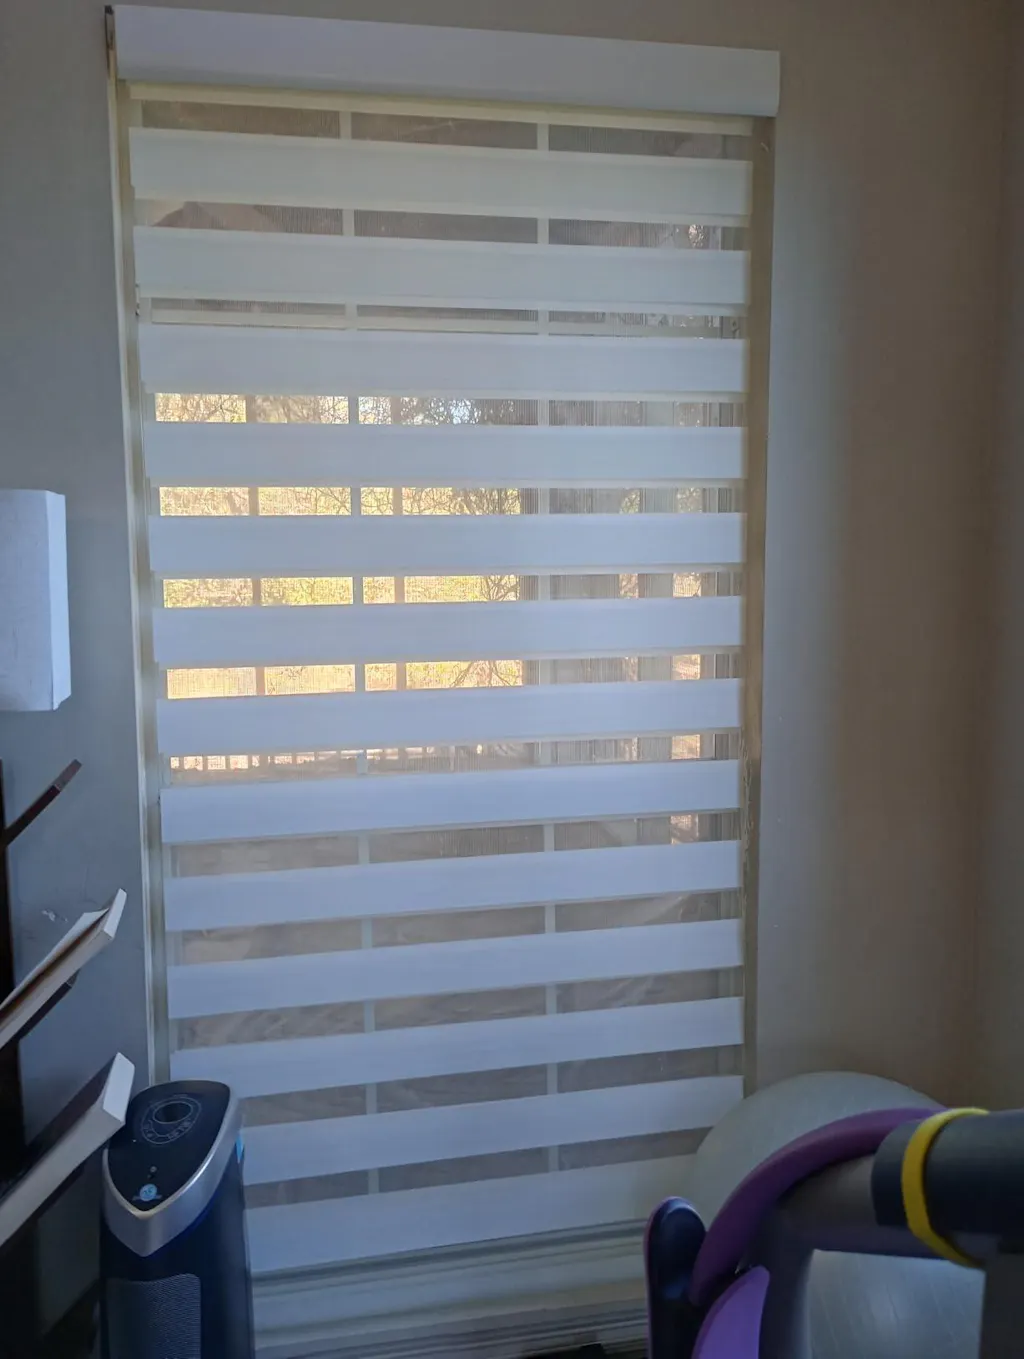
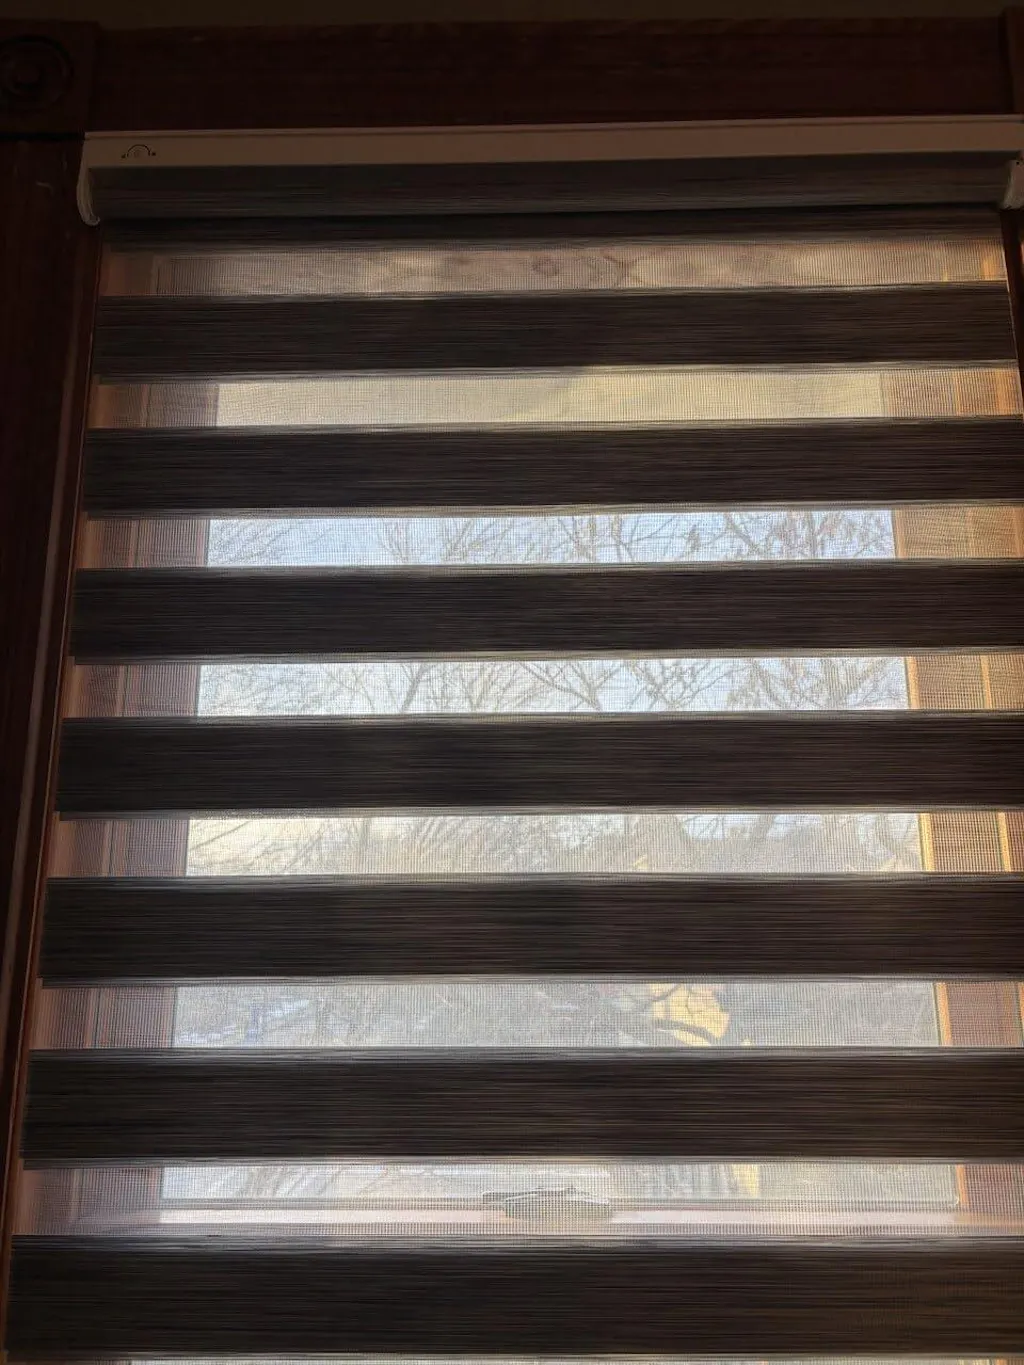
Think of your 144 inch outdoor roller shade as a giant sail. On a breezy afternoon, 96 square feet of fabric catches enough air to put hundreds of pounds of pressure on your mounting brackets. If you choose a 'blackout' fabric for the outdoors, you've essentially built a parachute that will eventually rip itself off your house.
I opted for Outdoor Shades 5 Openness because the weave allows just enough air to pass through while still cutting the heat by about 95%. It’s the difference between a shade that gently hums in the wind and one that bangs violently against your siding. If you live in a high-wind area, the tie-down bungees at the bottom are mandatory, not optional.
Upgrading Your Mounting Hardware (Ditch the Factory Screws)
The little silver screws included in most shade kits are fine for a 36-inch kitchen window, but they have no business holding up a 144-inch exterior shade. I tossed mine immediately. Instead, I headed to the hardware store for 3-inch stainless steel lag bolts. If you're mounting into brick or stone, don't settle for plastic sleeves; get the heavy-duty expansion anchors that actually bite into the masonry.
How I Handled the Install for My Outdoor Roller Shade 144 x 96
I called my neighbor over because there is no world in which one person can hold a 12-foot tube steady while reaching for a drill. We started by mounting the end brackets, but for a span this wide, a center support bracket is the secret to a long life. I followed the advice in this guide on How to Hang a Coolaroo Outdoor Roller Shade 120 x 96 Without Sagging to make sure the middle of the tube stayed perfectly horizontal.
The trick is to snap a chalk line or use a laser level across the entire 144 inches. If your brackets are off by even a quarter-inch, the fabric will 'telescope.' This means as you roll the shade up, it drifts to one side, eventually rubbing against the bracket and fraying the edges of your expensive fabric. I spent more time measuring the bracket placement than I did actually hanging the shade.
Finding the True Center and Leveling
I learned the hard way that 'eyeballing it' is a recipe for disaster. I used a 4-foot level, but even that wasn't enough for a 12-foot run. I ended up using a string line pulled tight between the two end points. This revealed that my patio header had a slight crown in the middle—a common issue—which I had to shim so the center bracket wouldn't push the tube upward.
Cordless vs. Motorized at This Scale
At 144 inches wide, the weight of the bottom rail and the fabric is substantial. If you go with a manual crank, be prepared for a bit of a workout. It takes about 40 to 50 rotations of a wand to fully deploy a 96-inch drop. I don't mind the manual effort, but if this shade were any higher up, I would have absolutely gone with a motorized system.
Motorization at this scale isn't just about laziness; it’s about smooth operation. A motor applies even pressure to the tube, which helps the fabric roll up perfectly every time. If you have the budget and an outdoor-rated outlet nearby, skip the manual wand and go for the remote. Your shoulders will thank you during the July heatwaves.
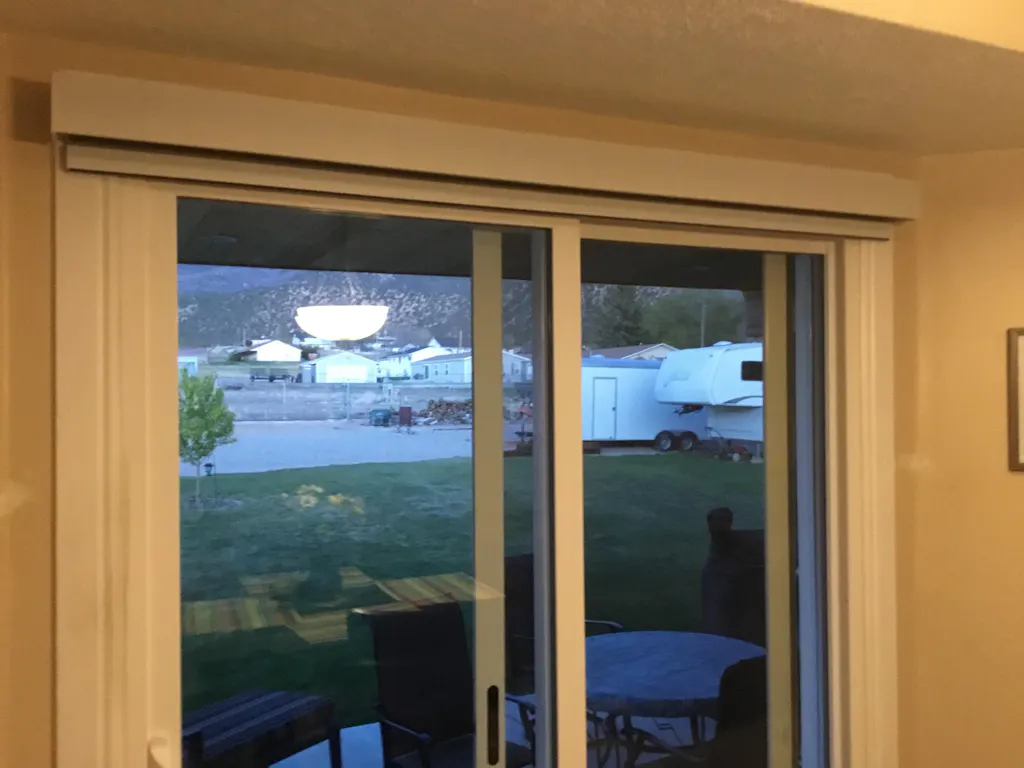
Does a Massive Shade Ruin the Patio Aesthetic?
I was worried a 12-foot tube would look like an industrial eyesore. However, choosing a hardware color that matches your trim—in my case, a dark bronze—makes the unit disappear when it's rolled up. I much prefer the clean, architectural lines of exterior patio roller blinds over the messy, wind-blown look of outdoor curtains that never seem to stay put.
The result is a patio that feels like an extra room. When the shade is down, the temperature drops by a noticeable 10 to 15 degrees, and the glare on my laptop screen is gone. It took a Saturday afternoon and some heavy-duty hardware, but the privacy and comfort were worth every minute of the install panic.
FAQ
Can I install a 144-inch shade alone?
No. You need at least one other person to hold the opposite end of the tube while you secure the first bracket. Attempting this solo will likely result in a bent tube or a trip to the ER.
What happens if it gets wet?
Most high-quality outdoor shades are made of mold-resistant synthetic fibers. However, you should never leave them rolled up while soaking wet for long periods. Let them air dry before retracting them to prevent 'musty' smells.
How do I clean such a large shade?
Don't take it down. Fully extend the shade and use a garden hose with a soft-bristle brush and mild soap. Let it sun-dry completely before rolling it back into the housing.