I Hid My Outdoor Vinyl Rollup Blinds Behind Trim and Gained a Sunroom
My back porch was a disaster zone every spring. I’d spend April scrubbing yellow pollen off expensive teak furniture, only for a May thunderstorm to soak the cushions and leave everything smelling like a damp basement. I tried the Pinterest-perfect route first: bamboo shades that rotted in six months and canvas drapes that grew a layer of grey fuzz. Eventually, I swallowed my pride and bought outdoor vinyl rollup blinds from the local hardware store.
They weren't pretty. In fact, they looked like something you'd find at a budget car wash. But they worked. They blocked the rain, deflected the heat, and wiped clean with a garden hose. I realized that if I wanted a space that actually felt like a room, I had to stop treating these as temporary fixes and start treating them like architectural elements.
- Swap plastic cleats for heavy-duty marine brass or matte black steel.
- Build a simple 1x6 fascia board to hide the bulky roll mechanism.
- Use low-profile floor anchors to prevent the 'wind sail' effect.
- Layer with stationary sheer panels at the corners for visual softness.
The Problem With Big-Box Plastic Roll-Ups (And Why I Still Buy Them)
Natural fibers are the heartbreak of the patio world. I’ve spent way too much money on 'weather-resistant' matchstick blinds that looked stunning for exactly three weeks before the humidity turned them into a science project. Vinyl is the only material that actually stands up to the reality of an exposed porch. It doesn't absorb moisture, it doesn't mold, and it provides a consistent light block.
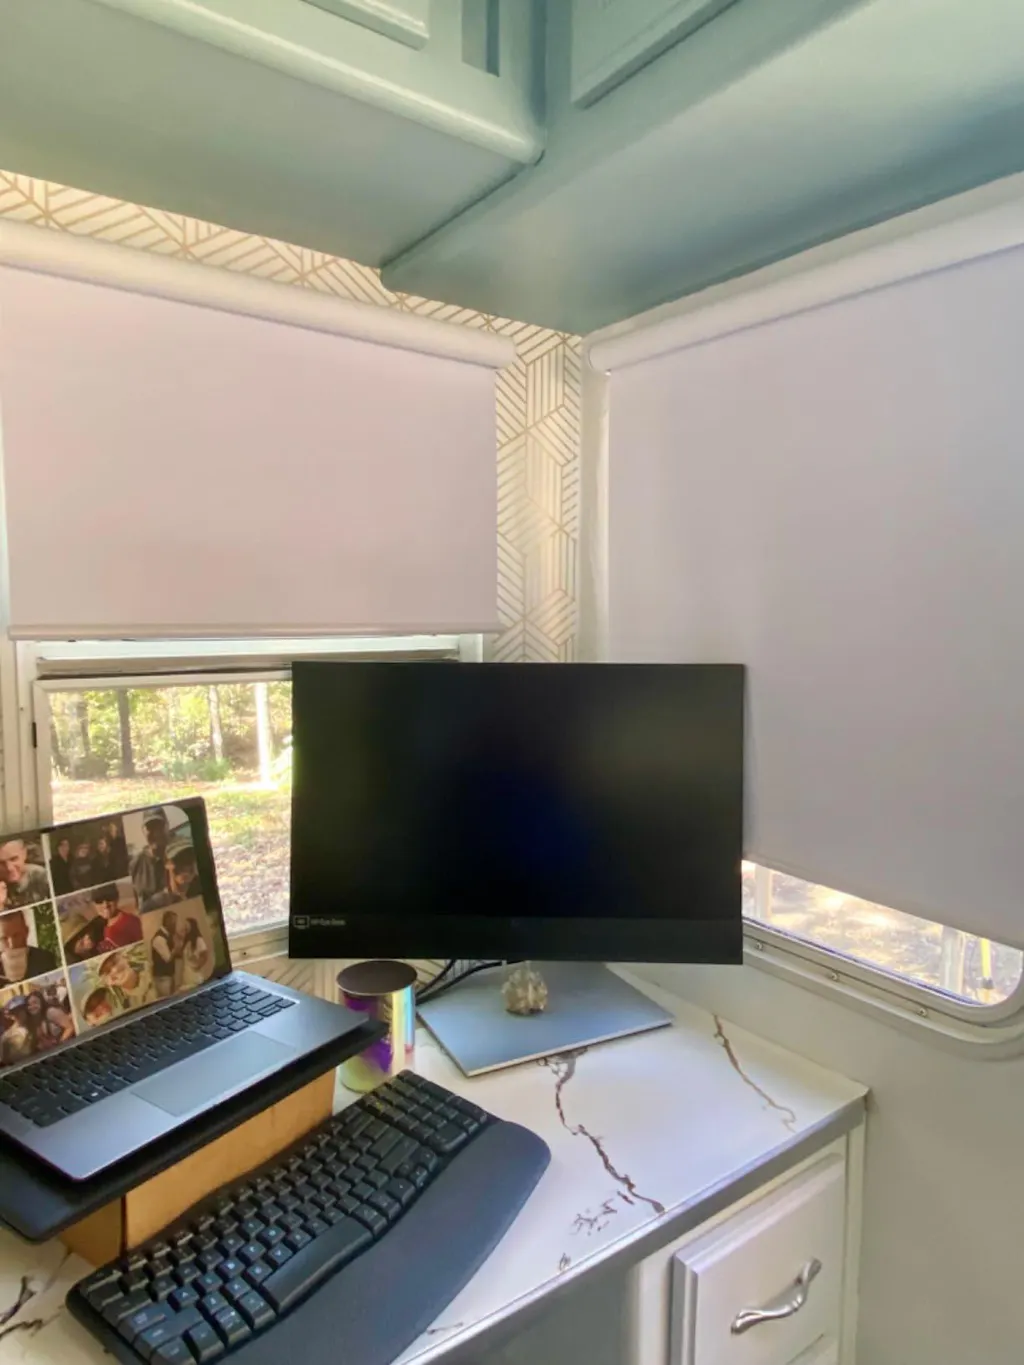
The trick is realizing that vinyl roll-up blinds are making a weirdly chic comeback precisely because they are so utilitarian. They are a blank slate. Out of the box, they look cheap because the hardware is cheap. But the material itself—especially in a crisp white or a deep charcoal—has a clean, modern line that works if you know how to frame it.
Trick 1: Ditch the Flimsy Plastic Cleat Immediately
The first thing I do when I unbox a new set of shades is throw the hardware bag directly into the trash. Those tiny, translucent plastic cleats are the hallmark of a temporary solution. They feel brittle, they look like an afterthought, and they eventually snap under the tension of a heavy cord on a windy afternoon.
Instead, I head to the hardware store for 4-inch cast brass or matte black marine cleats. These are designed for boats, so they can handle the salt and sun without pitting. Mounting a heavy, cold-to-the-touch metal cleat to your porch post makes the whole ritual of raising the shades feel intentional. It’s a small tactile upgrade that signals this is a permanent part of your home’s design.
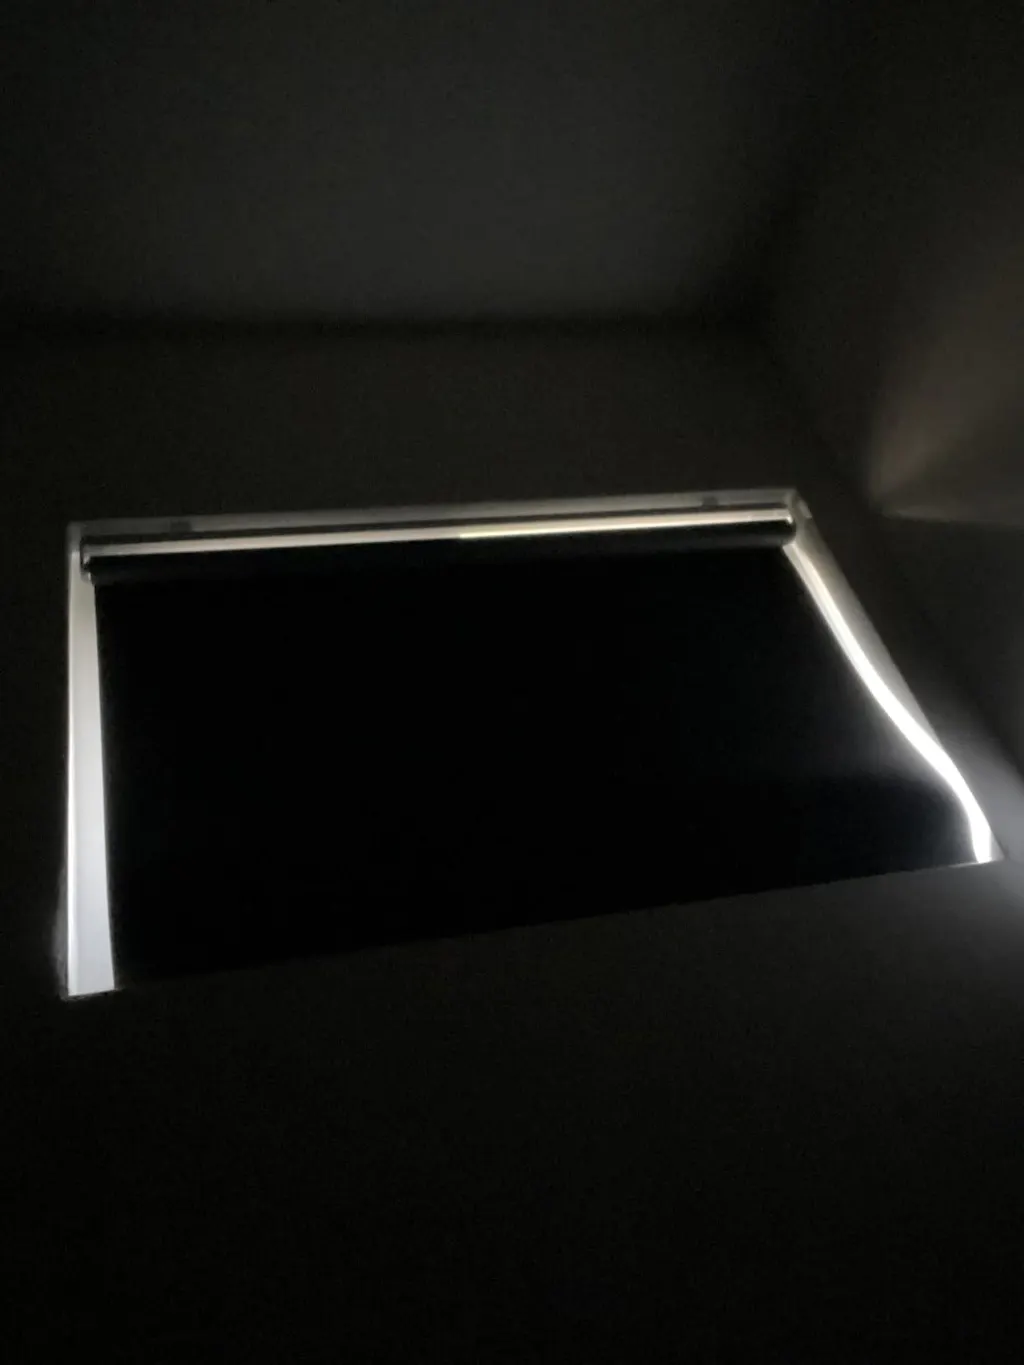
Trick 2: The 'Hidden Fascia' Mounting Method
The biggest giveaway that you’re using off-the-shelf shades is the bulky, exposed roll at the top. It looks messy and industrial. To fix this, I mount the headrail behind a simple fascia board. I usually use a 1x6 cedar board, painted to match the porch trim, and mount it about two inches off the header using small spacer blocks.
When you tuck your exterior roll up sun shades behind this architectural 'lip,' the mechanism vanishes. You get all the cooling benefits without the visual clutter. This setup allows the textured outdoor shades to drop down as if they’re coming out of the ceiling itself, creating a clean, built-in look that mimics high-end custom millwork rather than a DIY project.
Trick 3: Anchoring the Bottom (Without Looking Like a Tent)
Nothing ruins the vibe of a porch faster than a shade slapping against a post every time a breeze picks up. Most people reach for those neon bungee cords, which makes your beautiful sunroom look like a campsite. I prefer a more architectural approach to keep things taut.
I swap the standard lightweight bottom rail for a heavy-duty outdoor shades hem bar or add a hidden steel rod inside the bottom pocket for weight. Then, I install low-profile floor anchors—small stainless steel loops that sit flush with the deck. A simple cord tensioner or a small carabiner keeps the shade straight, so it looks like a solid wall rather than a piece of flapping plastic.
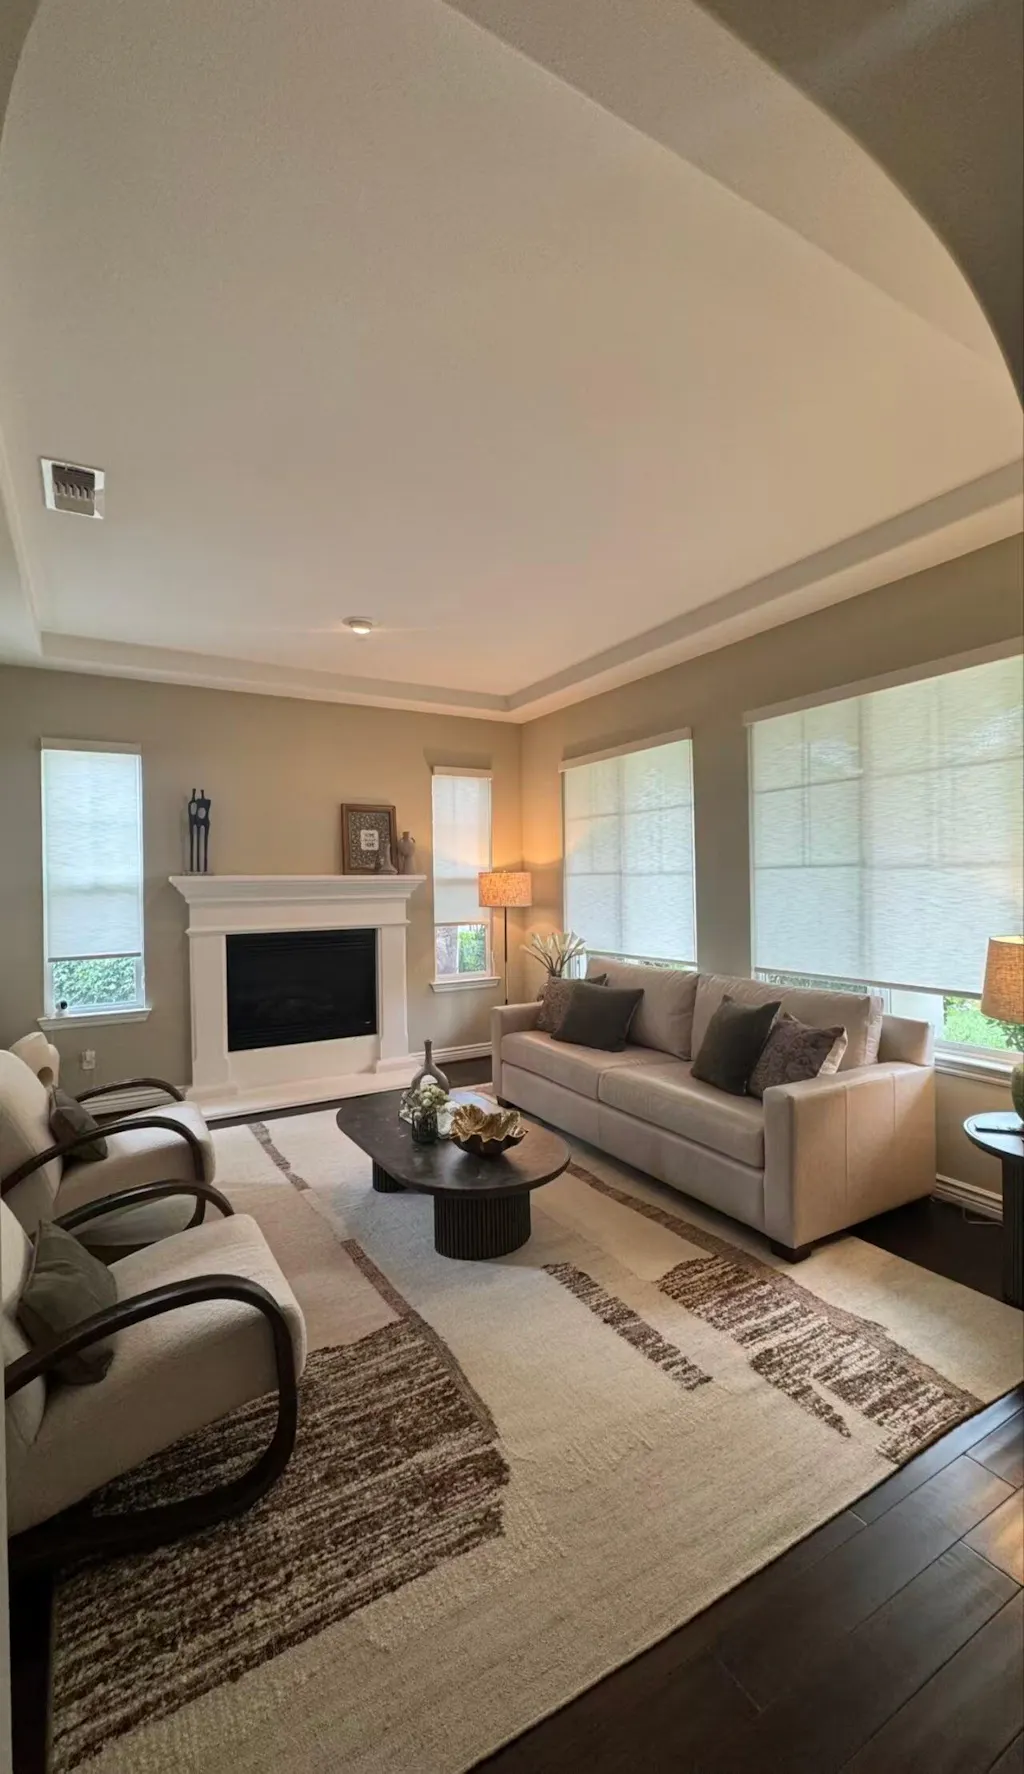
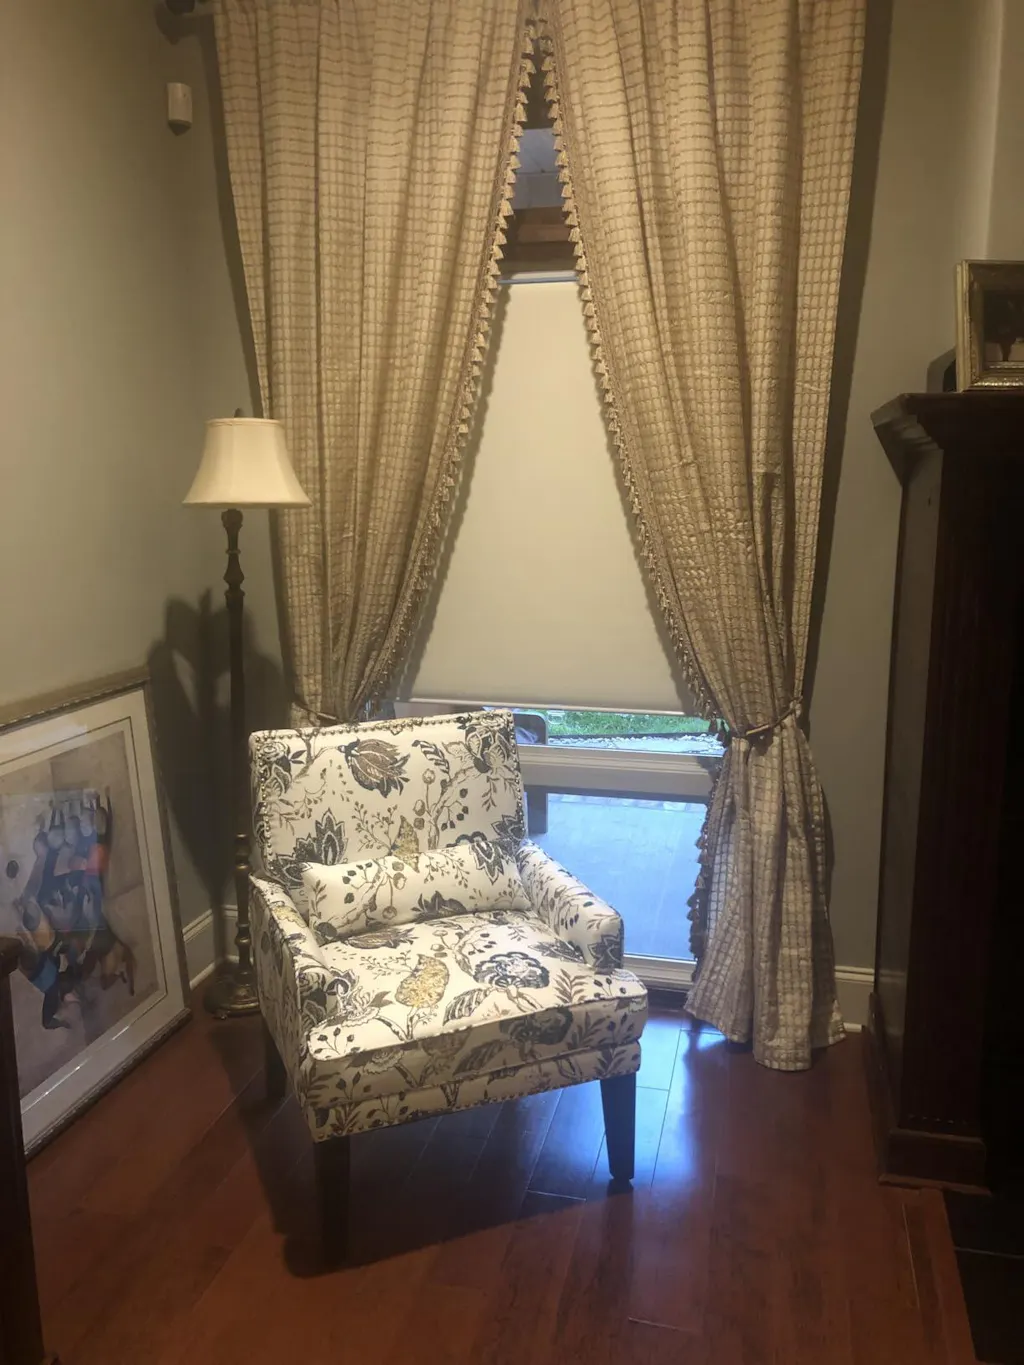
Layering for Softness: When to Add Stationary Drapes
Vinyl is hard. Wood trim is hard. To make the porch feel like a 'sunroom' rather than a 'screened box,' you need the movement of fabric. I love adding stationary, non-moving curtain panels at the corners. I look for something with a 5% openness factor or a loose-weave polyester that mimics the look of 200 gsm linen.
These drapes don't need to close; the vinyl shades do the heavy lifting for privacy and rain protection. The drapes are just there to hide the vertical edges of the vinyl and add a layer of softness. It’s the difference between a porch that looks 'finished' and one that looks 'styled.'
Personal Experience: The Midnight Re-Install
I learned the fascia lesson the hard way. The first time I installed these, I mounted them directly to the face of my white porch beams. Every time I sat outside, all I could see was the messy grey plastic roll and the uneven cord wrap. It drove me so crazy that I found myself out there at 10 PM with a drill and a level, ripping them down to build a proper valance before a dinner party the next day. It was a mess, but once that trim went up, the whole space felt five times more expensive.
FAQ
How do I clean vinyl shades without taking them down?
Wait for a sunny day, roll them all the way down, and spray them with a mixture of mild dish soap and water. Use a soft-bristle brush for any bird spots, then hose them off. Let them air dry completely before rolling them back up to prevent any 'stuck' spots or mildew in the roll.
Can I paint the vinyl to match my trim?
I wouldn't recommend it. Vinyl expands and contracts significantly with the heat, and most paints will eventually crack and peel. It’s better to buy a shade color that complements your house—like a neutral stone or charcoal—and use the fascia board to pull the look together.
Do these really block the rain?
Mostly, yes. They’ll keep the 'mist' out and protect your furniture from a standard downpour. However, in a sideways storm, water will always find a way around the edges. That’s why the floor anchors are so important—they keep the gap at the bottom to a minimum and stop the shade from dumping water onto your lap.