How to Hang Blackout Blinds Over Blinds Without the Awkward Bulge
I once spent an entire Saturday in a rental apartment trying to solve a light-leak crisis. My bedroom had those standard, dusty white metal slats that were great for afternoon privacy but absolutely useless against the streetlamp that beamed directly into my eyeballs at 3 AM. I didn't want to lose the daytime light-filtering, but I was desperate for sleep. That was the first time I experimented with blackout blinds over blinds, and I learned very quickly that if you don't respect the geometry of the window frame, you end up with a bulky mess that looks like a motel room.
The goal is a sleep sanctuary, not a construction site. You want to keep your existing shades for their utility—tilting them to let in just enough sun to keep your fiddle-leaf fig alive—while having a secondary 'kill switch' for light. Layering blackout shades over blinds is the most common request I get from light-sensitive sleepers, and doing it right requires a bit of math and the right choice of textile.
Quick Takeaways
- Always mount the base layer inside the window frame and the blackout layer on the outside.
- Check your 'projection'—the distance the hardware sticks out—to avoid the dreaded bulge.
- Skip the plastic-heavy fabrics; go for a high-GSM linen or textured weave for the top layer.
- If you use drapery to hide the hardware, ensure a 4-inch overlap on each side of the frame.
Why We Are All Tempted to Double Up on Window Treatments
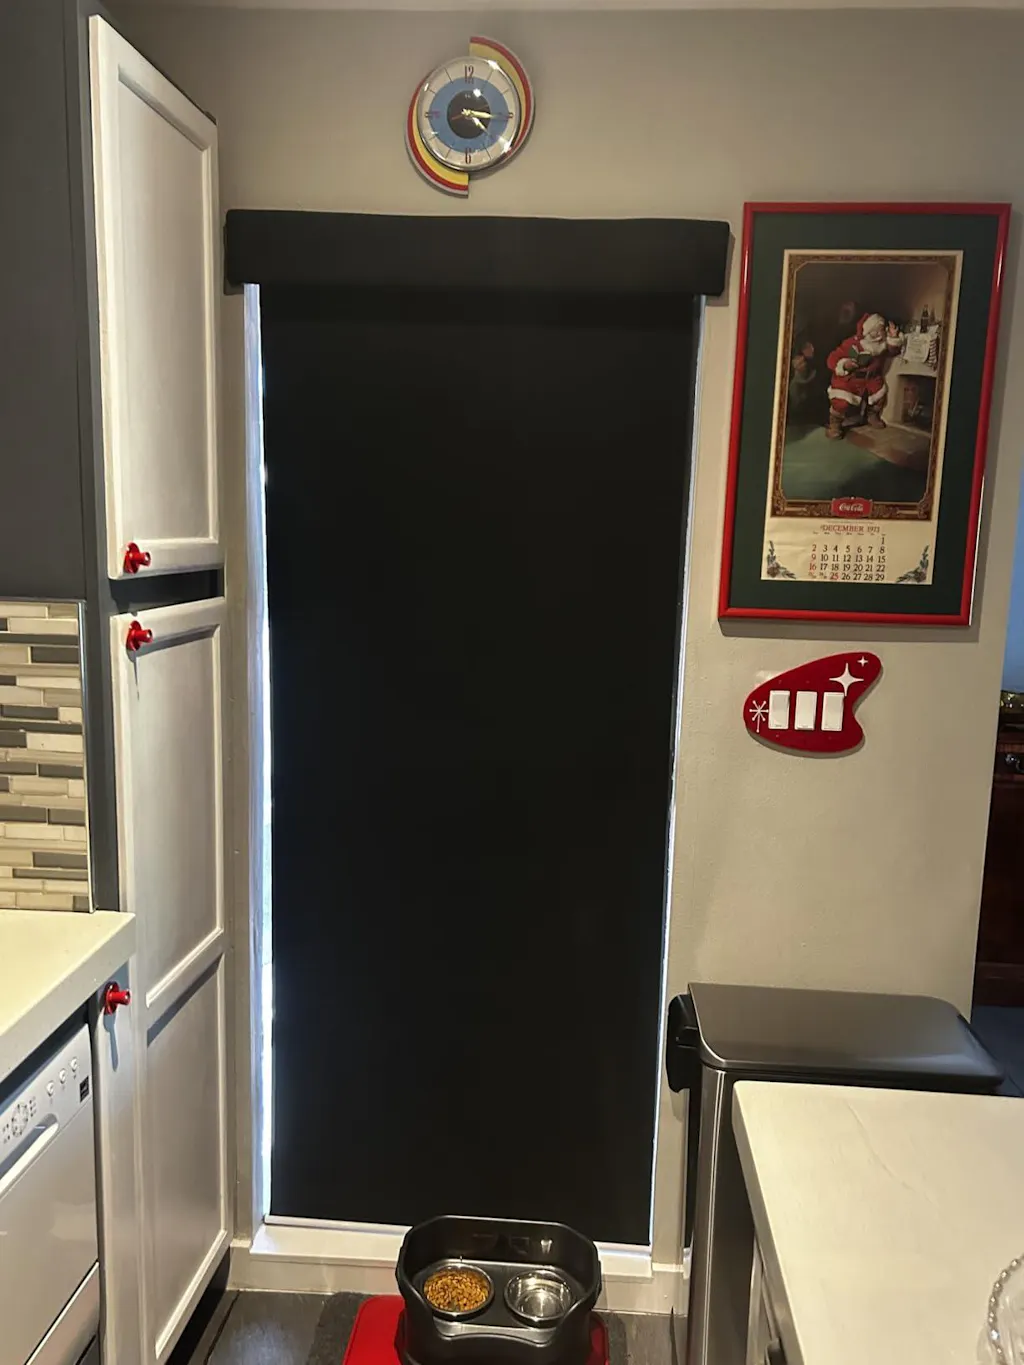
We've all been there. You have a set of wood or faux-wood blinds that look great from the street, but they leak light like a sieve. The 'blackout over blinds' strategy is the ultimate compromise. It allows you to maintain that consistent look for your home's exterior while creating a pitch-black environment for sleeping or watching a movie. The trick is making sure the two layers don't fight for the same physical space.
When you double up, you are essentially creating a light-trap. The slats handle the diffusion, while the secondary layer—usually a roller or a Roman—seals the deal. I’ve found that this setup actually helps with thermal insulation too. That pocket of air between the two treatments acts as a buffer against drafty winter windows or the baking August heat. Just don't expect a 'clip-on' fix to look as polished as a permanent mount.
The Geometry of Layering: Mounting Depth and Clearance
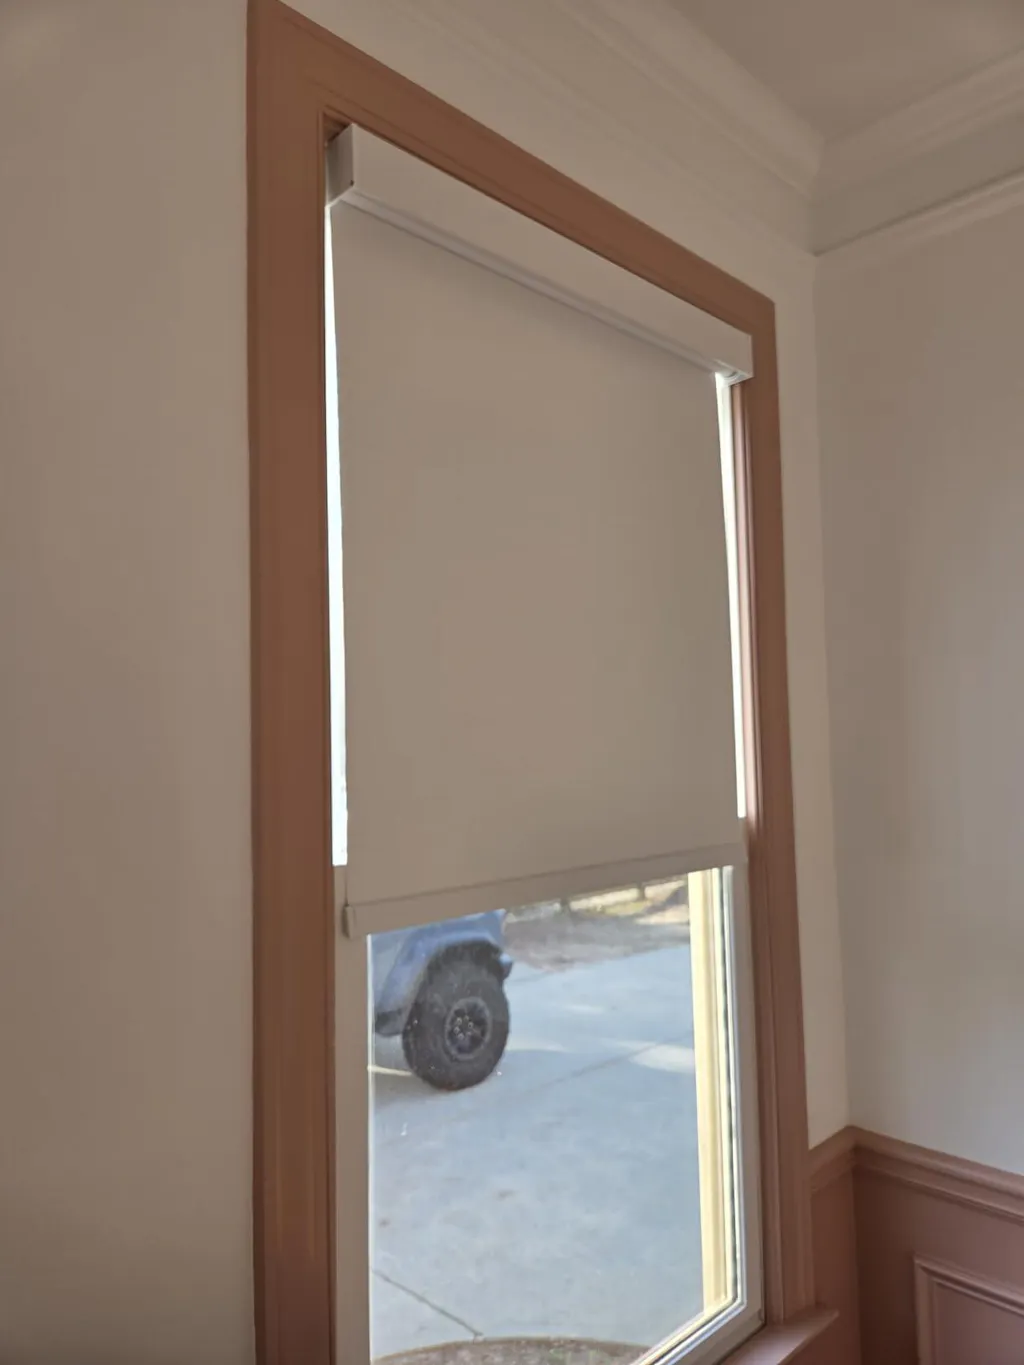
This is where most people mess up. You cannot have two treatments fighting for the same two inches of wood inside your window casing. For this to work without the hardware sticking out like a sore thumb, your primary slatted blinds must be an 'inside mount.' This means they sit flush within the window frame. If they already stick out an inch, you’re going to have a hard time layering over them.
Your blackout layer should be an 'outside mount.' This means you are drilling the brackets into the wall or the trim surrounding the window, not the inner casing. Before you pick up the drill, read up on how to install your shades to ensure you have enough 'flat' surface on your trim to support the weight of a heavy blackout roller. I usually recommend mounting the top layer at least 2 inches above the window trim to give the illusion of height and to ensure the roller doesn't interfere with the existing blind's header rail.
Choosing the Right Top Layer (So It Doesn't Look Like a Motel)
Material is everything. If you pick a stiff, shiny polyester, your bedroom will feel like a sterile clinic. When I’m putting blackout shades over blinds, I look for fabrics with a bit of soul. A heavy-weight linen blend with a blackout lining is my go-to. It drapes beautifully and hides the mechanical look of the blinds underneath. Avoid anything that feels like a shower curtain.
I’ve seen too many DIY jobs where the roller blinds blackout fabric looks like a shower curtain because the homeowner went for the cheapest vinyl option. Instead, look for a 'soft-touch' blackout fabric. It should have a matte finish and a bit of texture—think a subtle herringbone or a slubbed weave. This adds a layer of sophistication that makes the double-blind setup look intentional rather than a desperate attempt to block out the sun.
The Truth About Blackout Curtains That Attach to Blinds
I get asked about blackout curtains that attach to blinds all the time. These are usually marketed as 'no-drill' solutions that clip onto your existing headrail. My professional opinion? Avoid them if you can. Most blind headrails are held up by two small brackets and aren't designed to support the weight of an additional 5-10 pounds of fabric. Over time, the whole system will sag, and you'll end up with a crooked window and a broken blind.
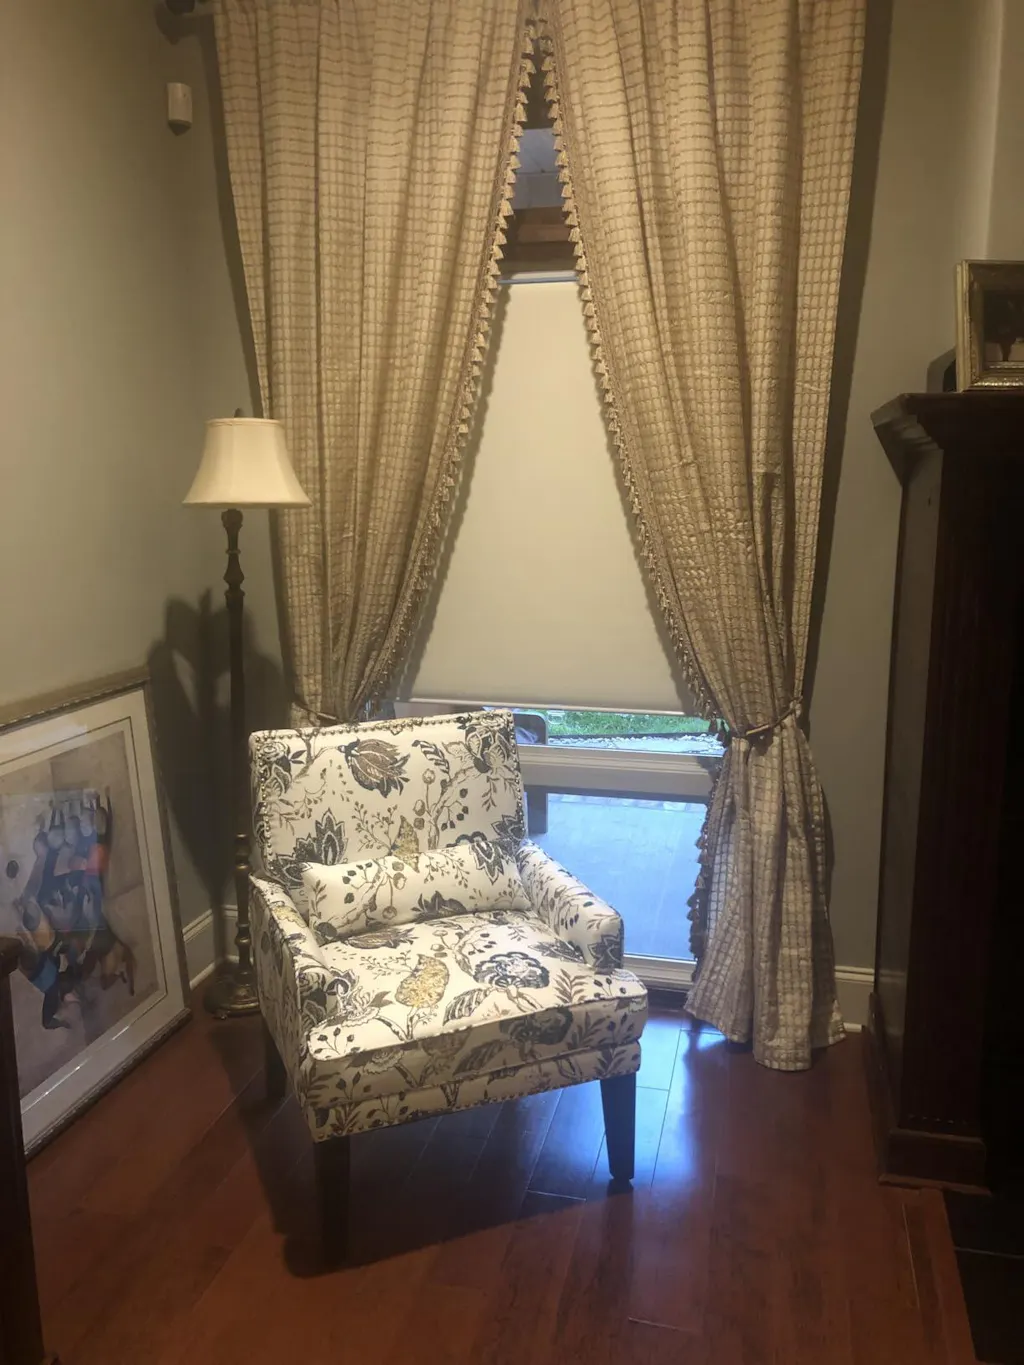
Instead of clipping things on, I always suggest a proper curtain rod mounted outside the frame. This is why I never hang 58 inch wide blackout blinds without drapery to finish the look. The drapery acts as a frame, hiding the side-gaps where light inevitably crawls in, and it covers the bulky brackets of your secondary blackout shade. It’s the 'designer secret' for making a double-layered window look like it belongs in a five-star hotel.
When to Stop Stacking and Just Upgrade
Sometimes, the window frame just isn't built for a sandwich of treatments. If your casing is shallow or your trim is particularly ornate and narrow, trying to force a blackout layer over an existing blind will just look messy. There’s no shame in admitting that the 'stack' isn't working. If you find yourself fighting with the cords every morning, it's time to look at a single-fixture solution.
If you want the best of both worlds without the bulk, I suggest moving to a 'Zebra' or dual-shade system. Swapping your old slats for Canisteo Motorized Zebra Shades 60 Blackout Luxe gives you that light-filtering privacy during the day and a solid blackout effect at night, all controlled by a remote. It’s a much cleaner look than trying to balance two different sets of hardware on a single window frame.
My Personal Lesson in Layering
I once tried to save money by layering a heavy Roman shade over a set of cheap mini-blinds in my guest room. I didn't measure the projection of the Roman shade's brackets correctly. The result? The Roman shade sat three inches off the wall, leaving a massive gap on the sides that let in more light than the blinds did alone. I ended up having to shim the brackets and eventually just took the mini-blinds down entirely. The lesson: if you're going to layer, you have to be obsessive about the depth of your hardware. Now, I always use a spacer block if I need that extra half-inch of clearance.
Frequently Asked Questions
Can I put blackout film over blinds instead?
You can, but it’s permanent and looks quite 'dorm room.' Blackout film is great for total darkness, but you lose the ability to see out of the window during the day. Layering a shade gives you much more flexibility.
Will layering blinds damage my window frame?
Not if you use the right anchors. If you are mounting a heavy blackout shade into drywall, use toggle bolts. If you are mounting into the wood trim, pre-drill your holes to prevent the wood from splitting under the weight of the double hardware.
How do I stop light from leaking around the edges?
This is the 'side-gap' problem. The best fix is to make your outside-mounted blackout shade at least 3-4 inches wider than the window on both sides. If that’s not enough, adding floor-length drapery panels on the sides will block those final slivers of light.